Stage 8
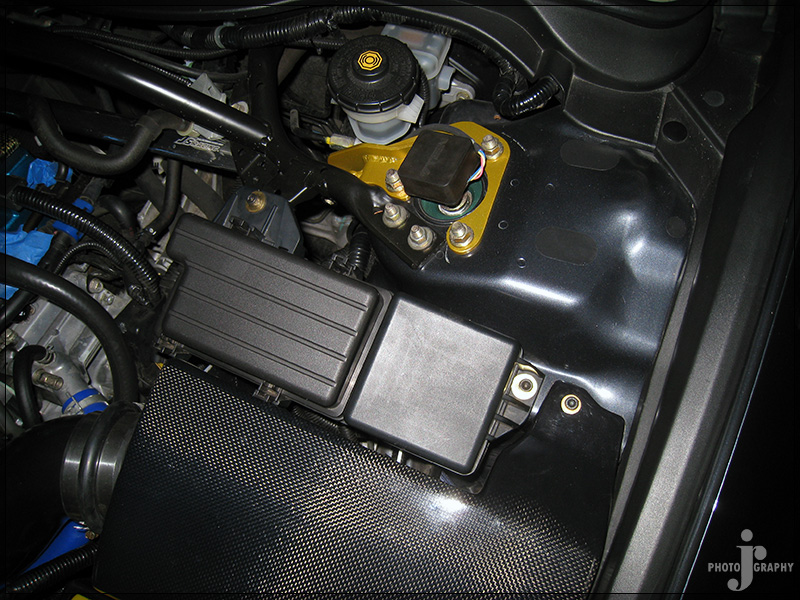
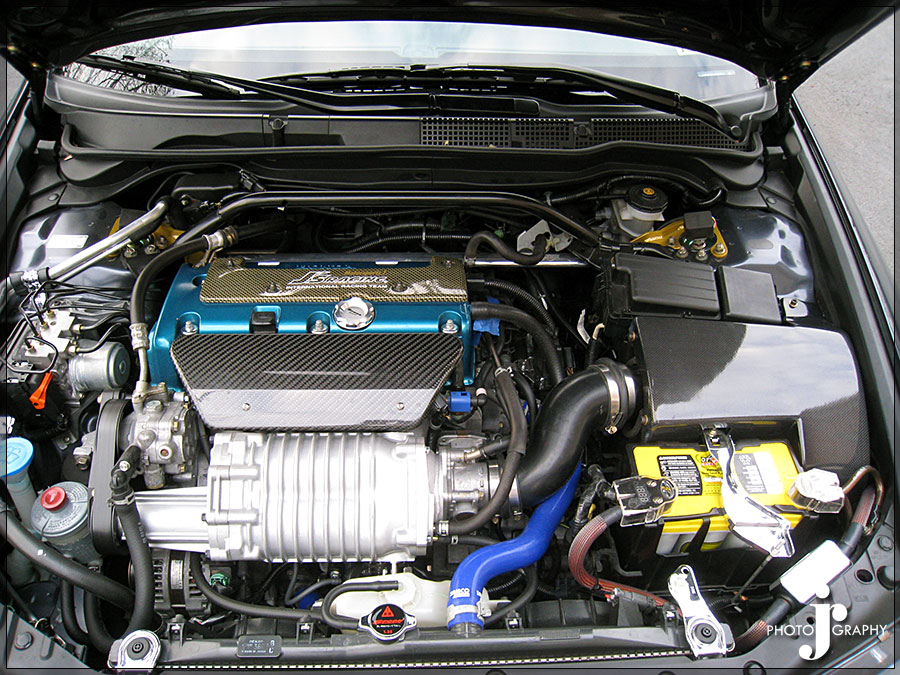
Well detail counts in my opinion when building a car so I am sure a lot of you have noticed that with my build process photos covering what I have done. Well what I have started now most if not all will probably consider this over the top. Not sure that I am happy with the results of the bolts I have used which is why I haven't replaced a ton of them yet. The bolts I used right now are black allen screw bolts with brass washers to match the J's Racing gold strut bar ends.
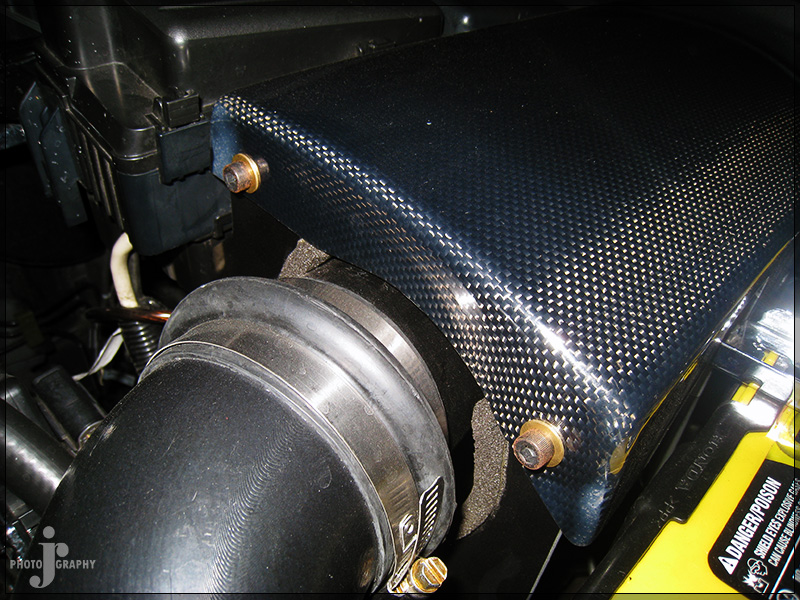
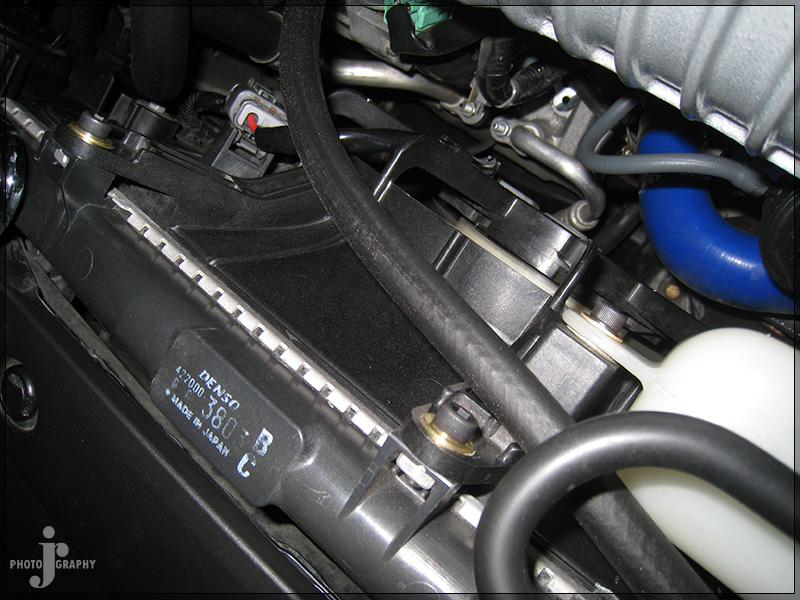

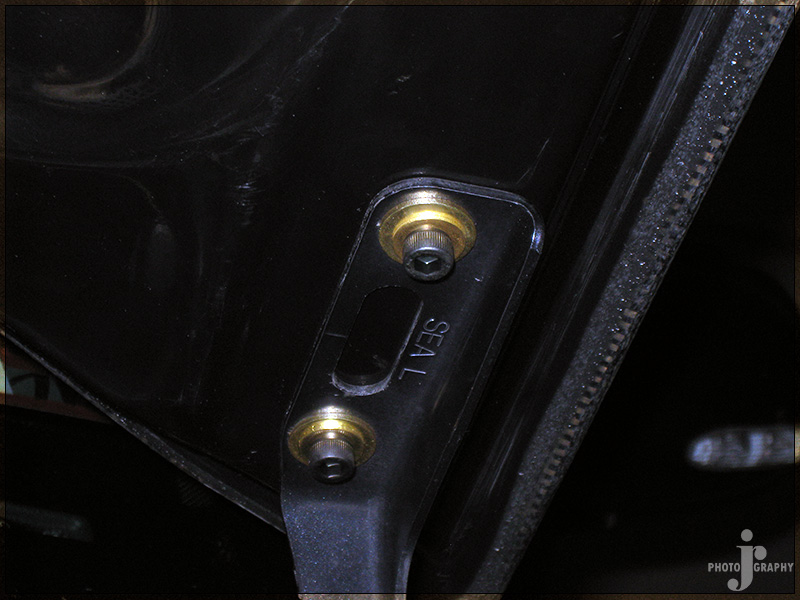
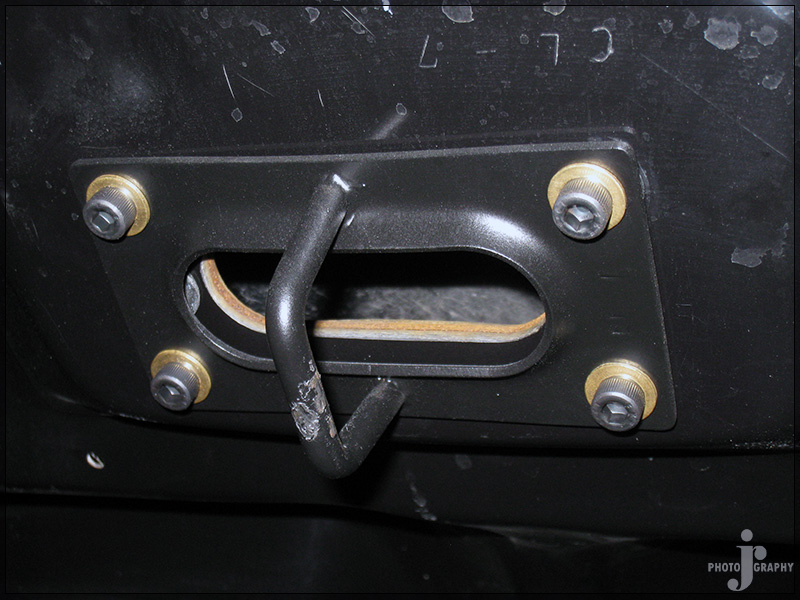
Stage 9a – Start of test Install
Pictures is the start of my newest project a fiberglass sub box. If it turns out good I will be making one for the other side of the car as well. Lot of work to come stillon it though.
First Layer
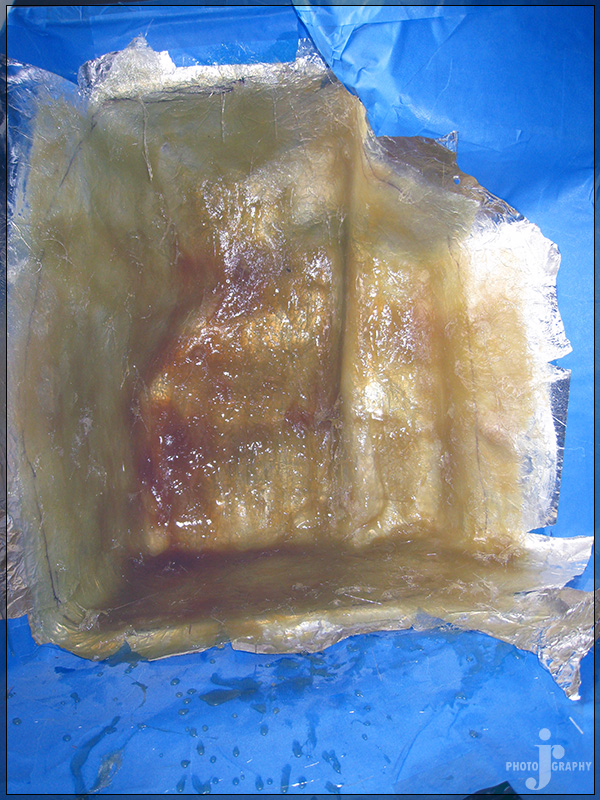 Second Layer
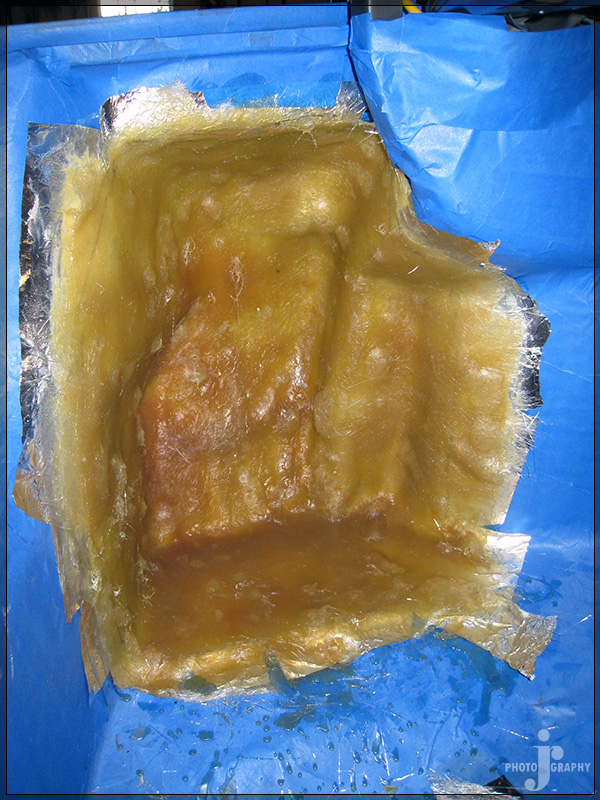
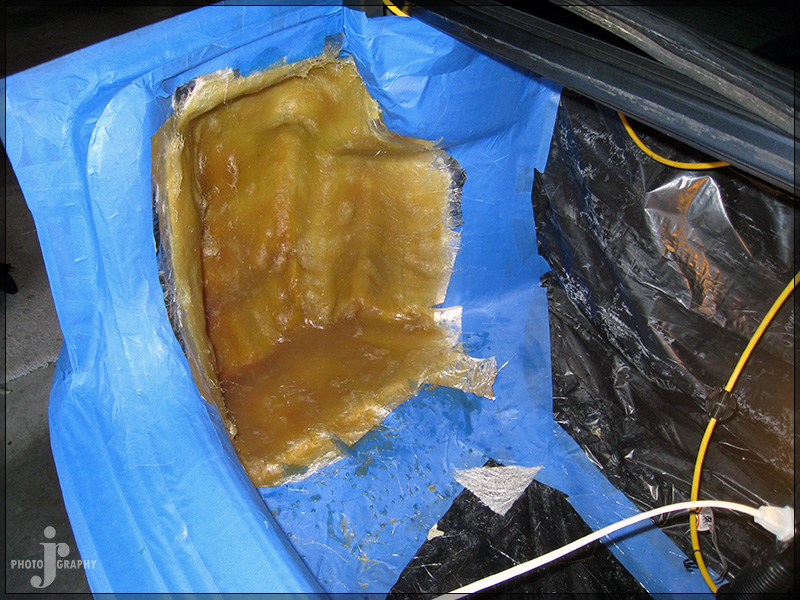 My Drying System due to 32 degree weather
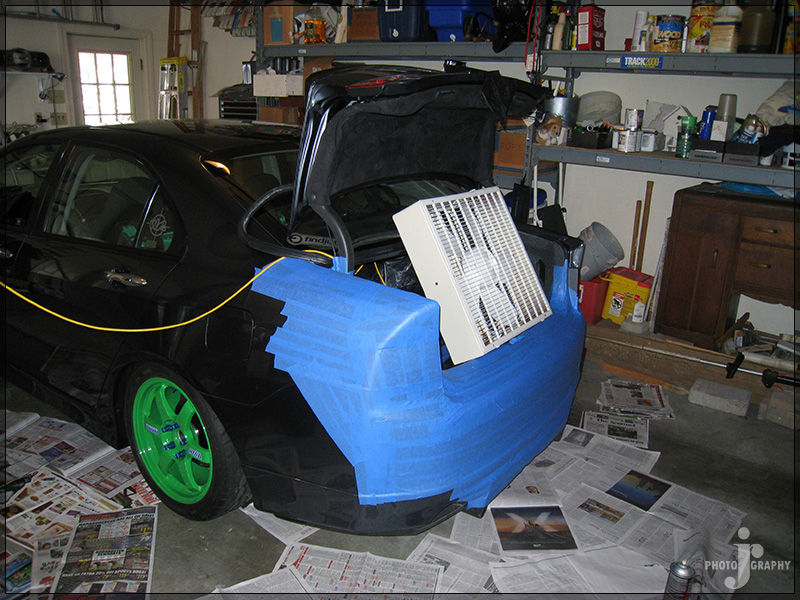 Had to cut all the tape to get it out
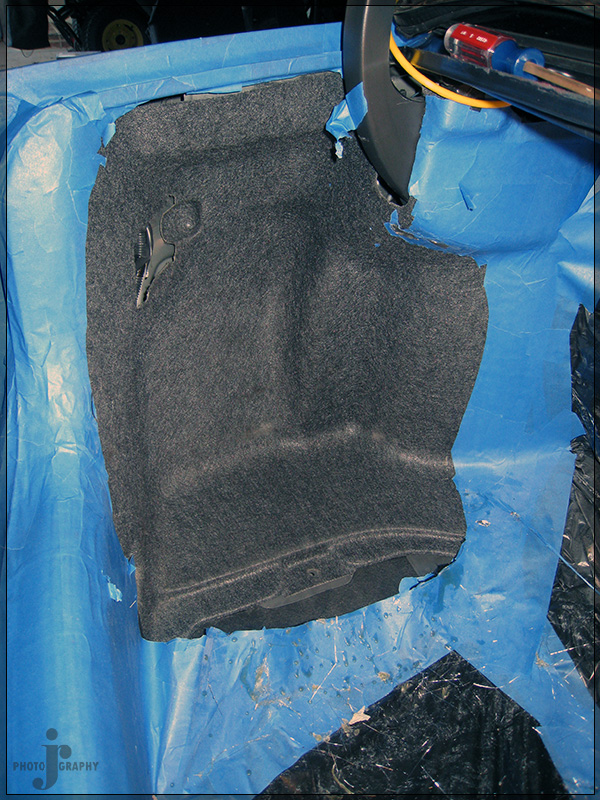
 After all tape remove and another layer of resin applied
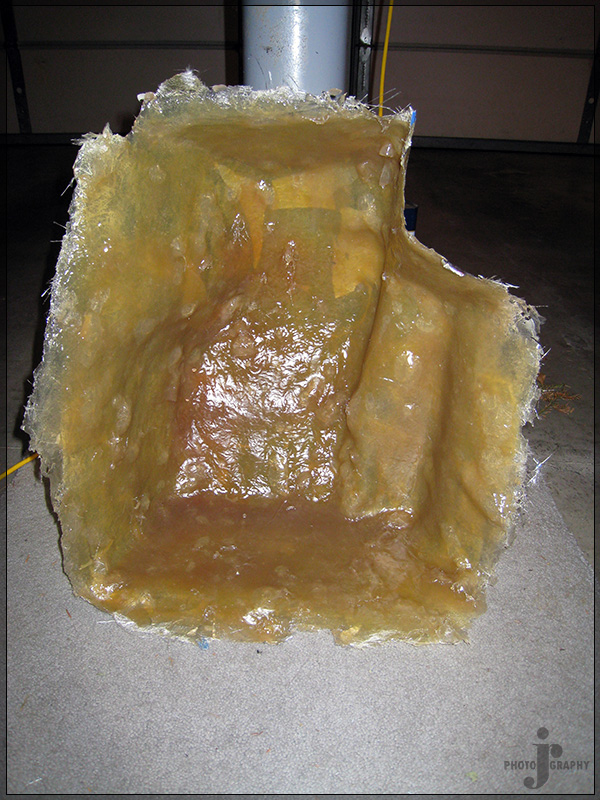
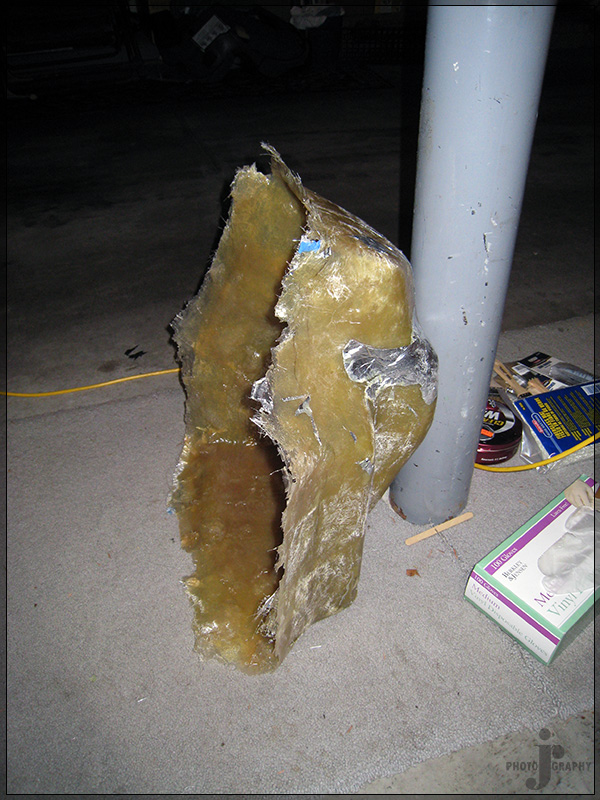
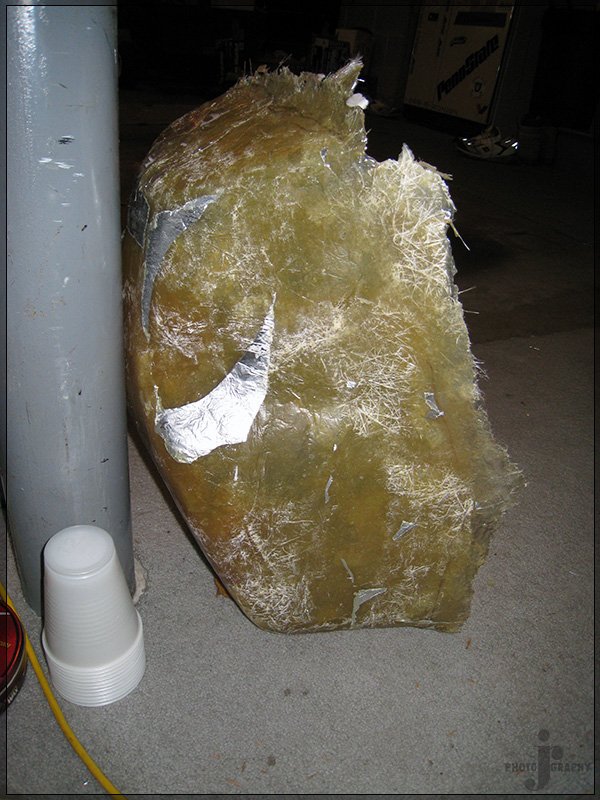
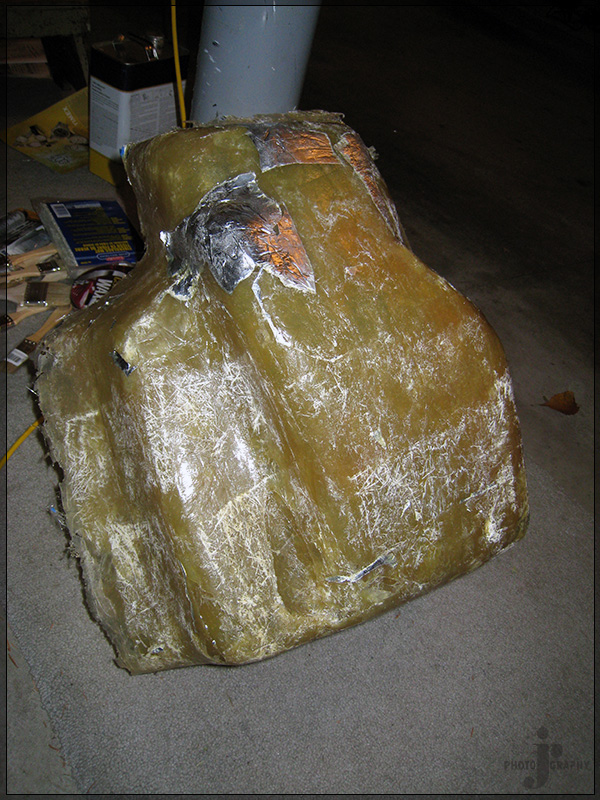
 Trimmed down to size and ready for next step
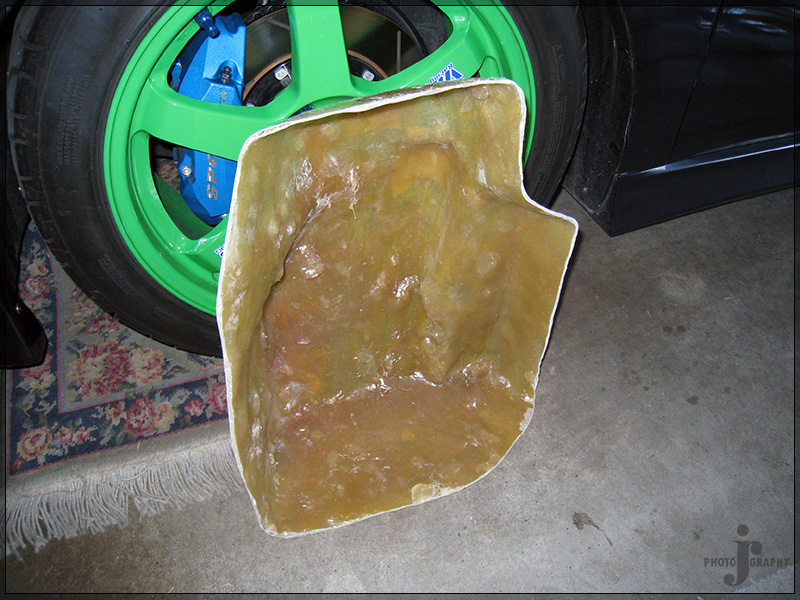
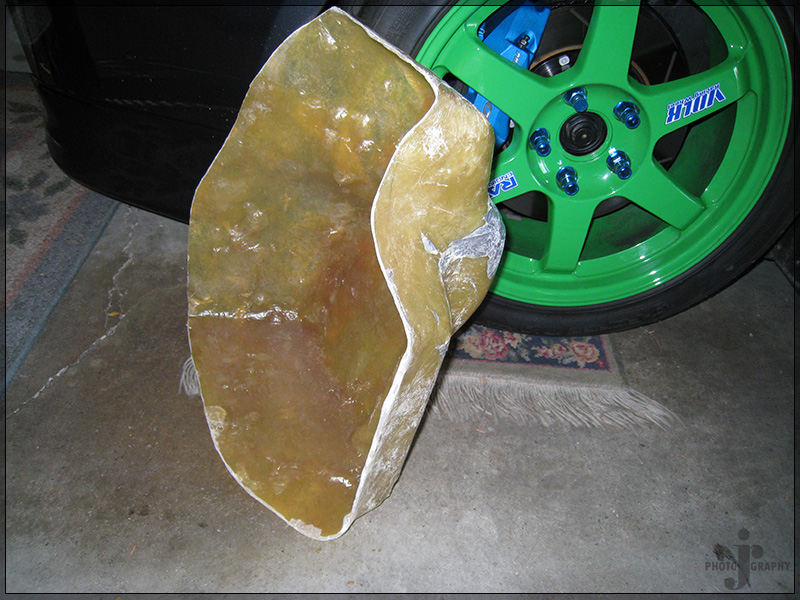
Stage 9b - Parts
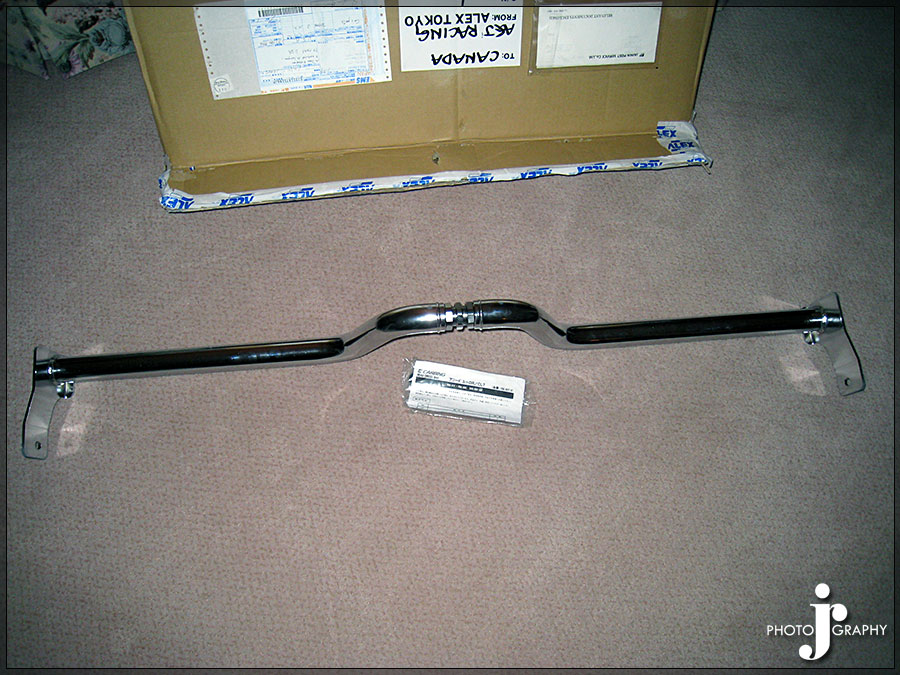
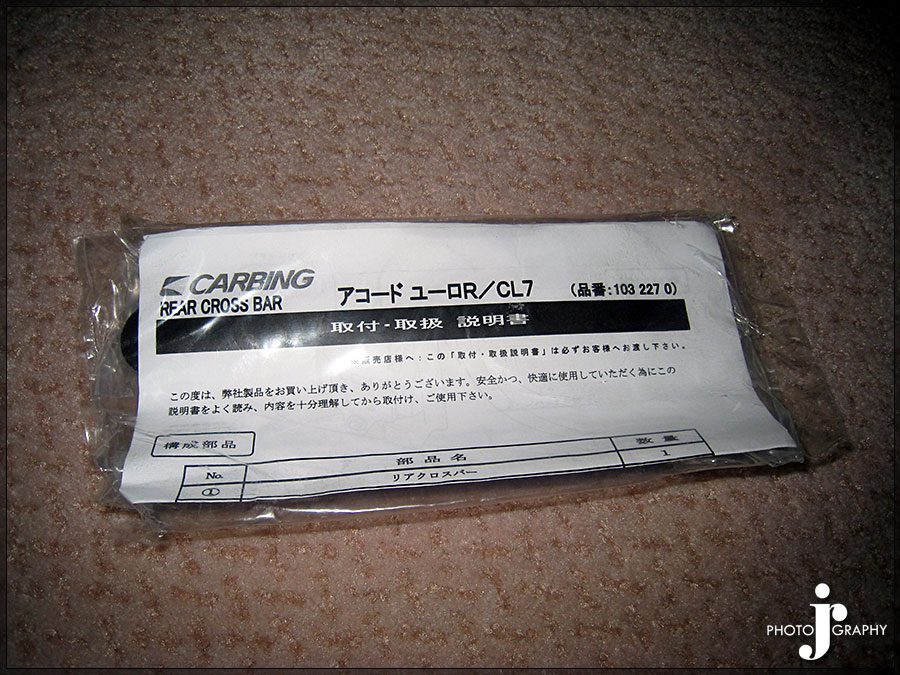
Well here is the next phase of what is most likely or at least for the foreseeable future going to be a never ending project. I have upgraded almost everything possible and I am starting to get sick of the factory stereo so I figured it was time to address that. With replacing the entire factory stereo besides the headunit I also wanted to redo my trunk setup. Nothing extremely fancy and it hasn't even been started but I will try to explain it. The one thing I wanted to be able to put in the trunk was the Carbing Trunk Brace so the stereo will be designed around allowing that fit in the trunk. To install the Carbing Trunk Brace you have to install some bolts from the underside of the car. For me this is a problem cause it means I have to remove the rear diffuser which is a pain. So I also decided to finally install a rear sway bar. I chose to go with the progress rear sway cause the only other one I would have went with was a Swift rear sway bar but it is not as thick. Since I wanted to start planning the stereo as soon as possible I had the Carbing Trunk Brace EMS shipped direct from Carbing and since the cost wasn't much more to add another item I ordered the Carbing Rear Floor Brace as well.
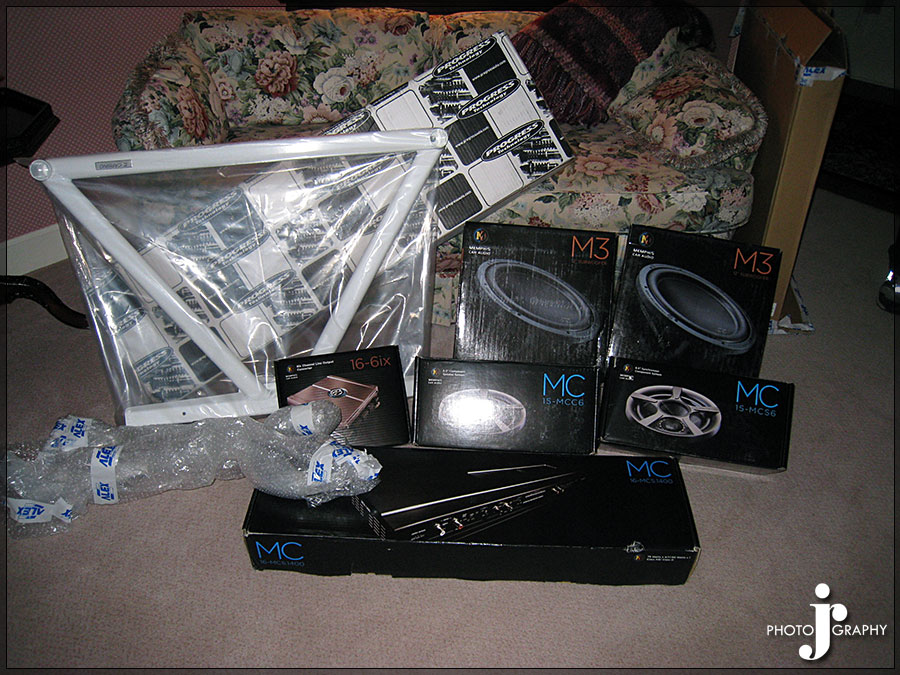
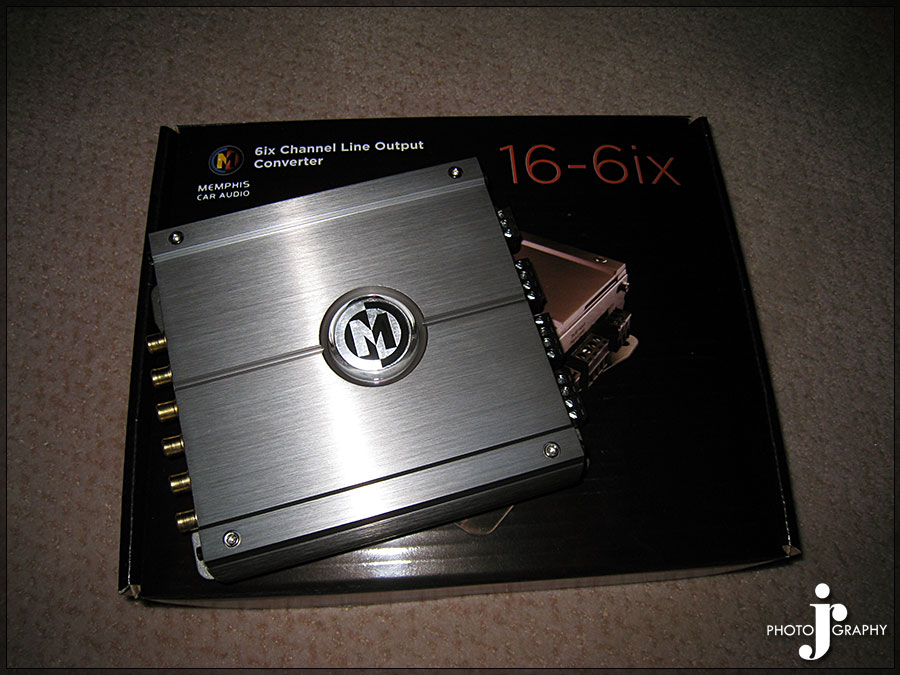
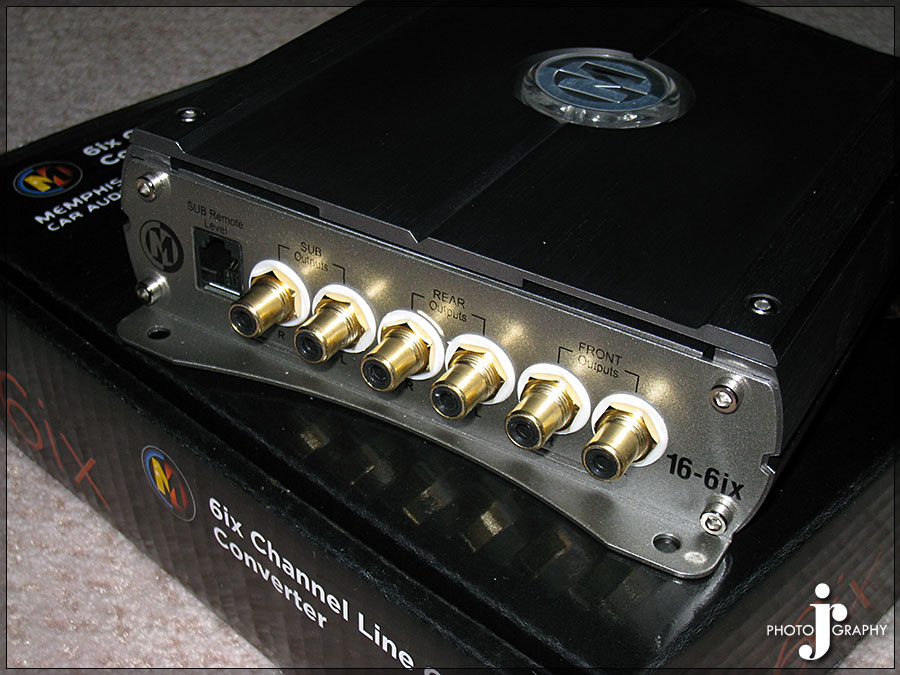
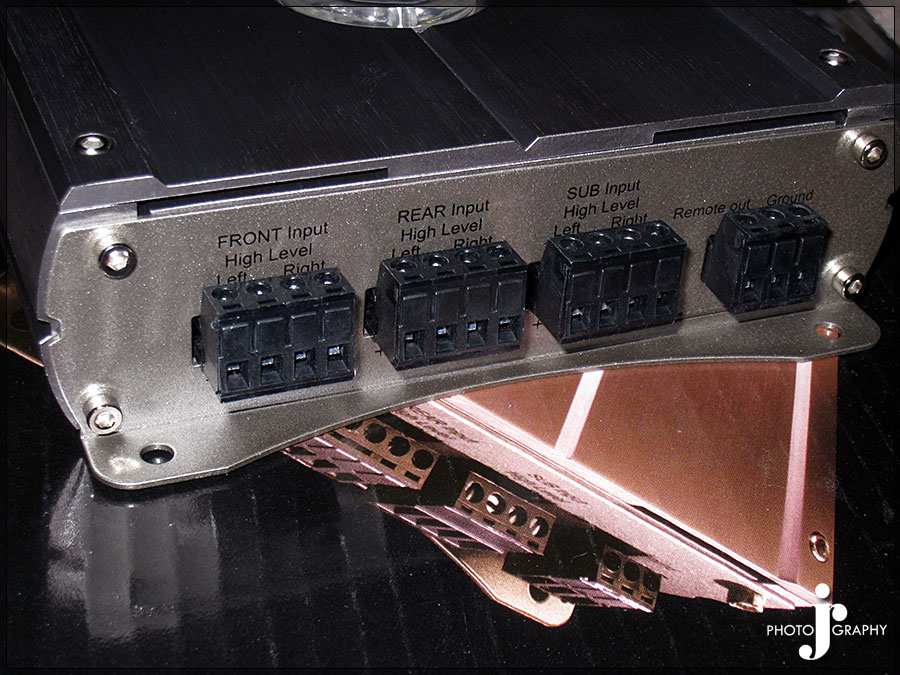
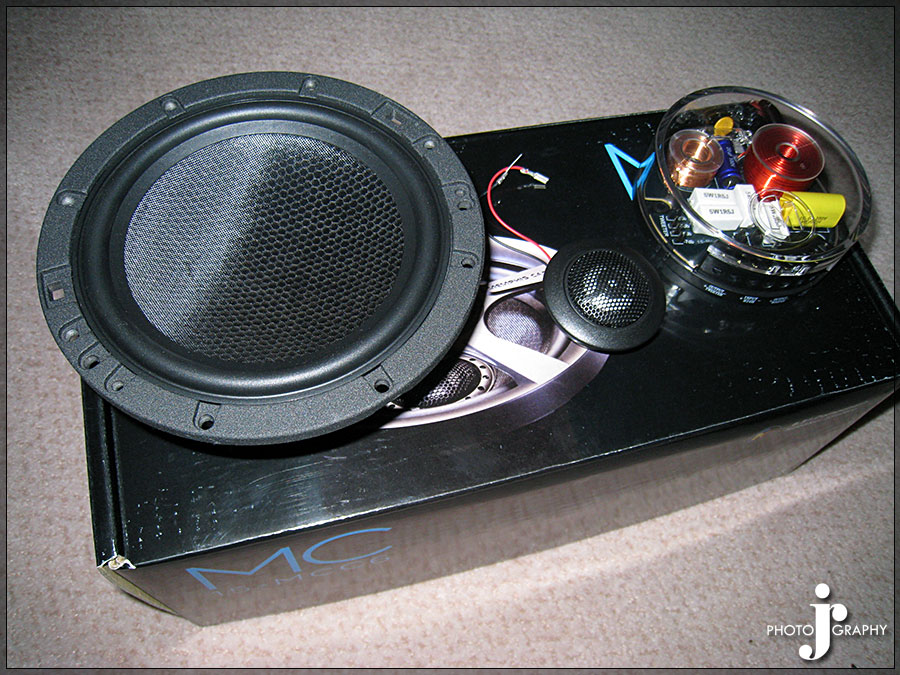
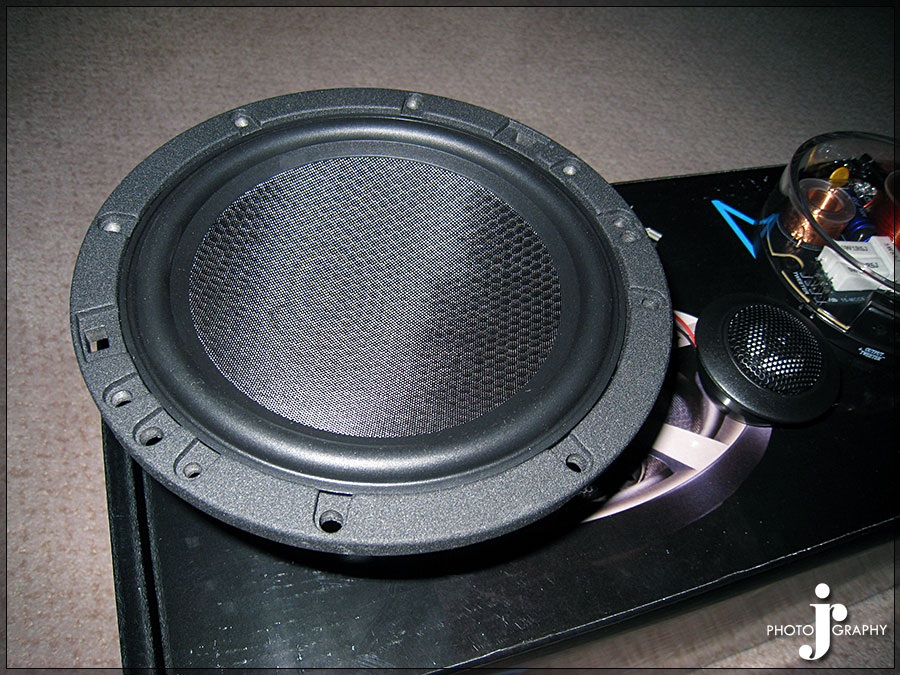
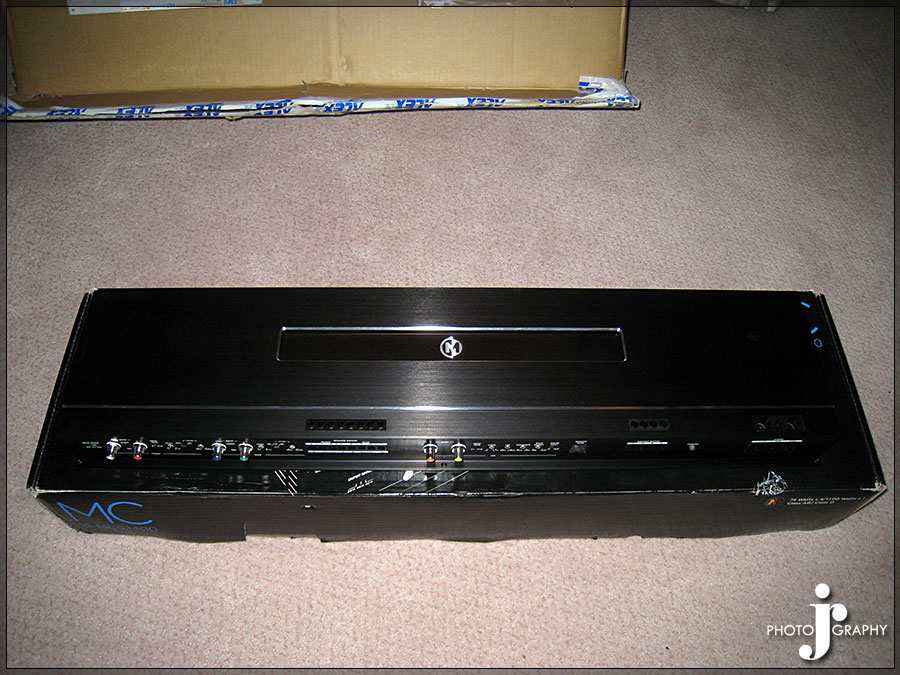
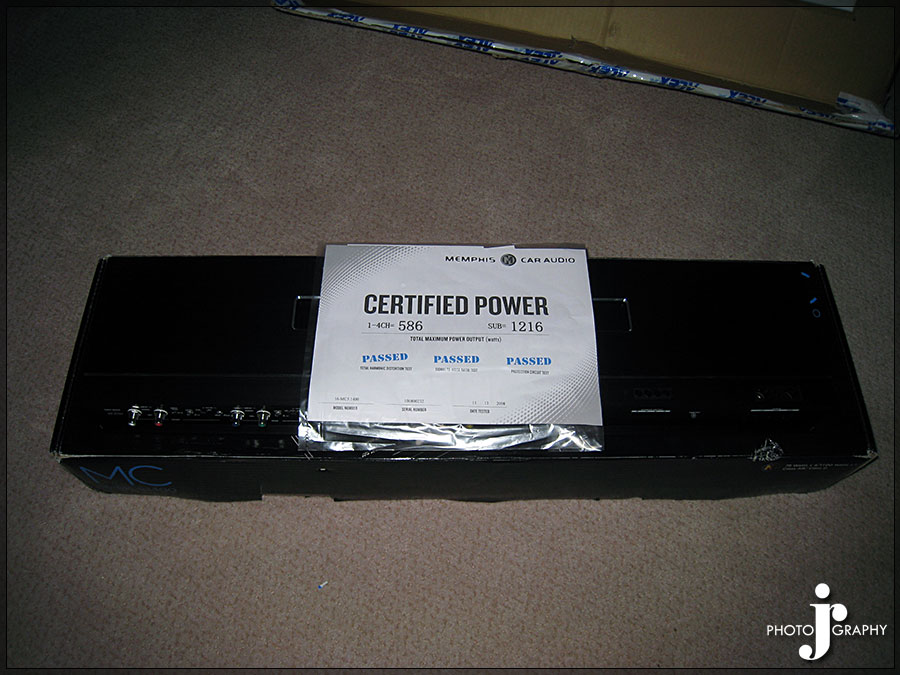
Now onto the audio equipment. I am using all Memphis Audio gear. Since I am using the factory radio still I am using Memphis's OEM called the 6ix interface device that give you a clean signal from the factory headunit. I am using their 6.5" MClass Components up front and their 6.5" MClass Synchronous Components in the rear. The amp I am using is the Memphis Big Belle which is a 5 channel amp putting out 4 x 75 watts @ 4 ohms and 1 x 1100 watts @ 1 ohm. The 1100 watts from the sub channel will be split to two Memphis M3 subwoofers. The Memphis Big Belle is a massive amp as well and 30in wide. I am going to try to figure out some way to mount it raised about 3-5 in above the Carbing Trunk Brace along the back of the rear seat at an angle. Obviously though I will not even consider mounting it to the Carbing brace. There will be one sub in each corner of the trunk in fiberglass enclosures facing the opening of the trunk. This is all going to take a long time to install so hopefully in a month or so I will have some pics of the beginning of the install. Until then the pictures of all the gear are below.
The entire conglomerate
Carbing Trunk Brace
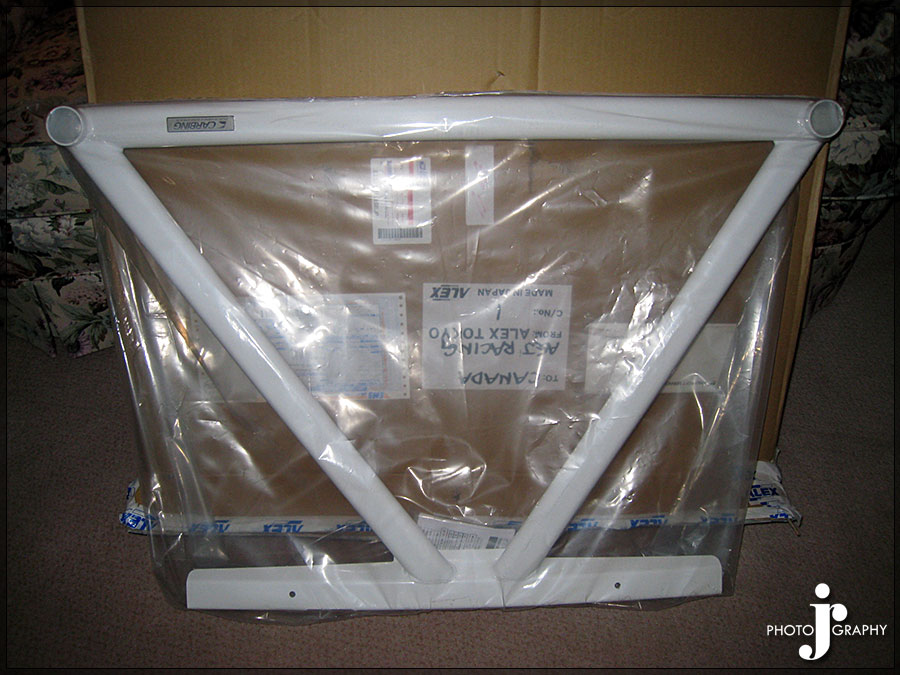
Carbing Rear Floor Brace
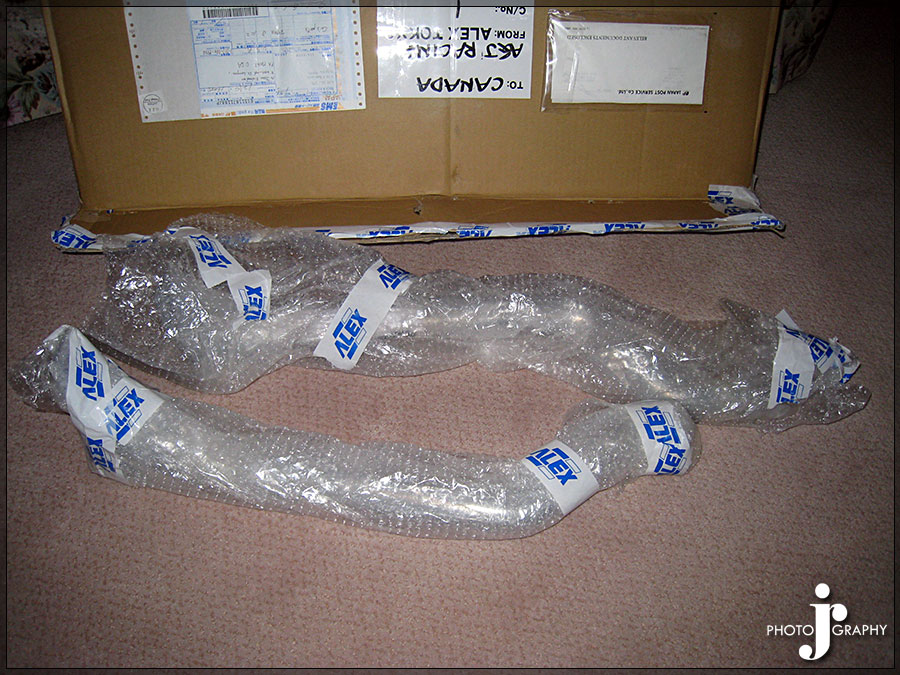
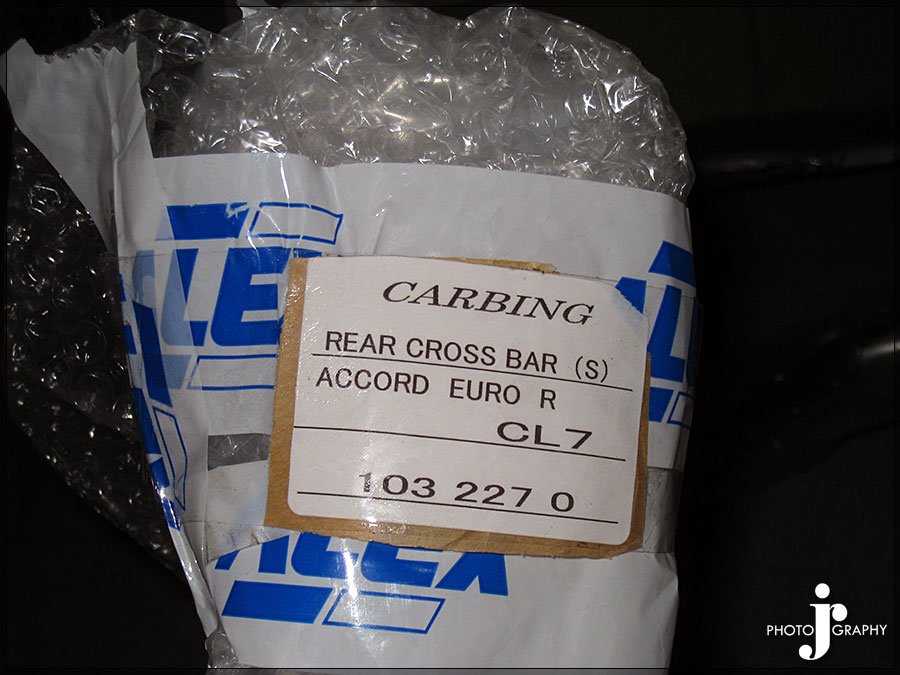

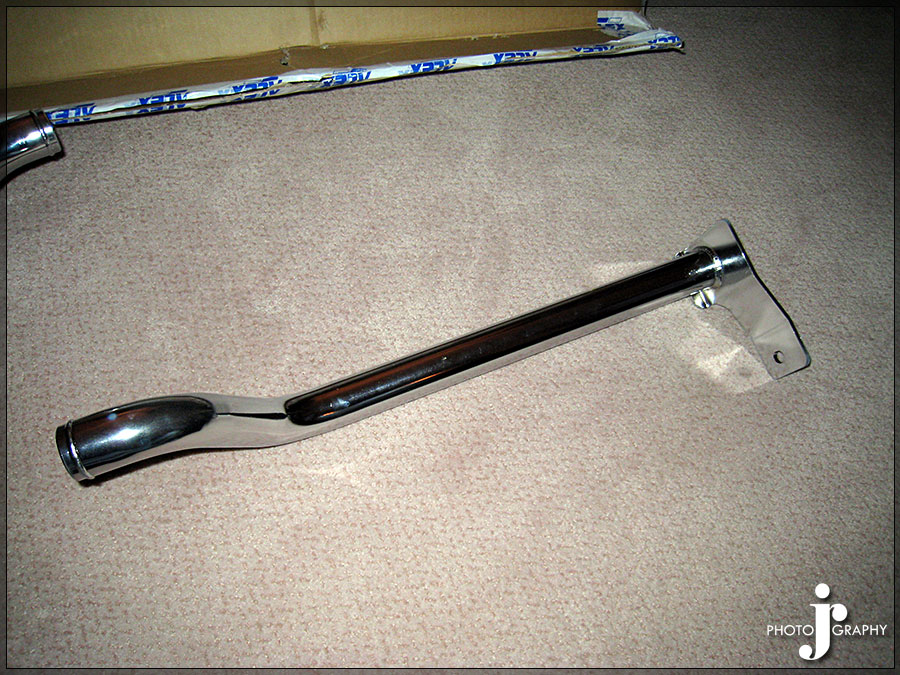
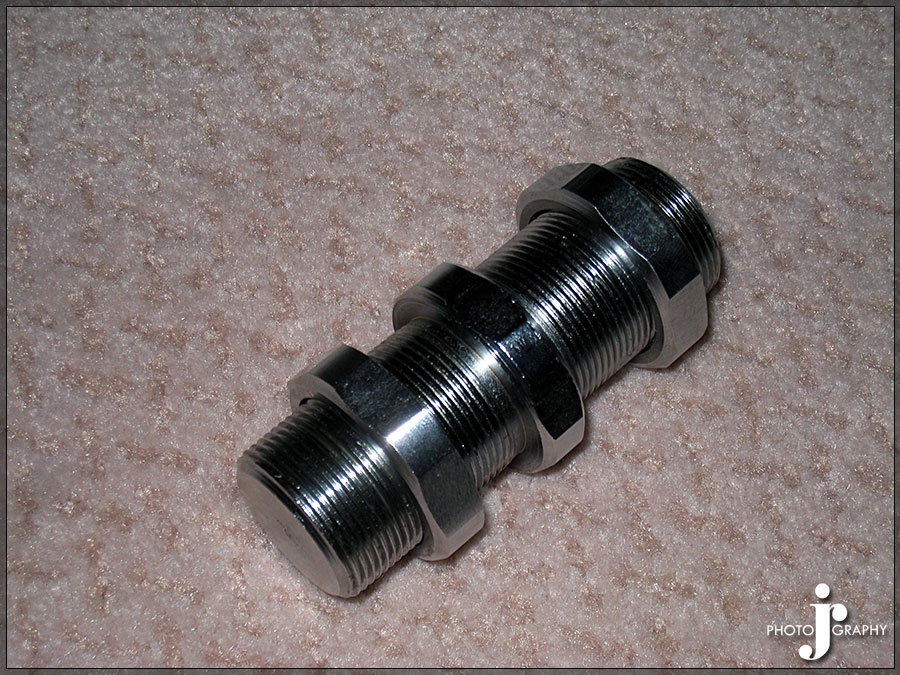
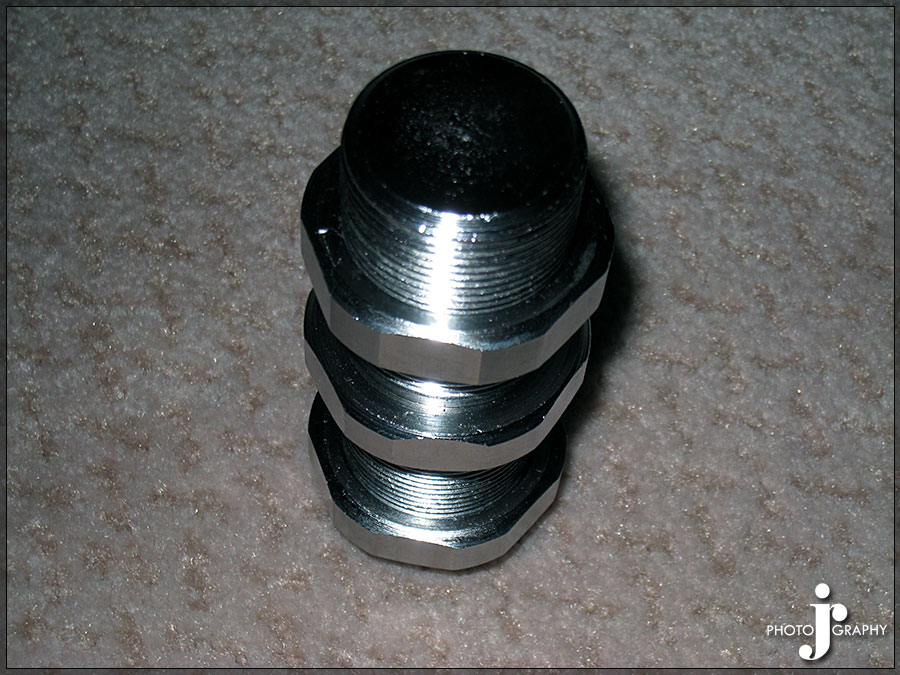
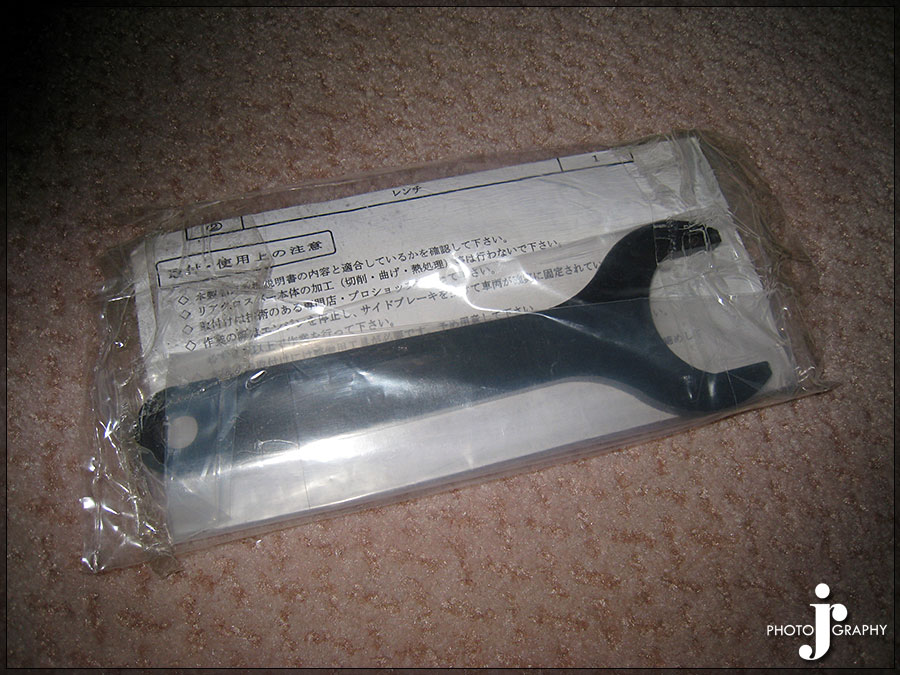
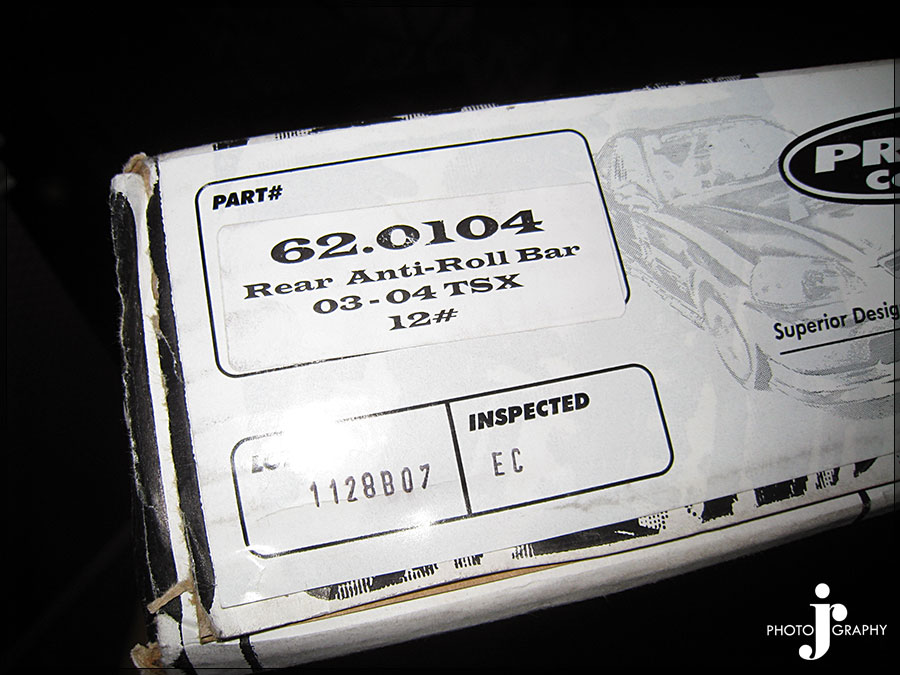
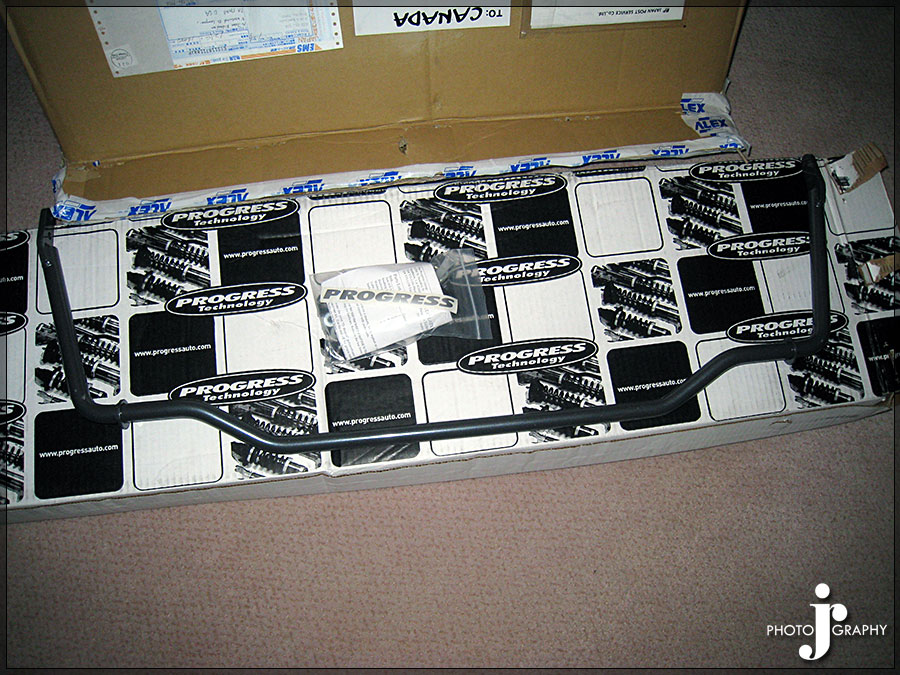
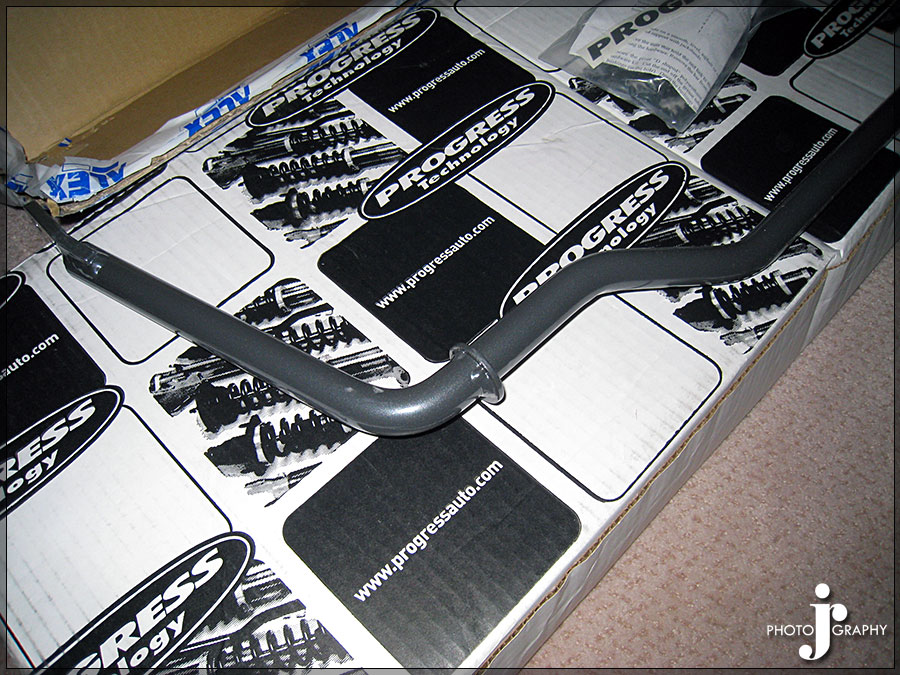
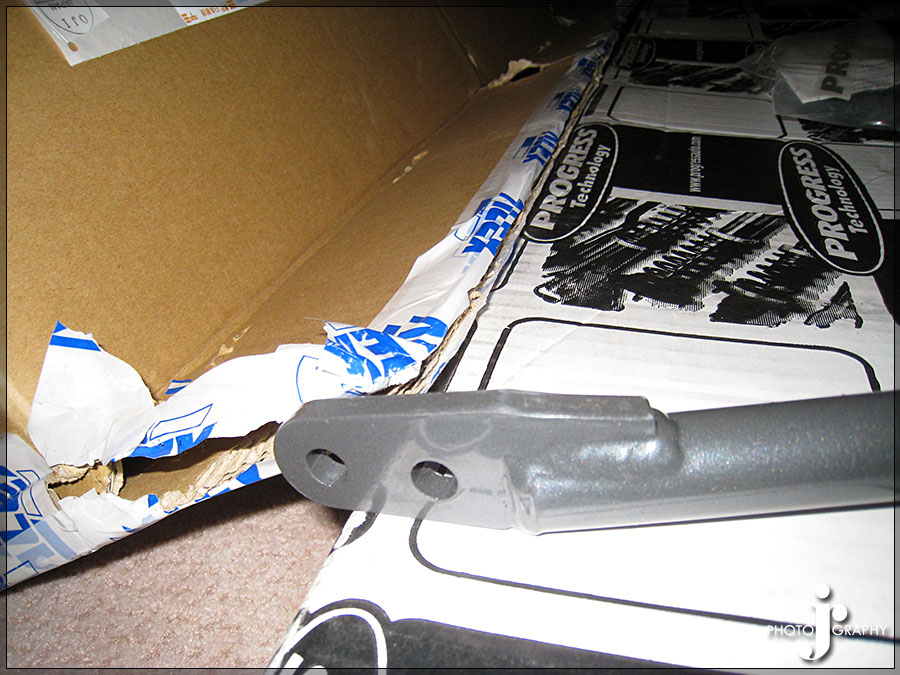
Progress Rear Sway Bar
Memphis Audio 6ix Interface
Memphis Audio 6.5" MClass Synchronous Components
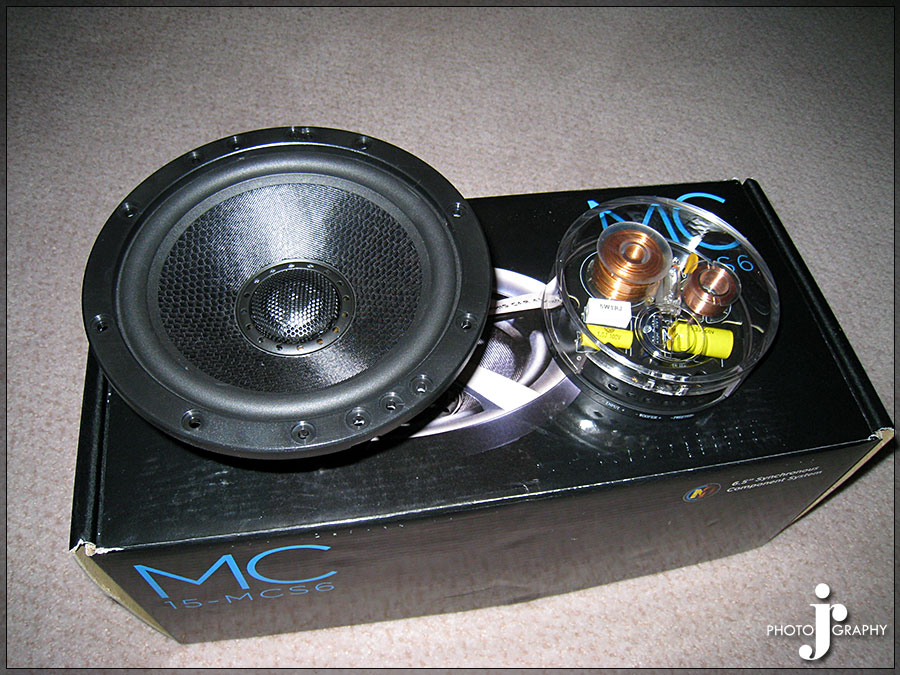
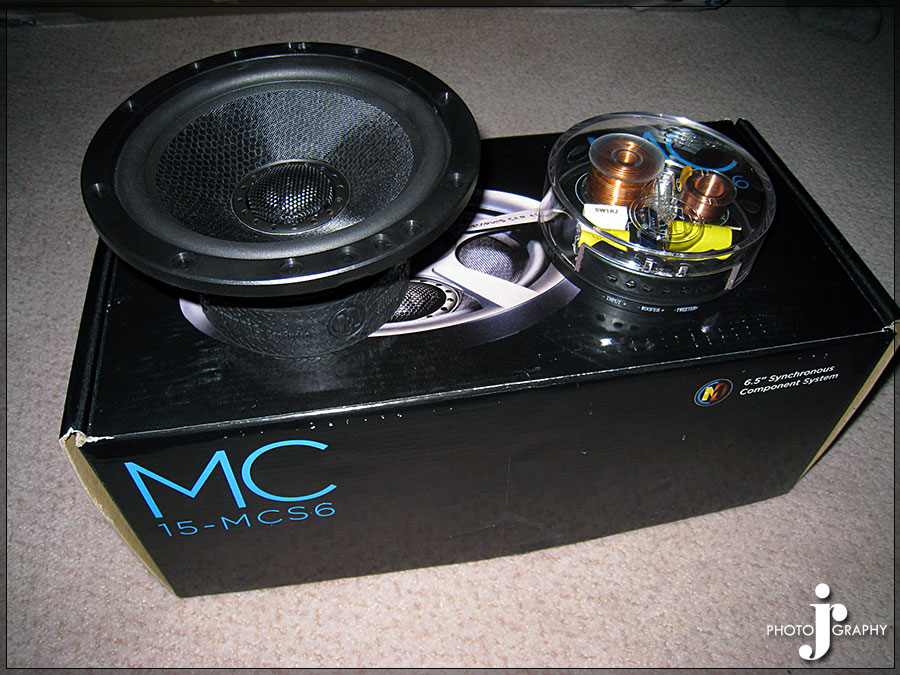
Memphis Audio 6.5" MClass Components (cast baskets are hot I almost want to reverse mount them so they show)
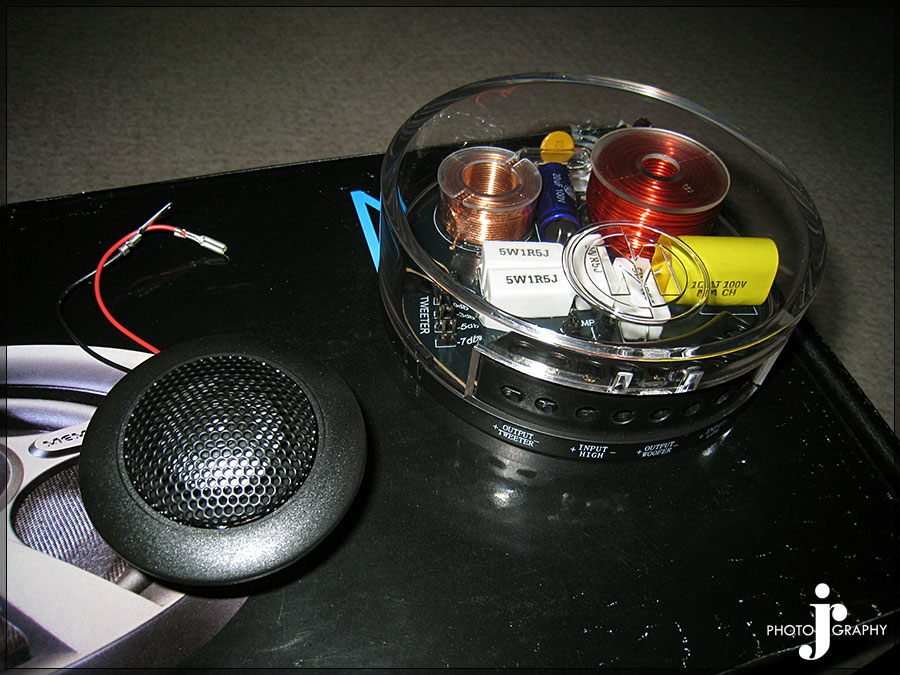
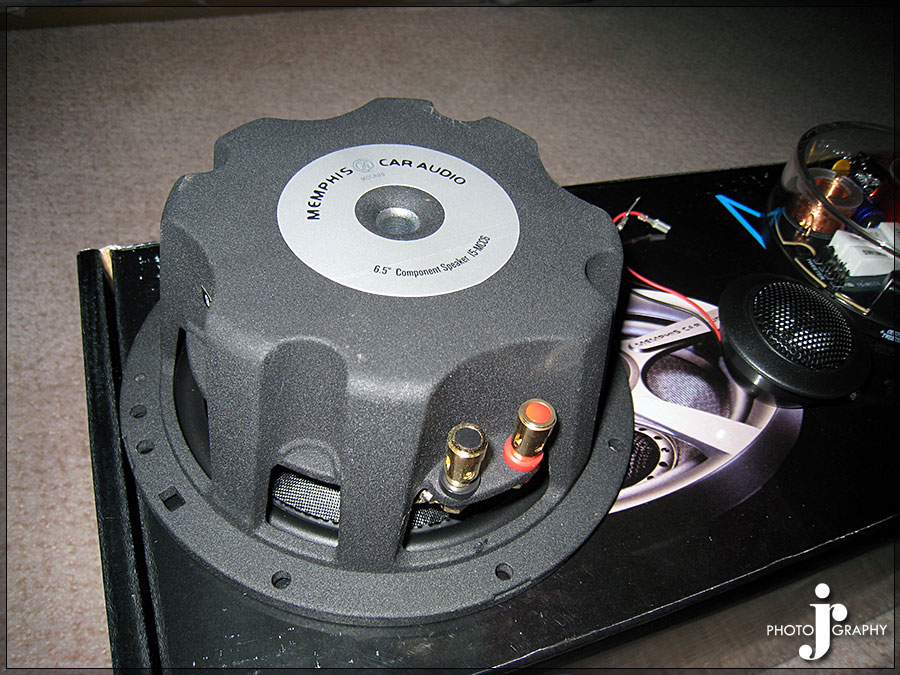
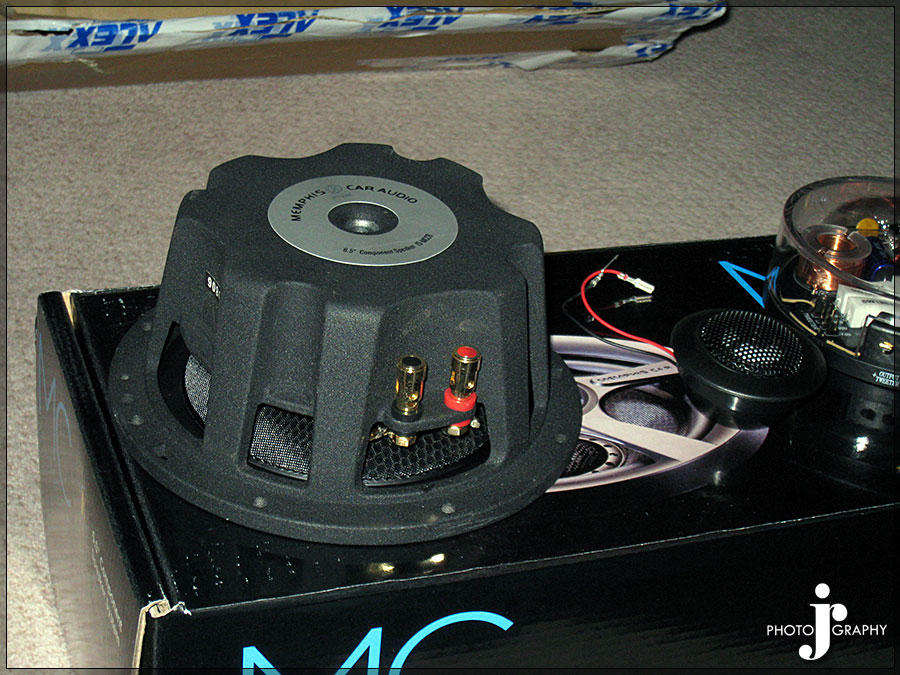
Memphis Audio M3 Subs
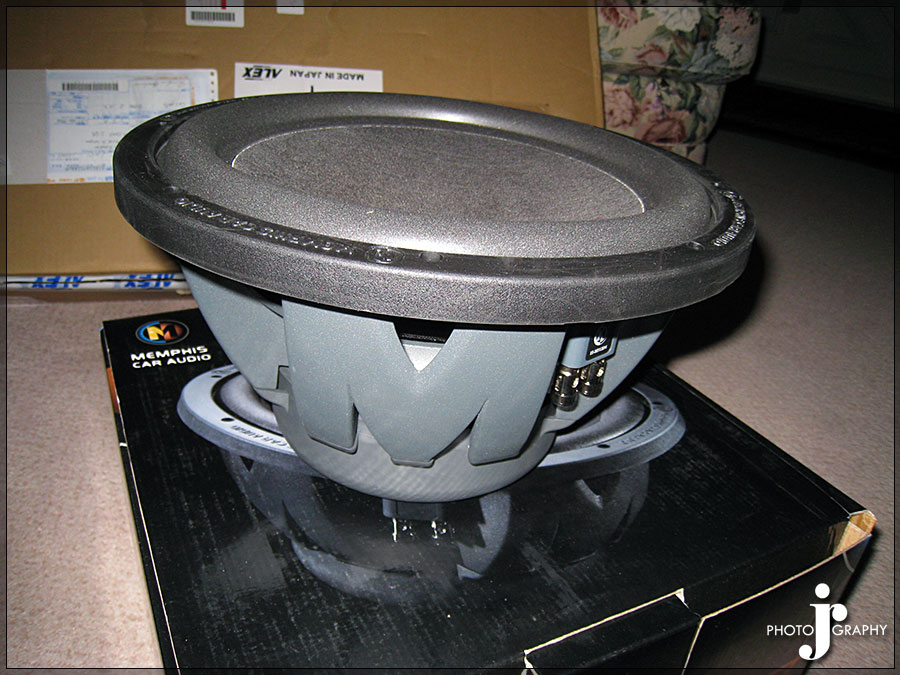

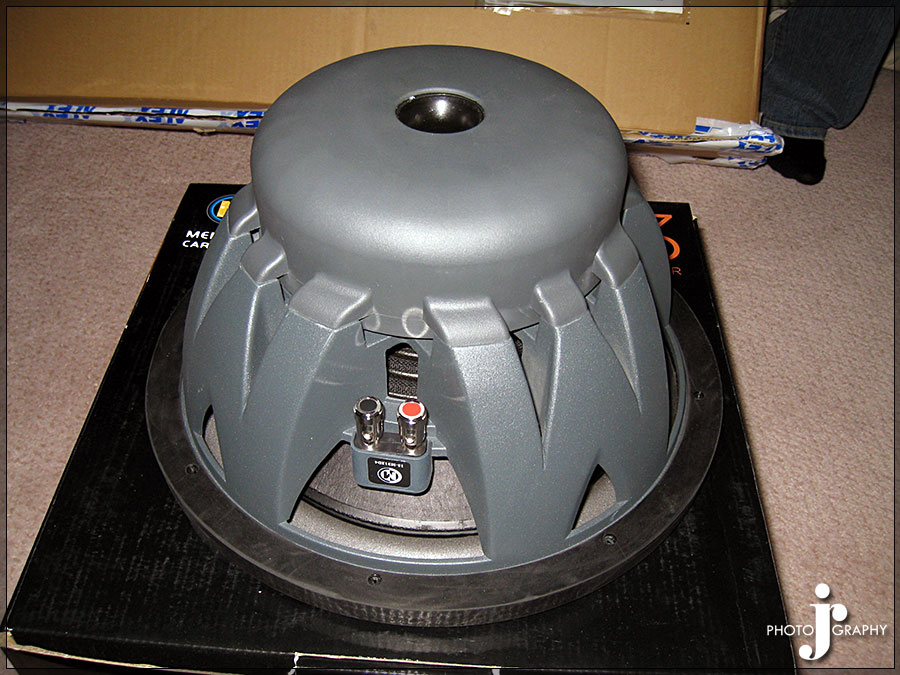
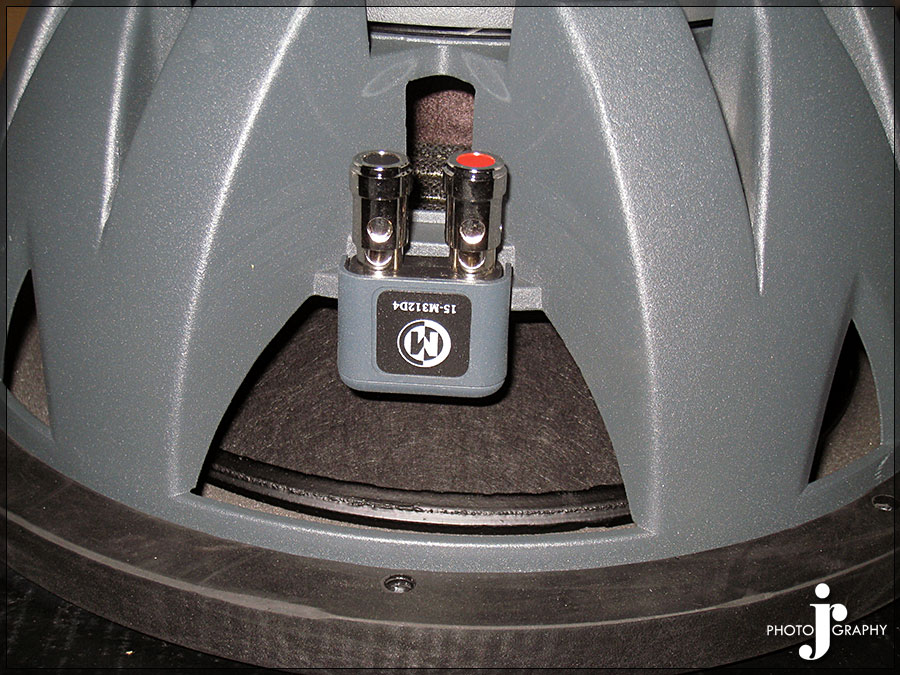
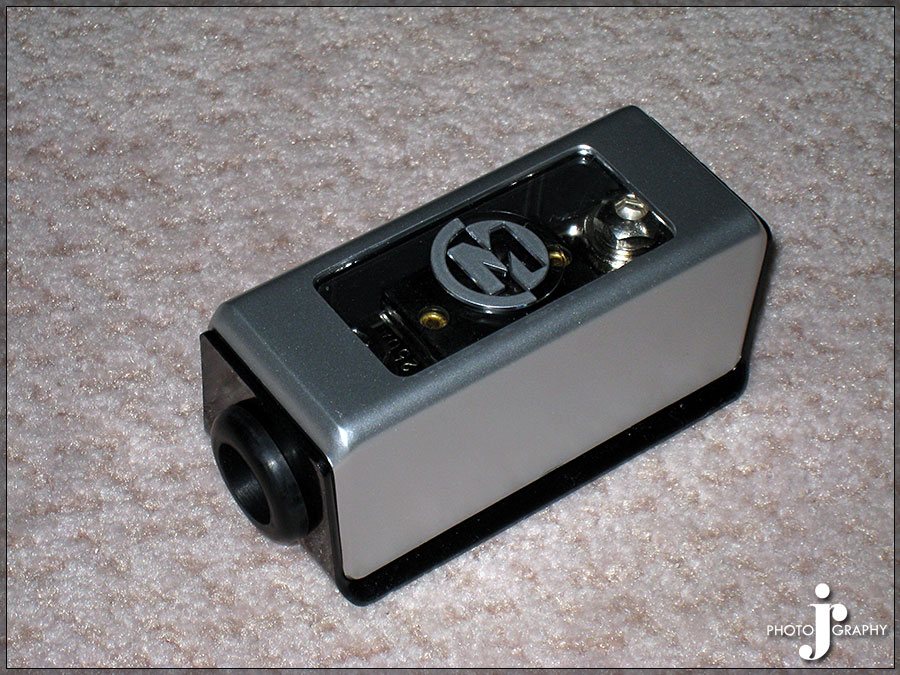
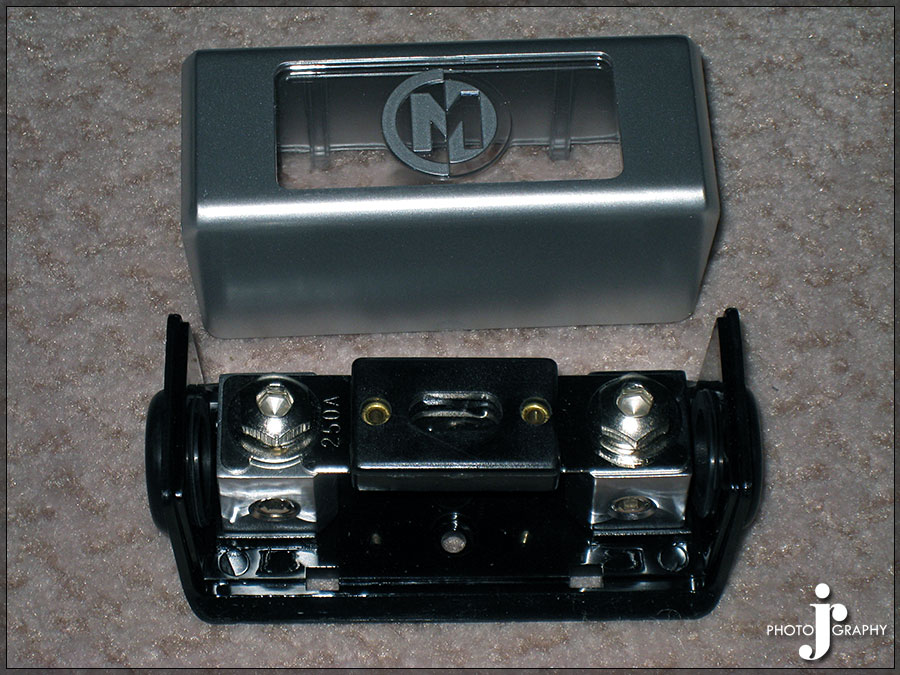
Memphis Audio Big Belle (It evens tests to put out more output than it claims, also uses an external fuse rather than an internal fuse 200amps)

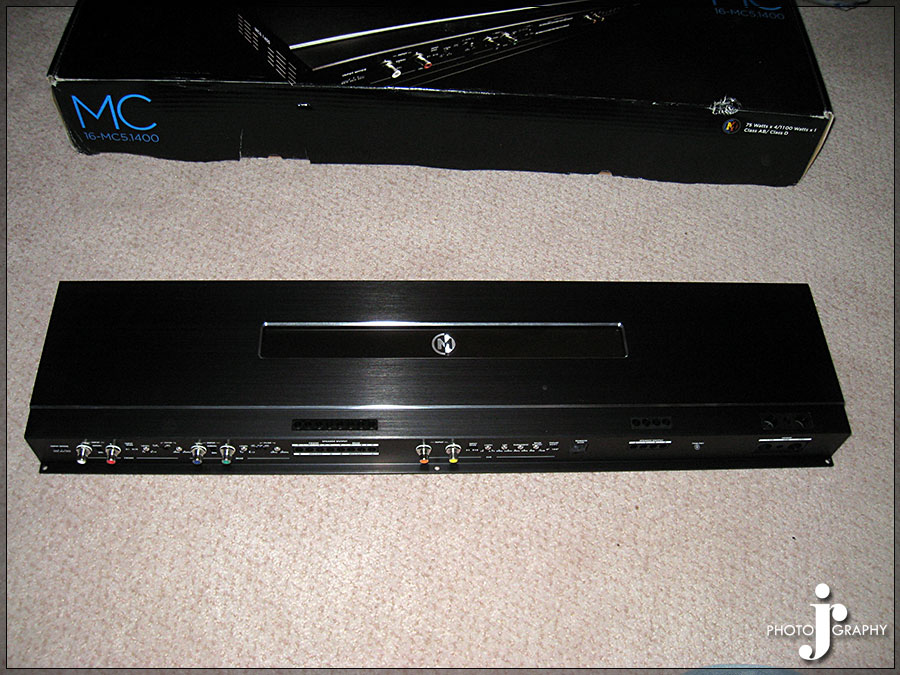
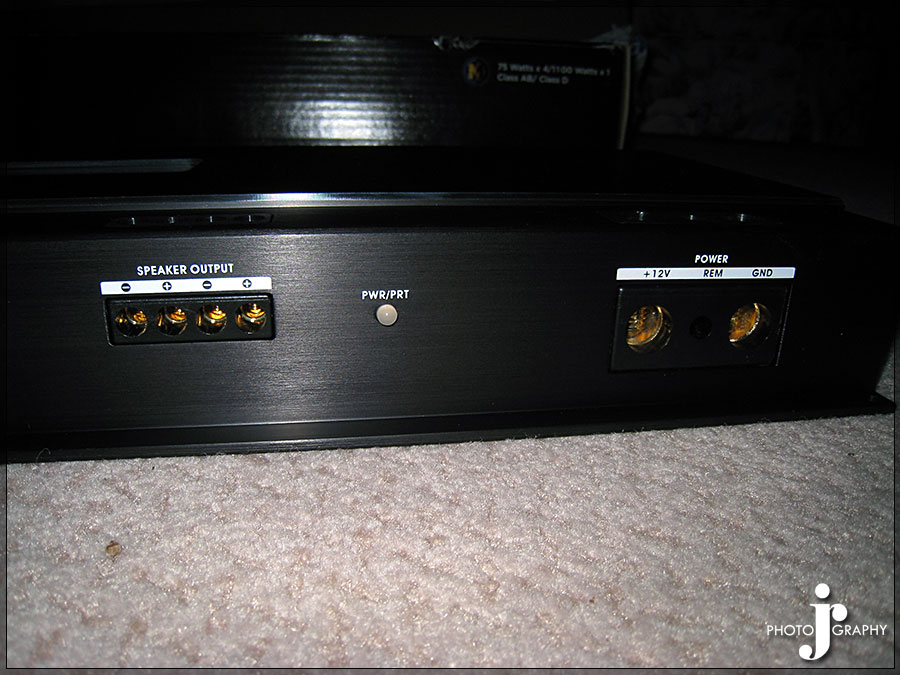
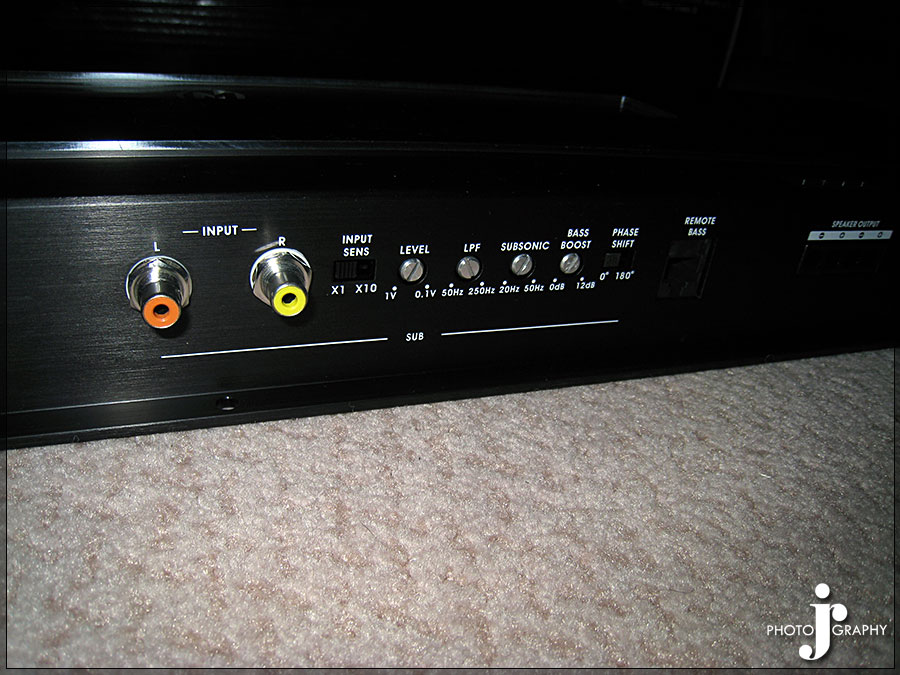
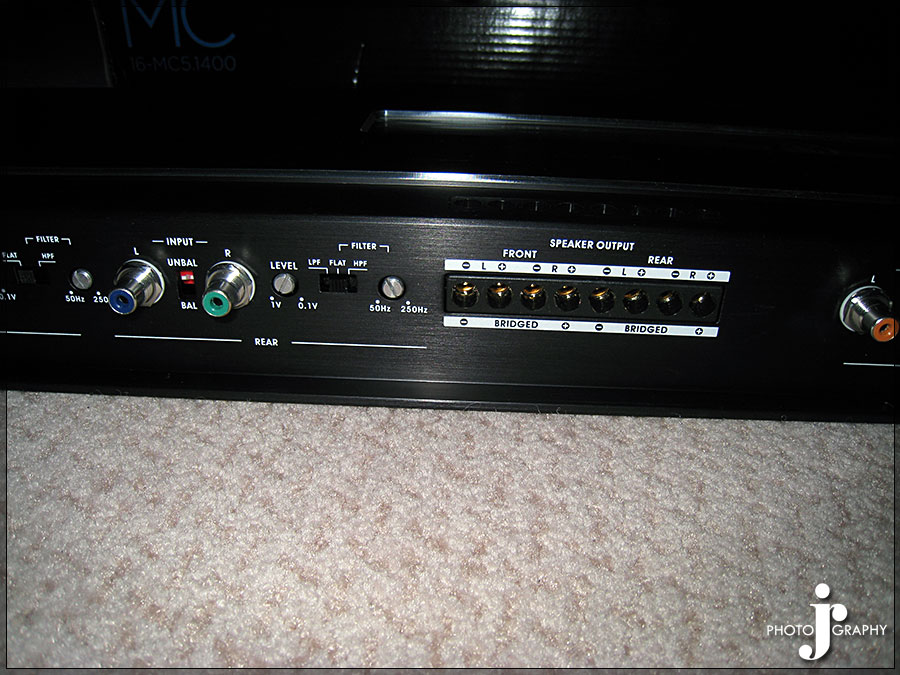
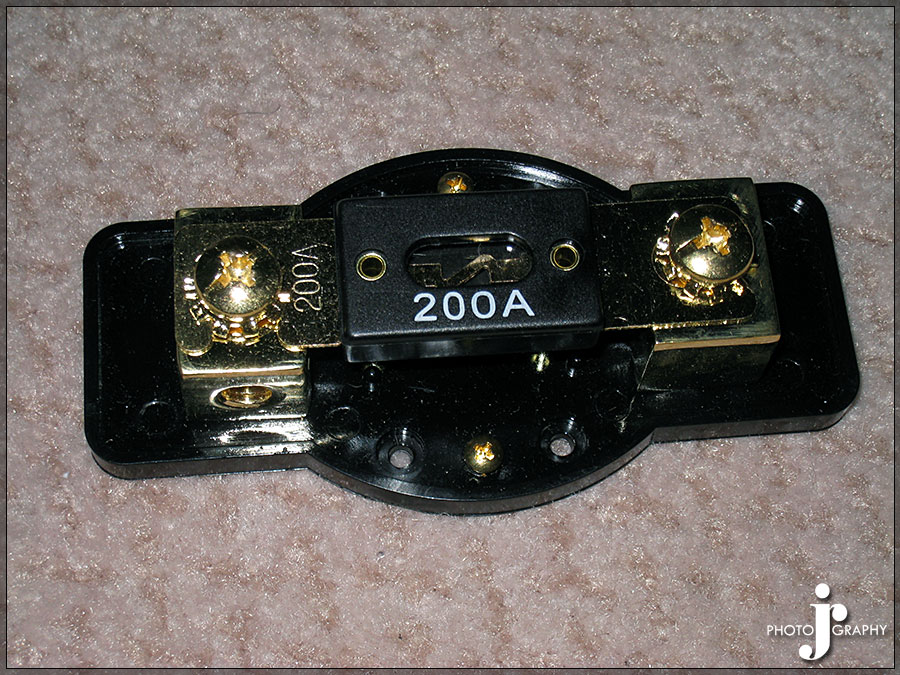
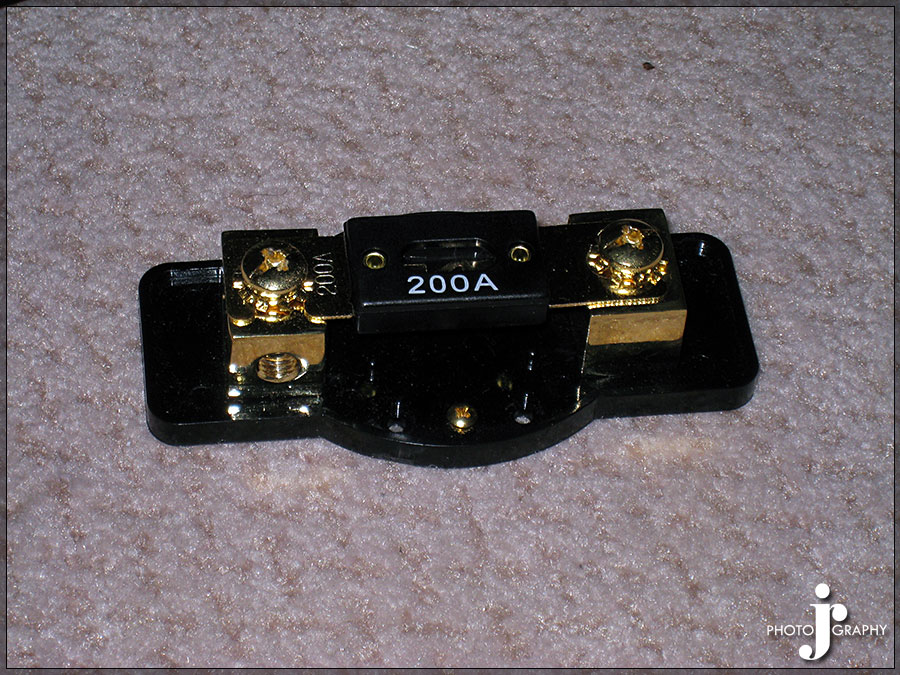
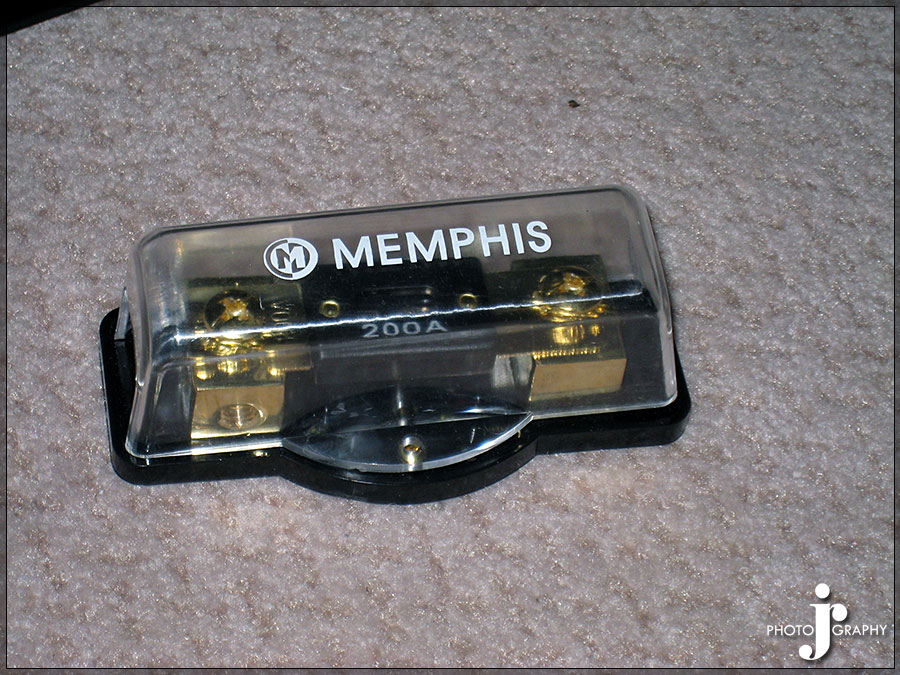
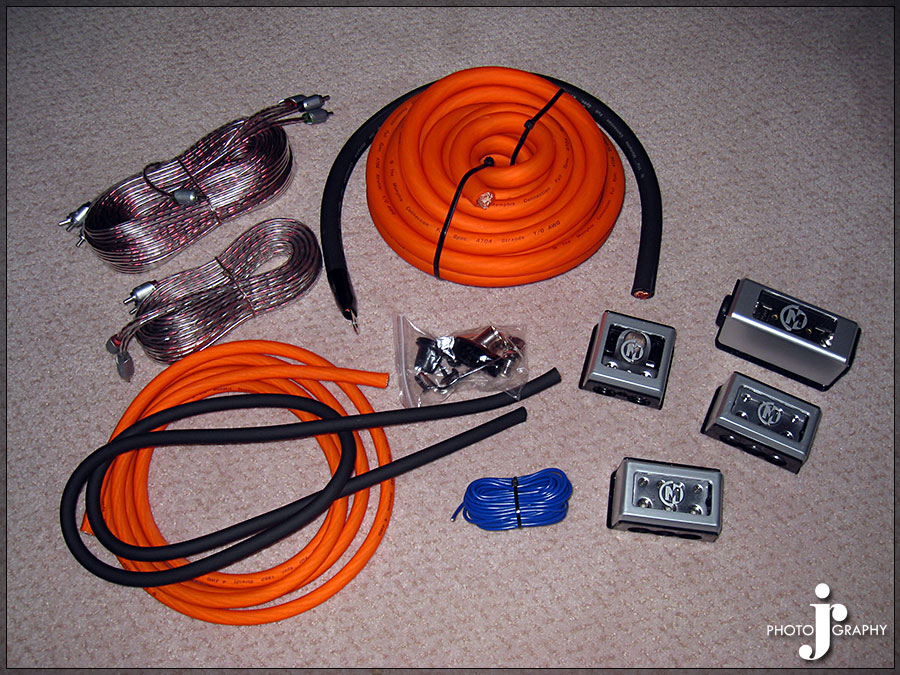
Memphis OAWG Amp Kit (Crazy how much stuff comes with it)

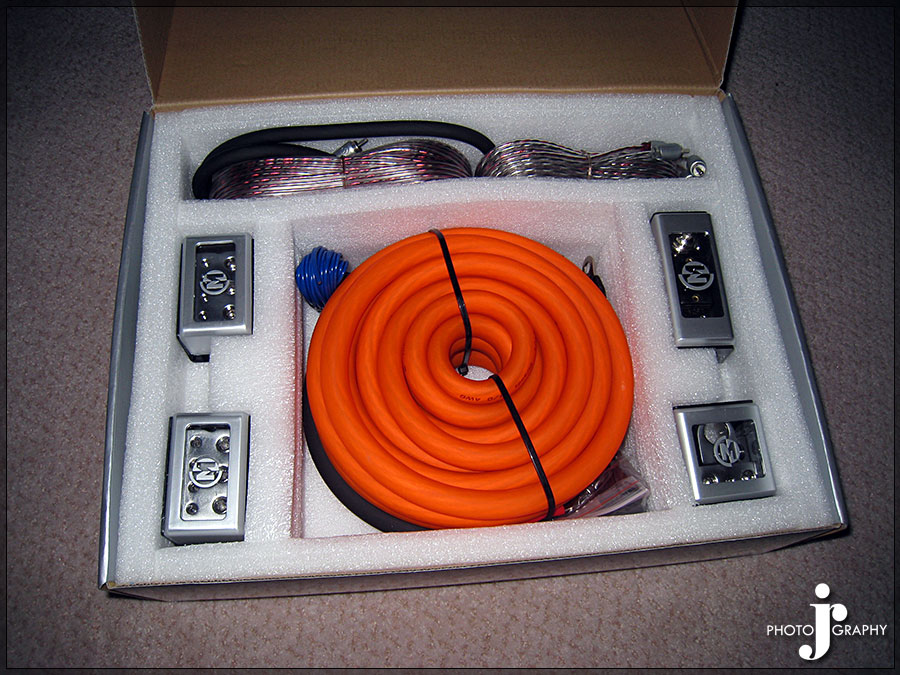


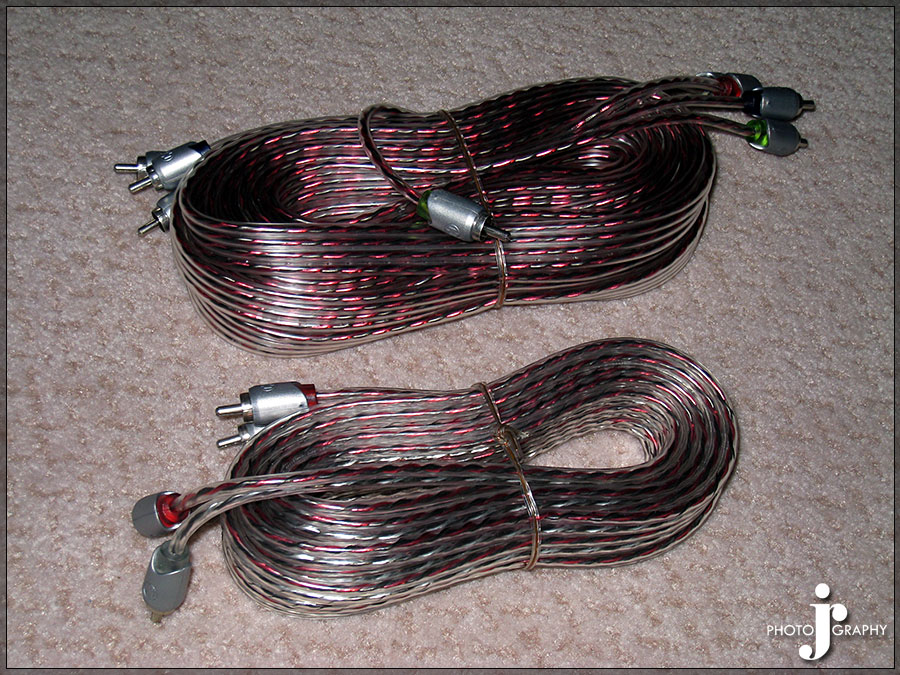
One four channel and One two channel RCA set
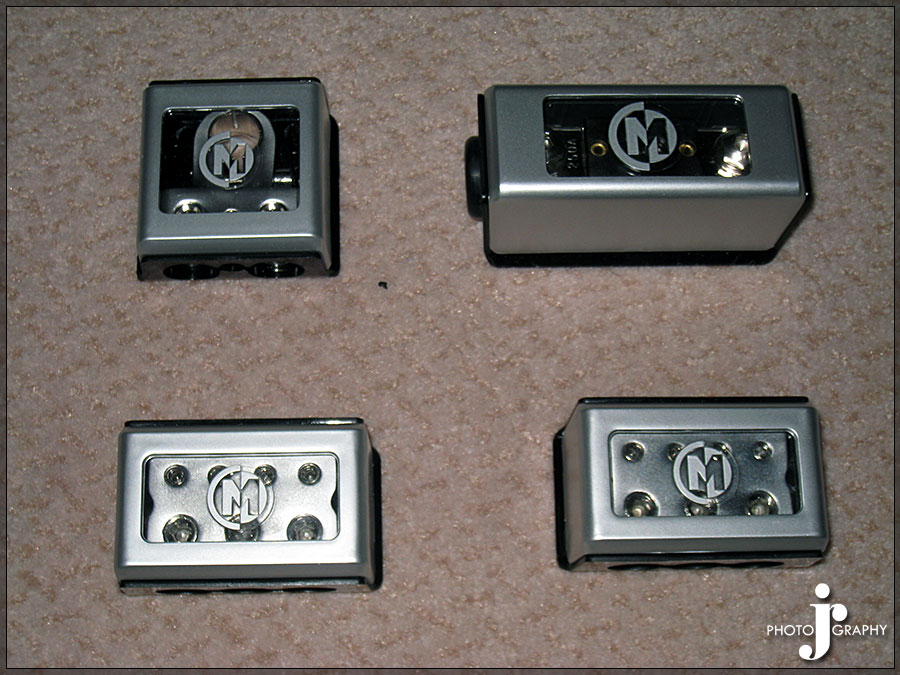
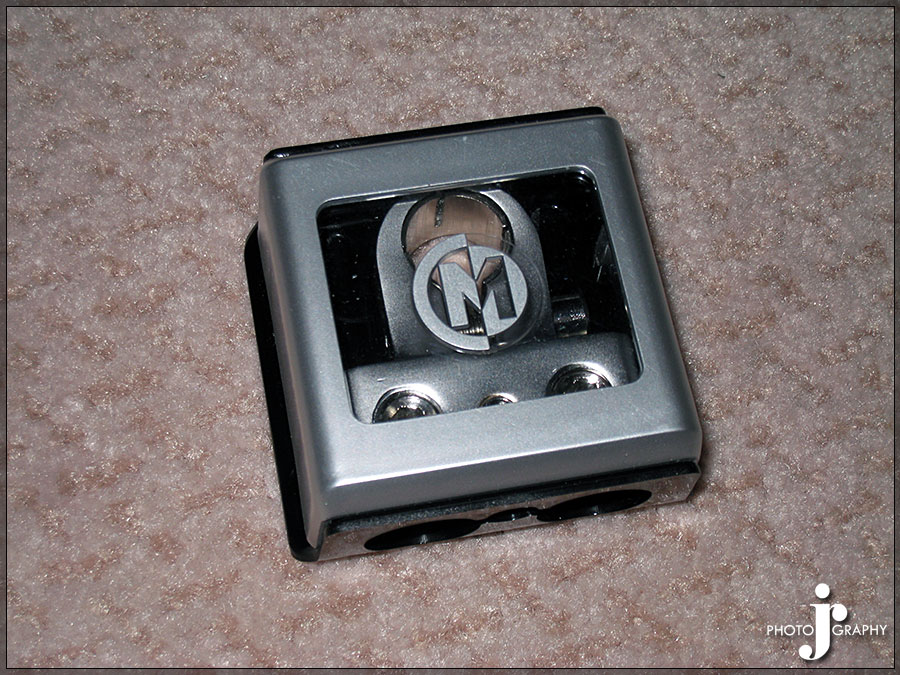
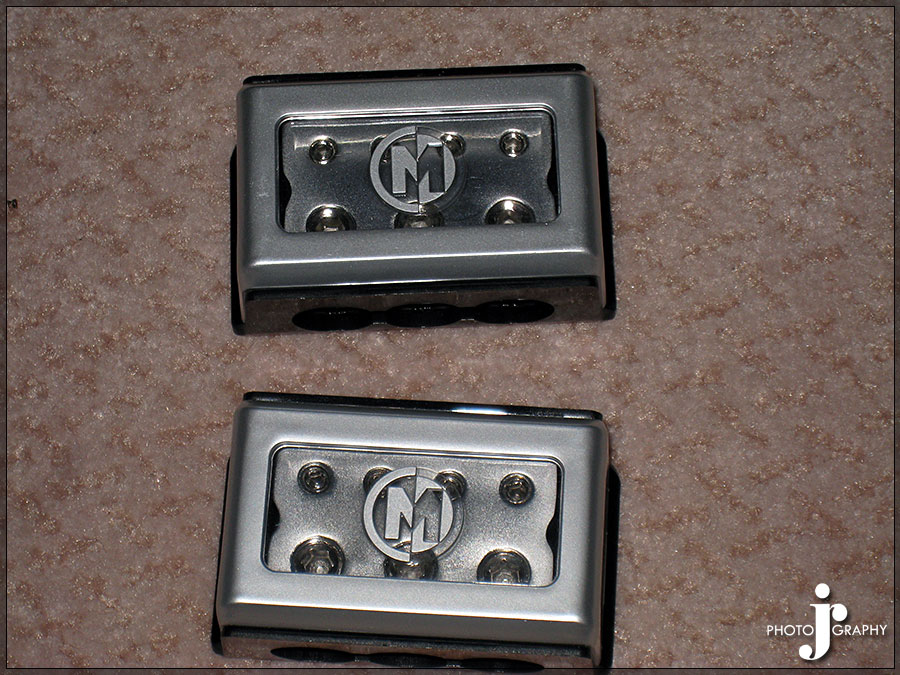
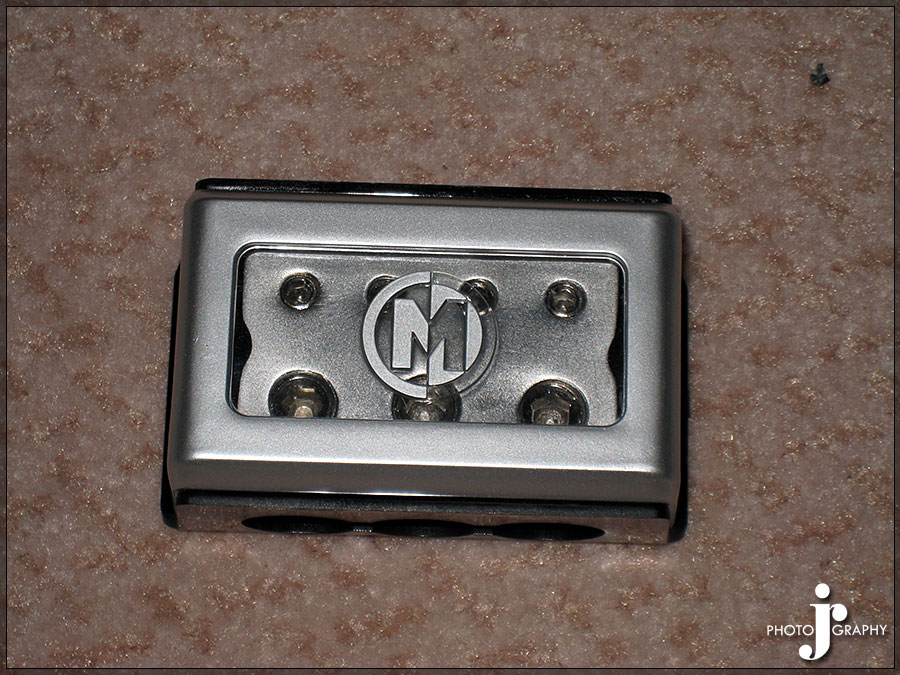
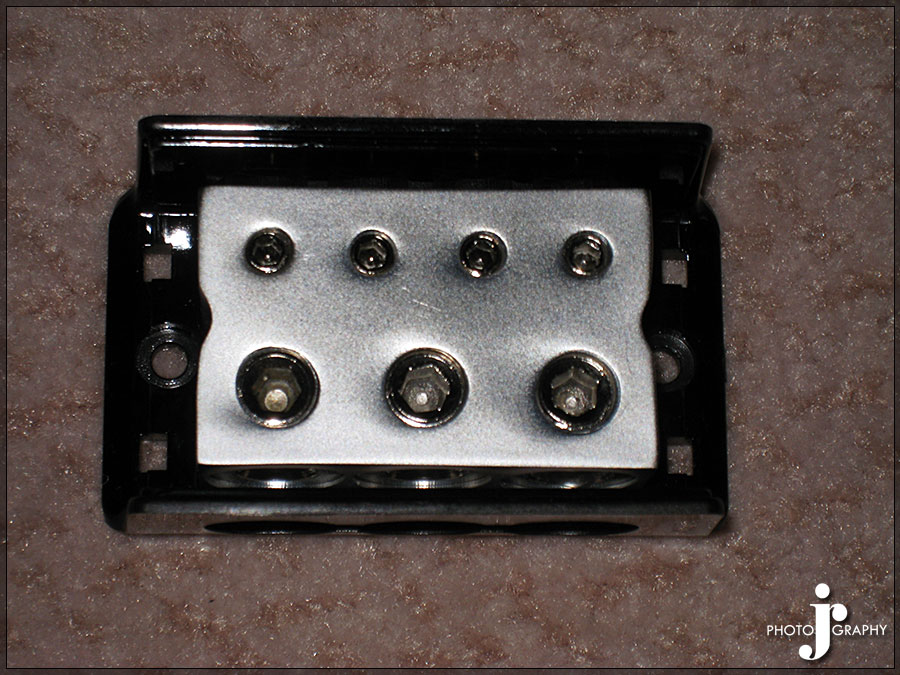
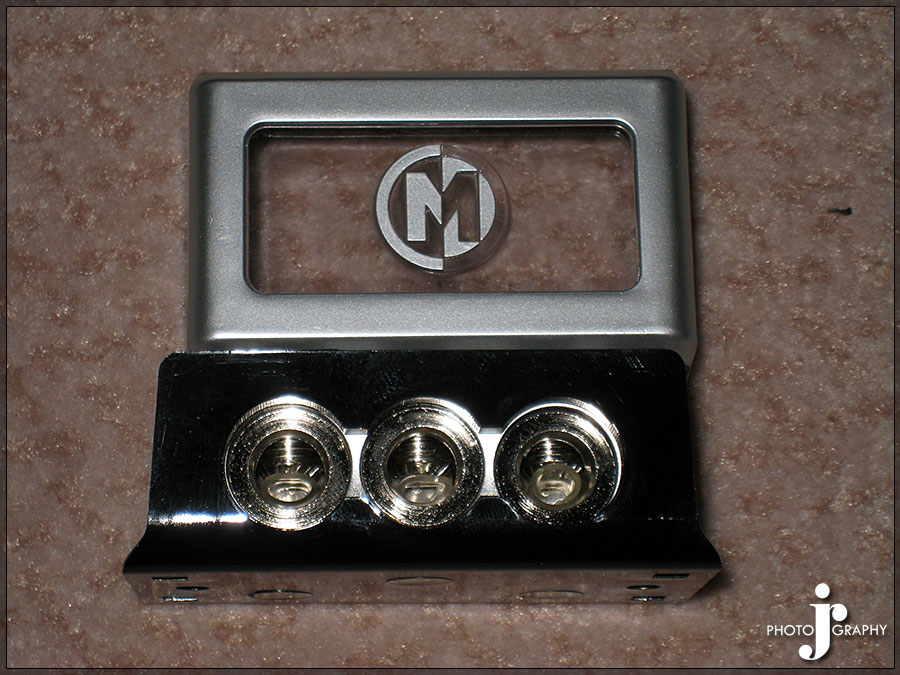
One Battery Terminal, One fuse holder with 250amp fuse, Two distribution blocks (Most likely wont use the terminal and keep using my stinger ones with displays)




Stage 9c – PnP Harness
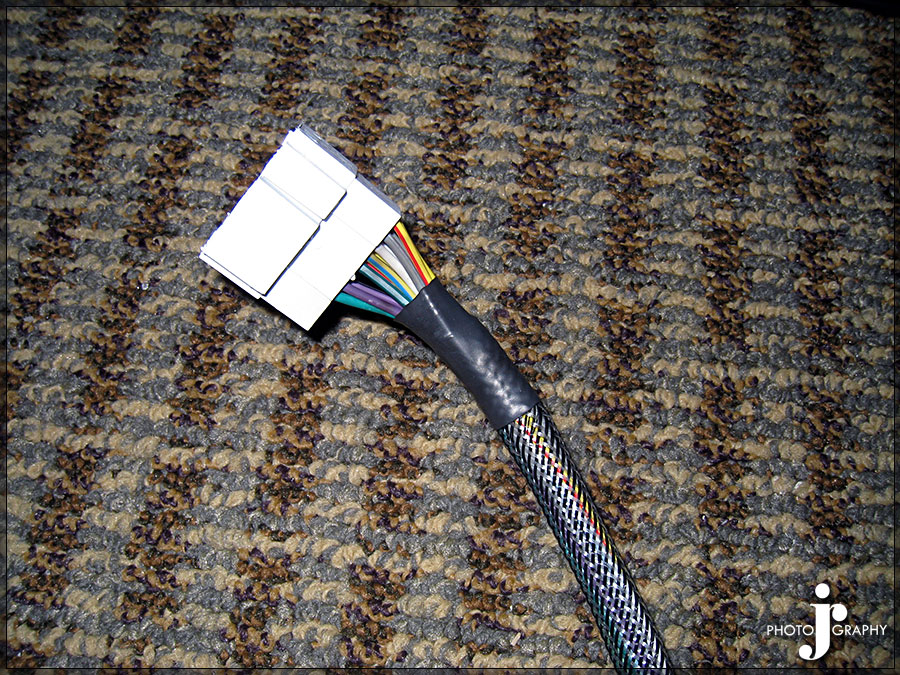
I decided to make my own mercman harness so that I could pull the balance audio signal the the tsx factory headunit uses cause my amp is able to utilize this and thus helps prevent noise. I made the harness plug and play in the sense that I unplug the factory harness and plug this harness into the headunit and then plug the original harness into the other end of my PnP harness. By doing this I only pull the audio signals and allow other things in the harness to pass through to where they belong. I also taped into the factory amp turn on wire and split out a lead for my new amp turn on wire. The rcas are made with high end twisted pair shielded 22 gauge microphone cable. The harness is wrapped in techflex then. The speaker harness is from a 2006 civic si and gives me connection to all the factory speaker wiring. I know I should replace the factory wiring which I will probably do at a later date but currently getting it installed as soon as possible is the current goal.
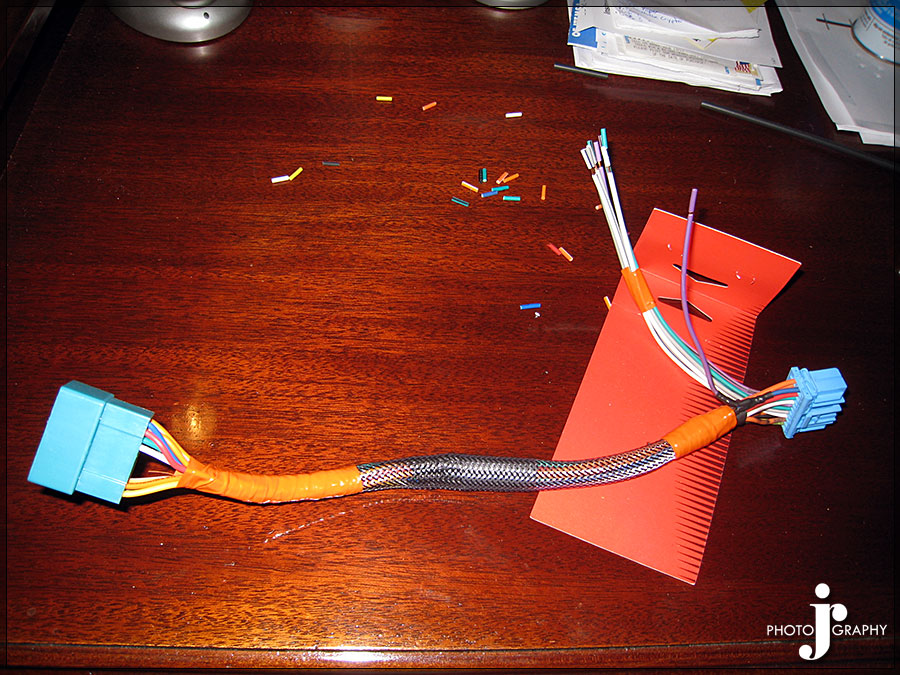

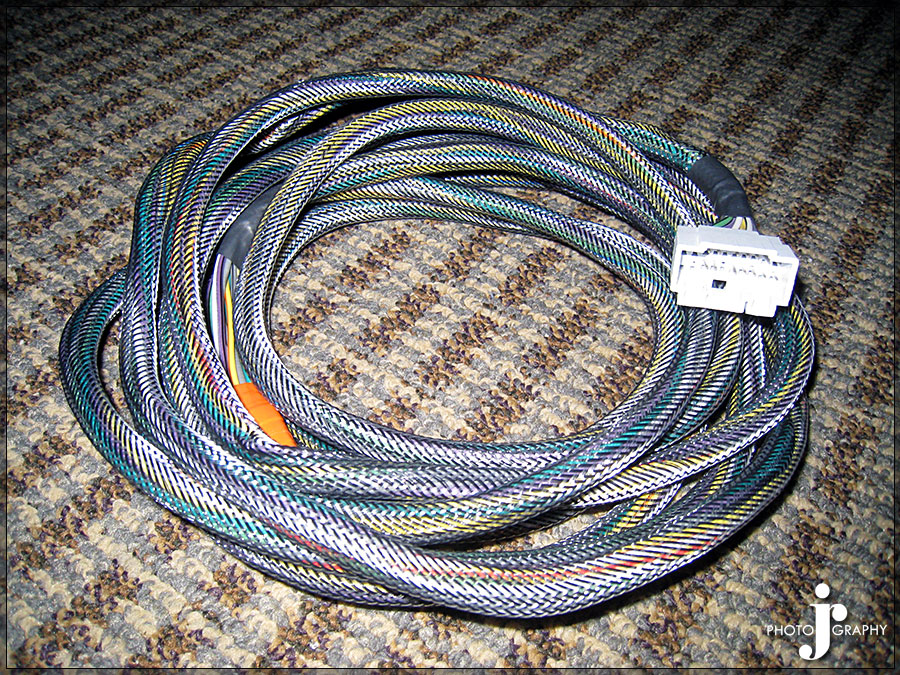
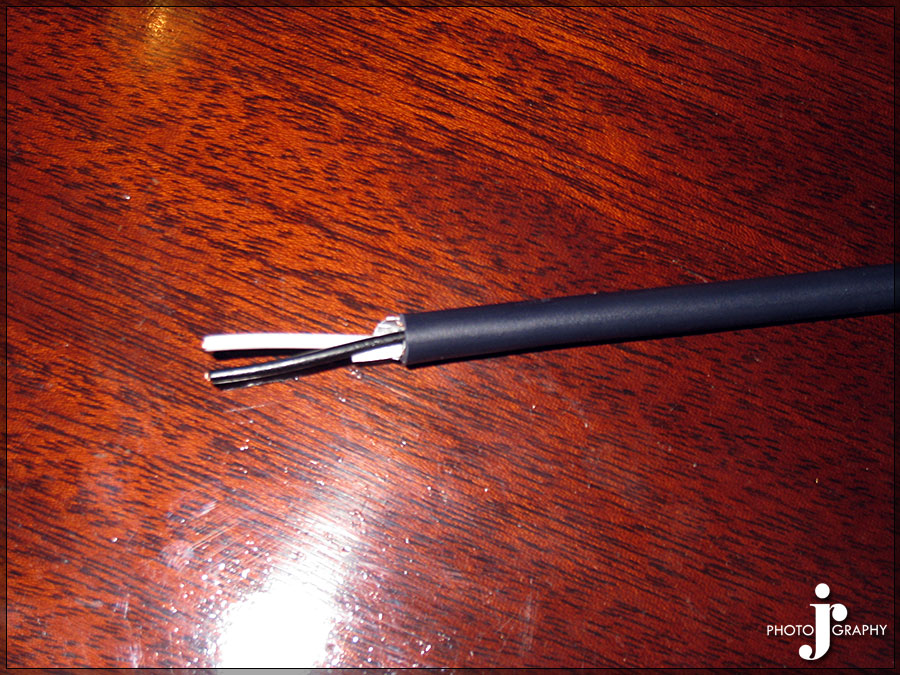

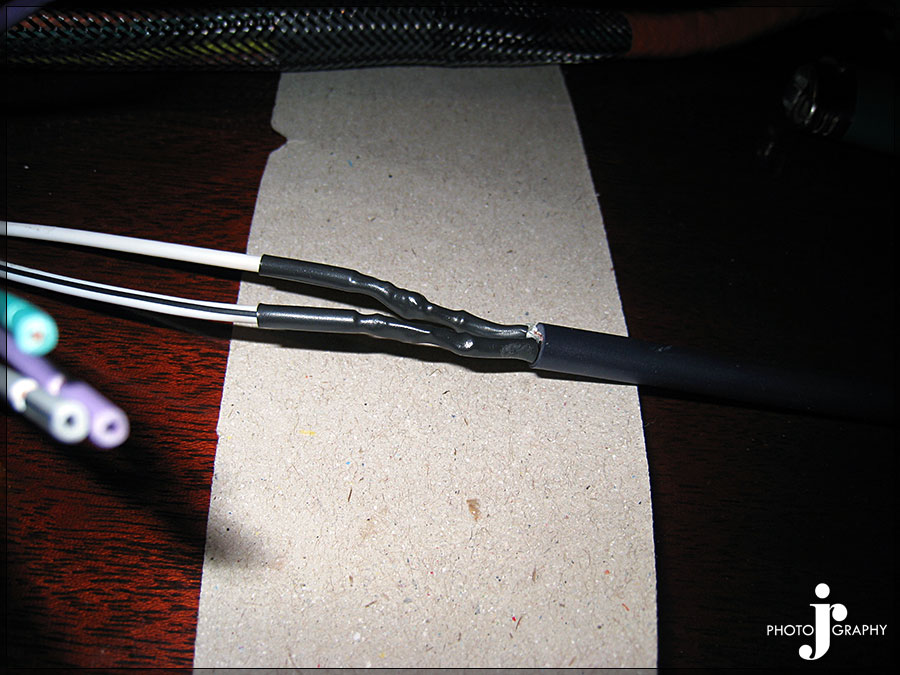
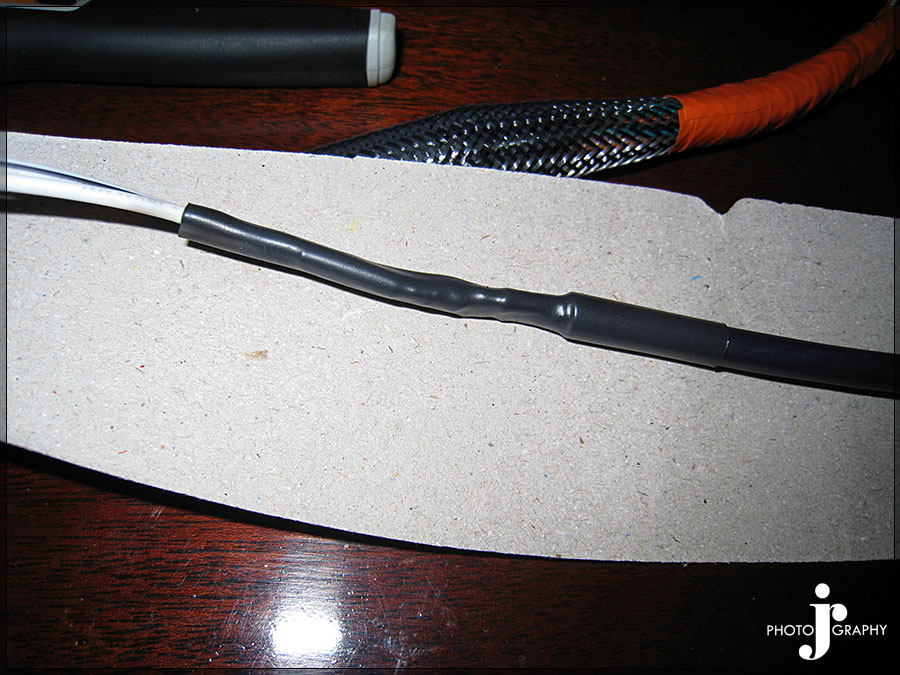
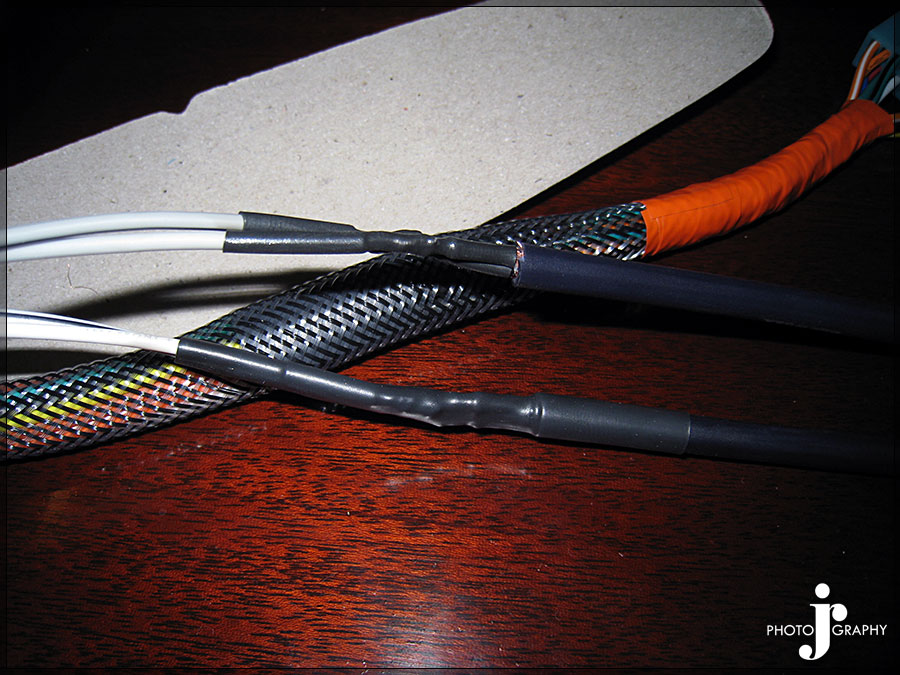
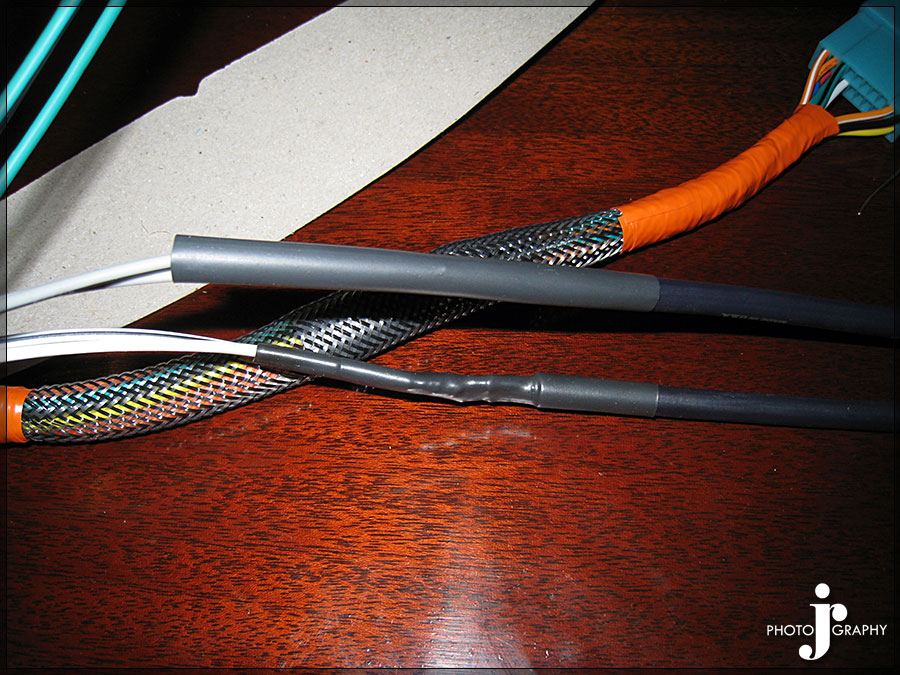
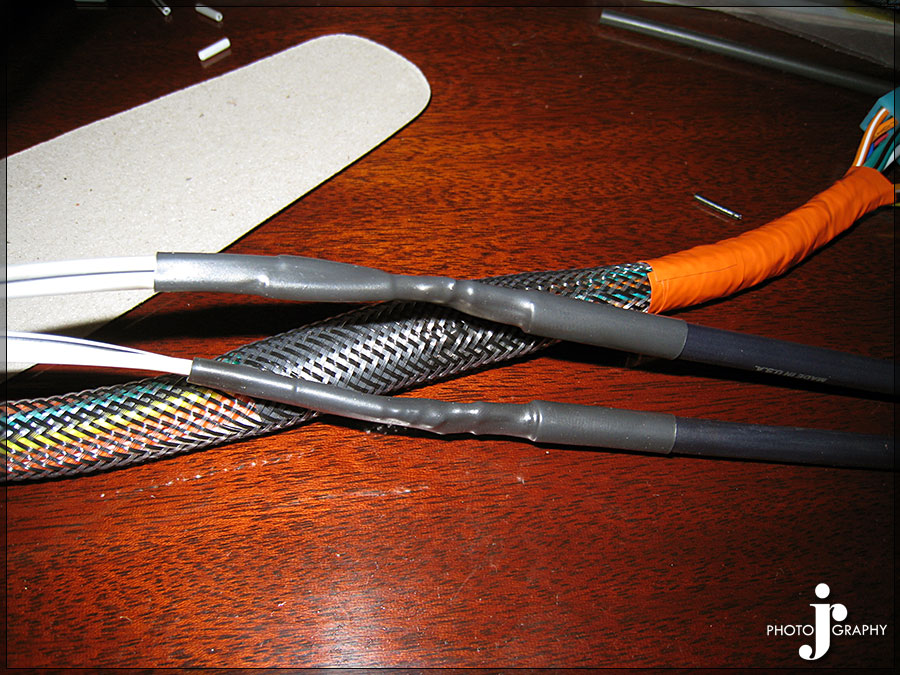
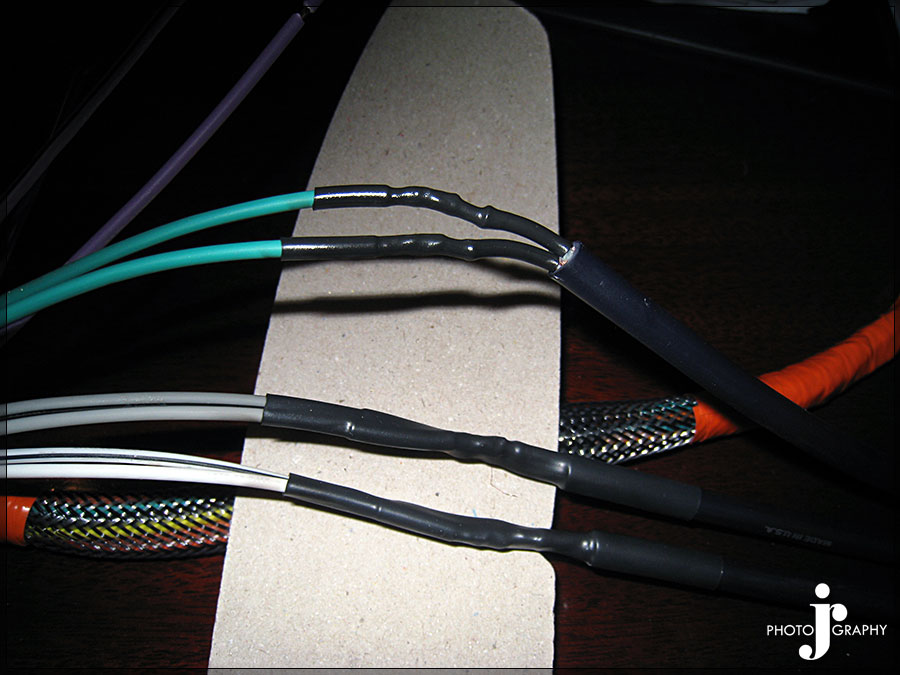
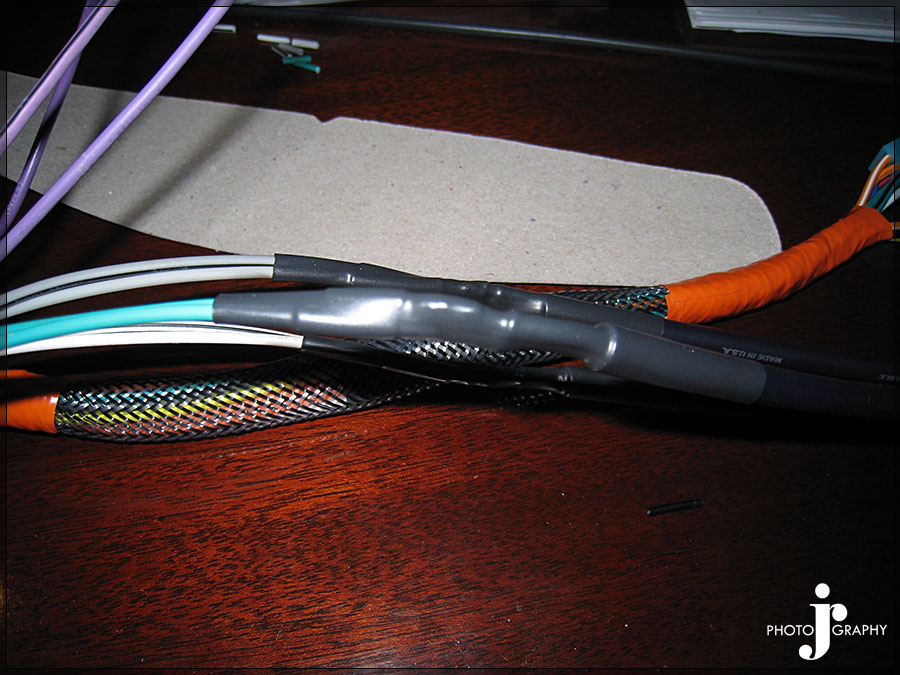
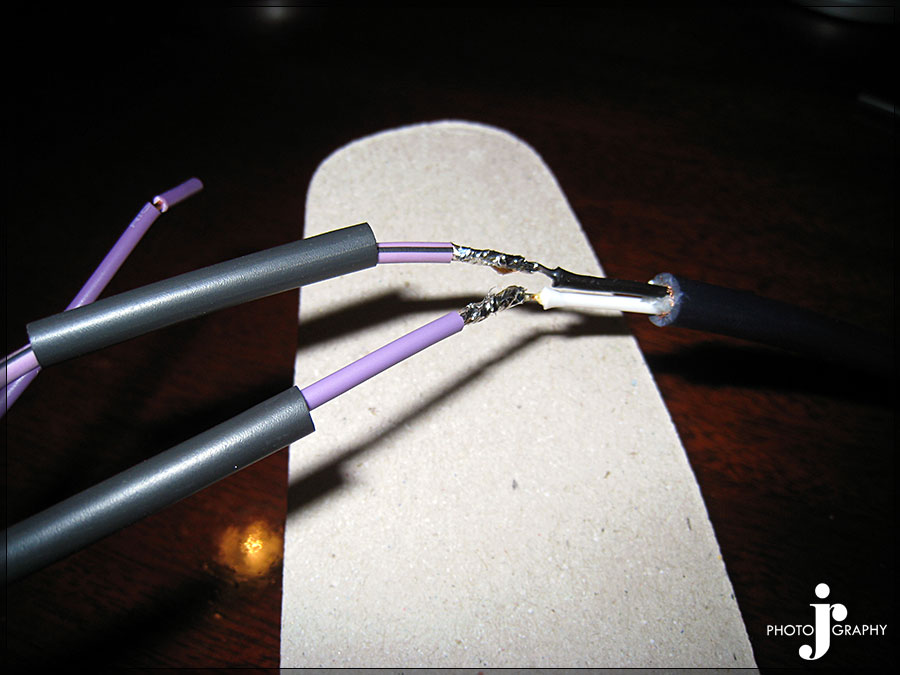
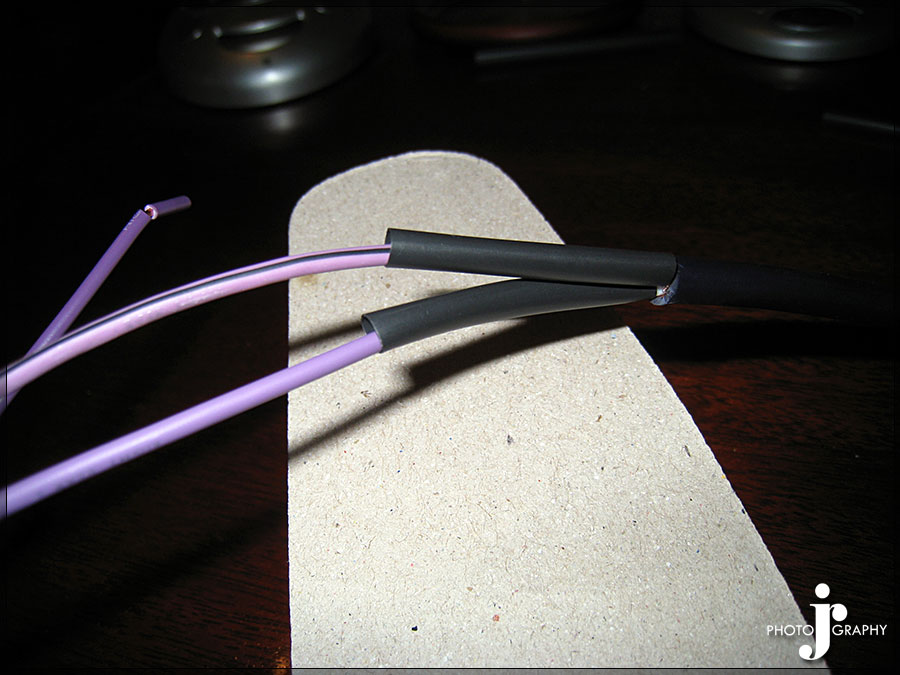
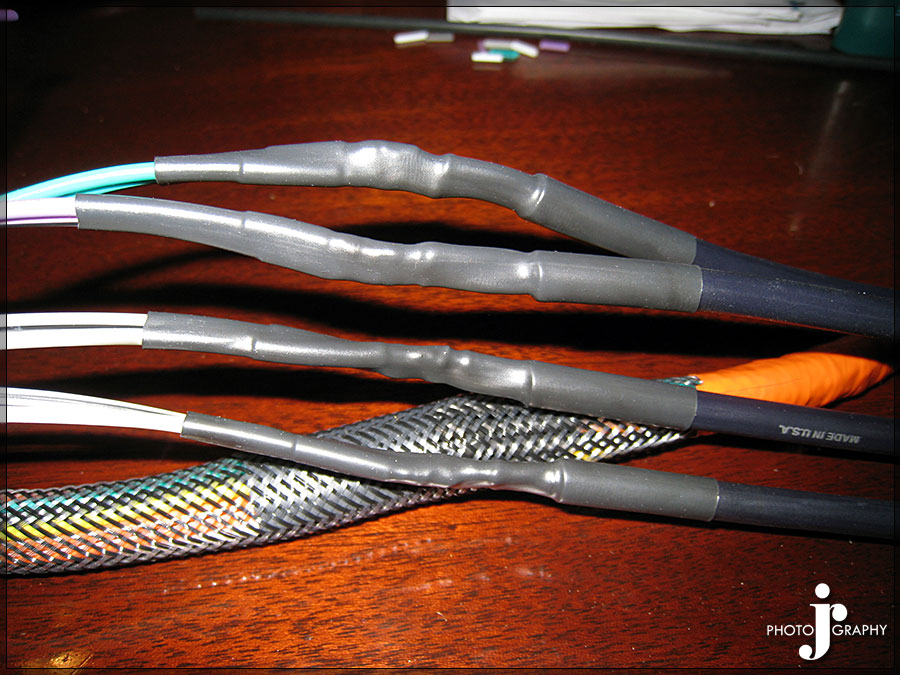
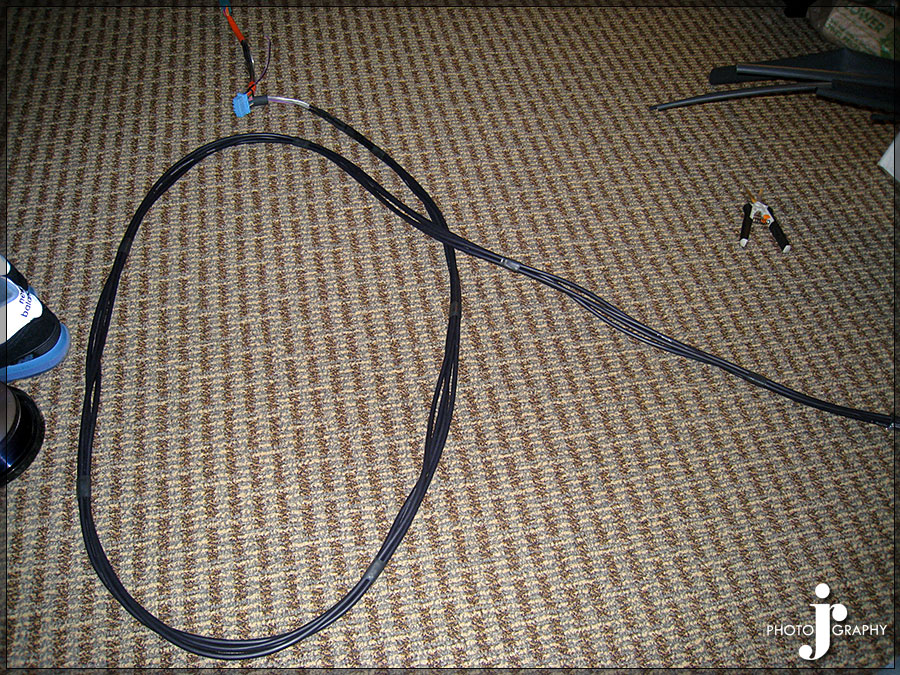
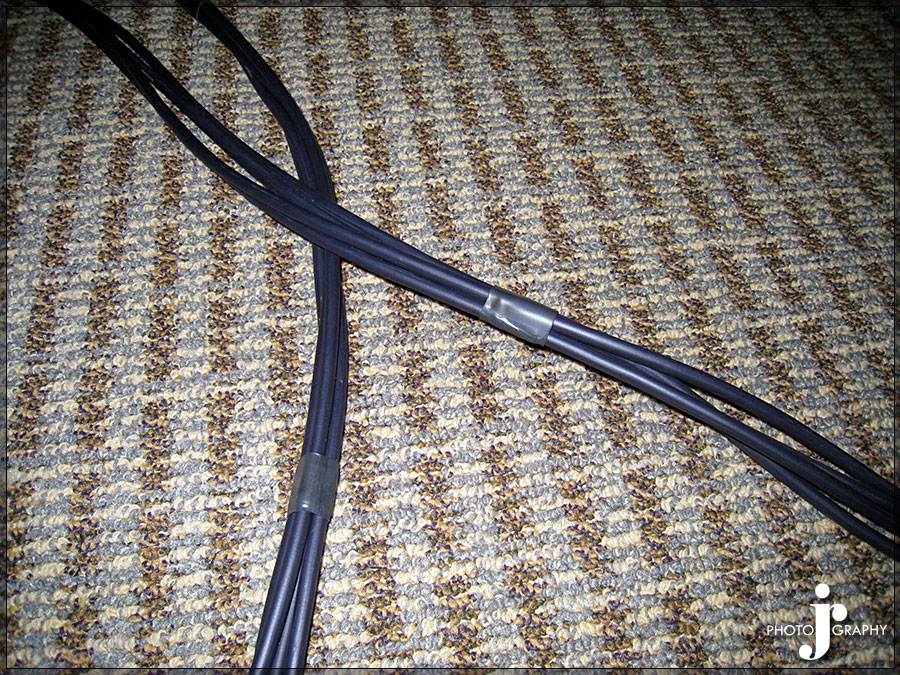
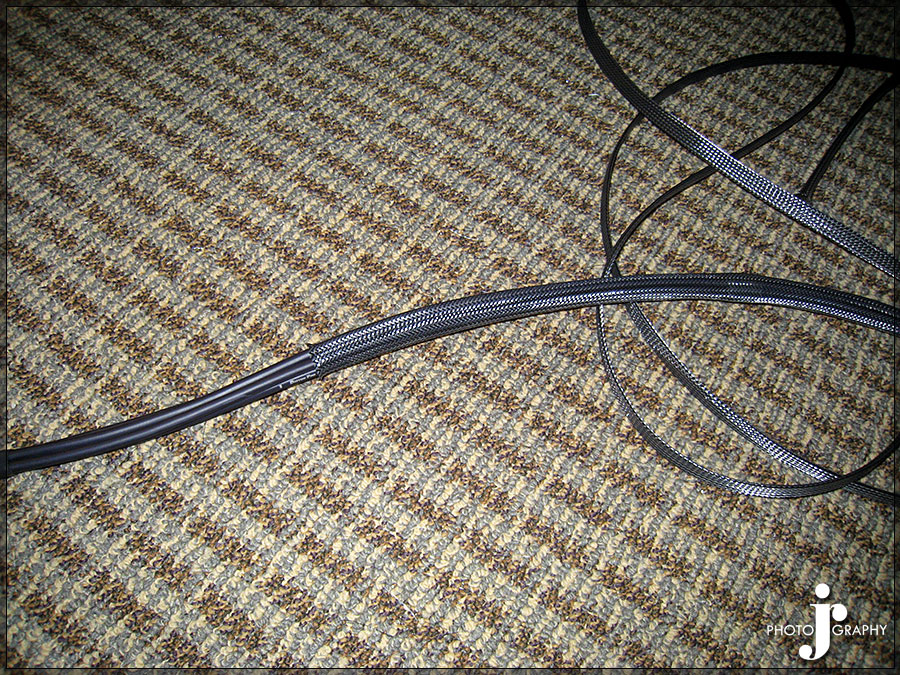
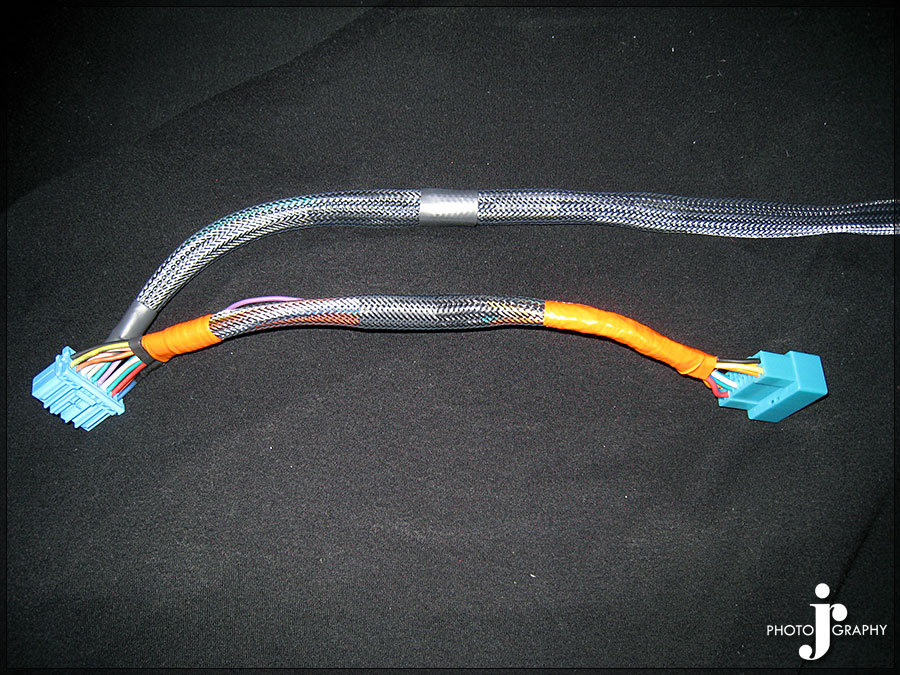
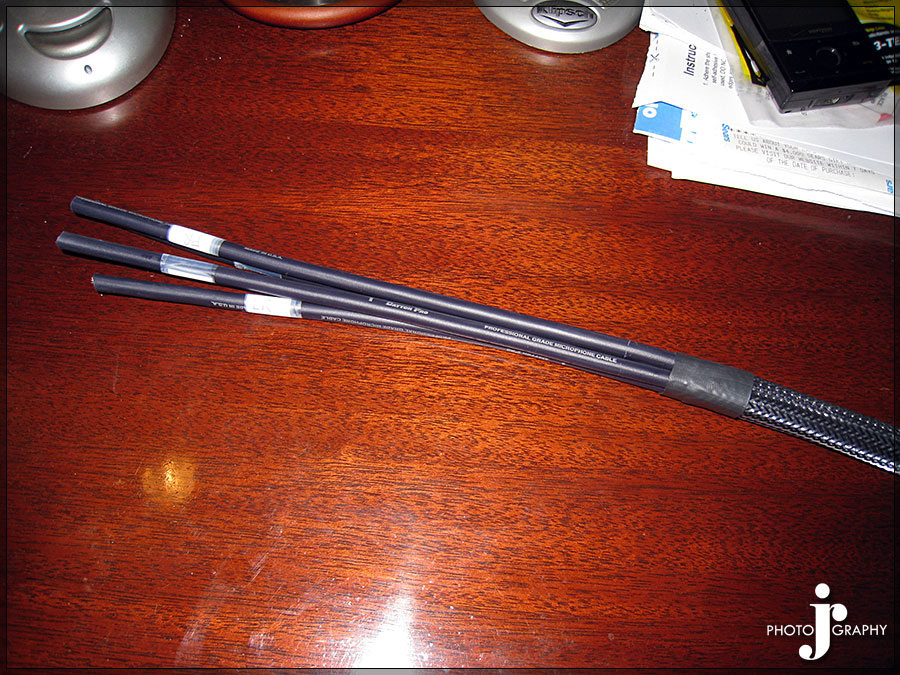

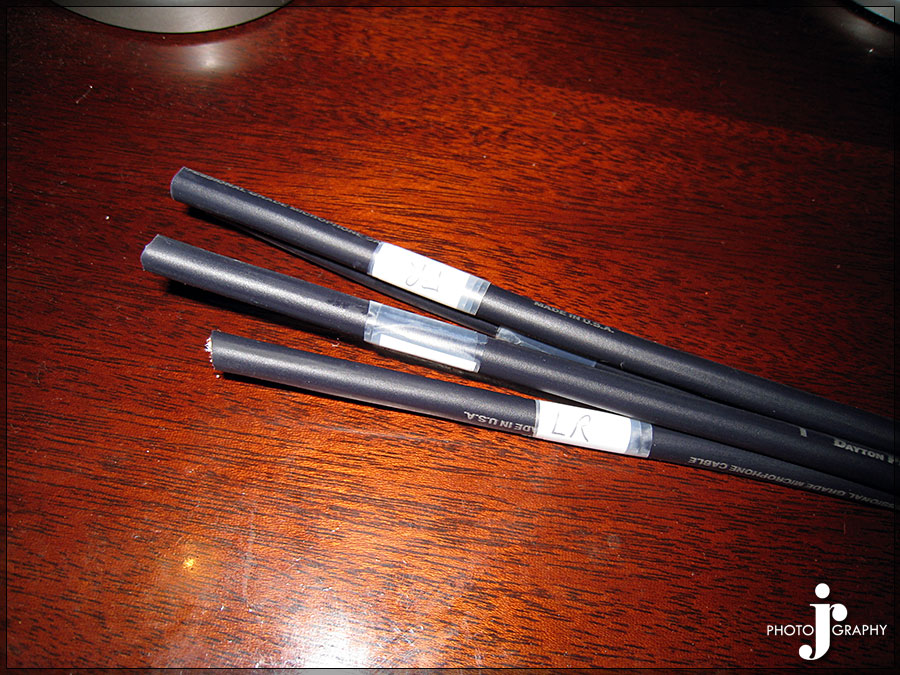
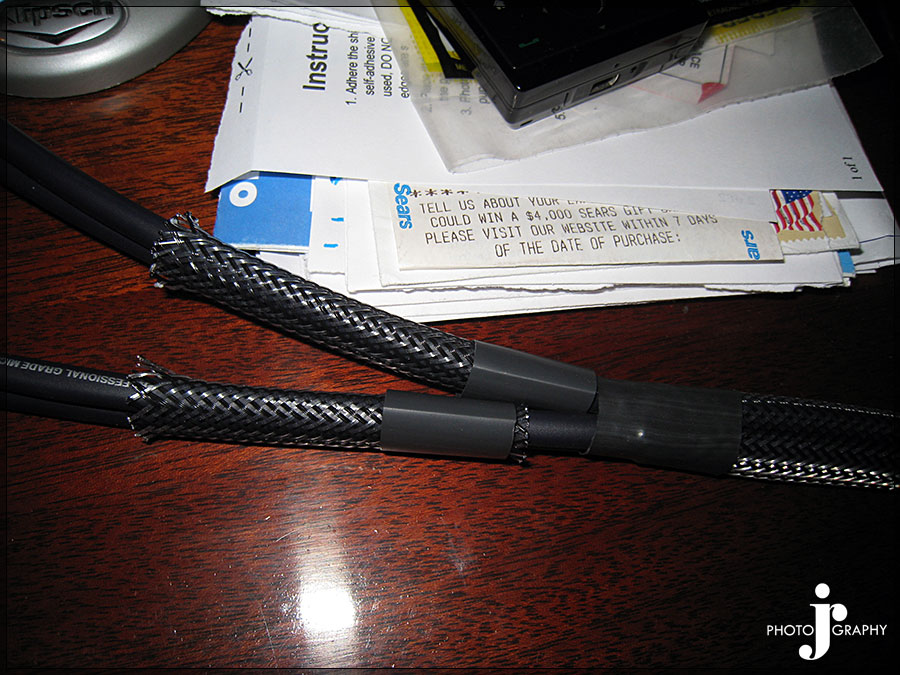
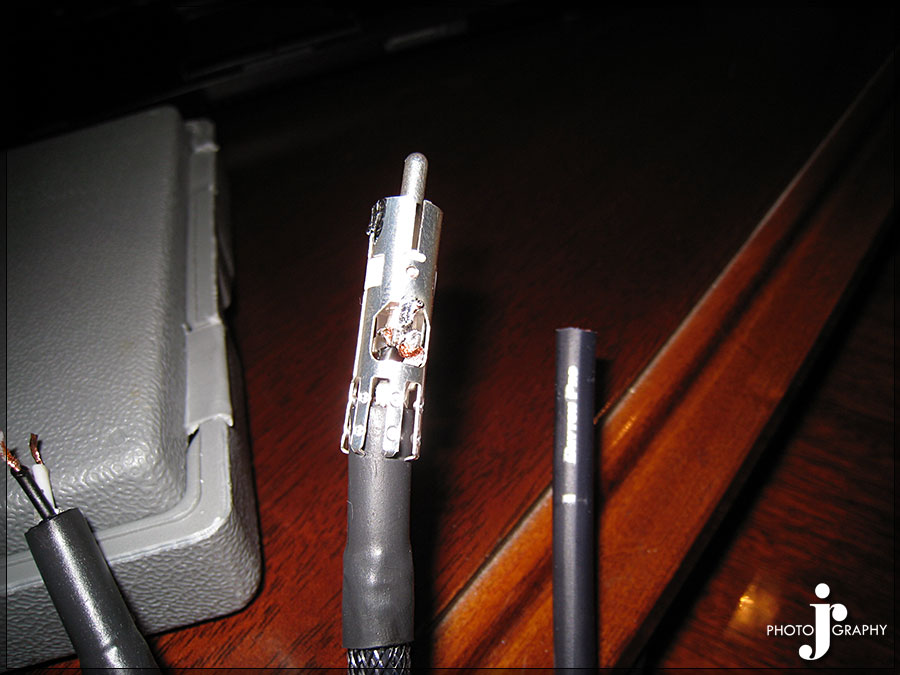
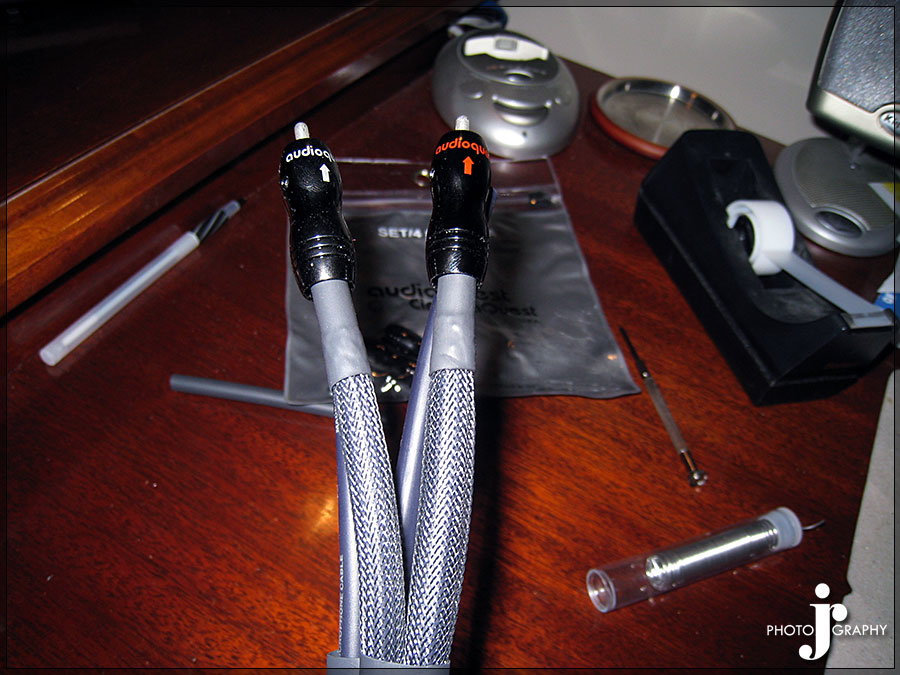
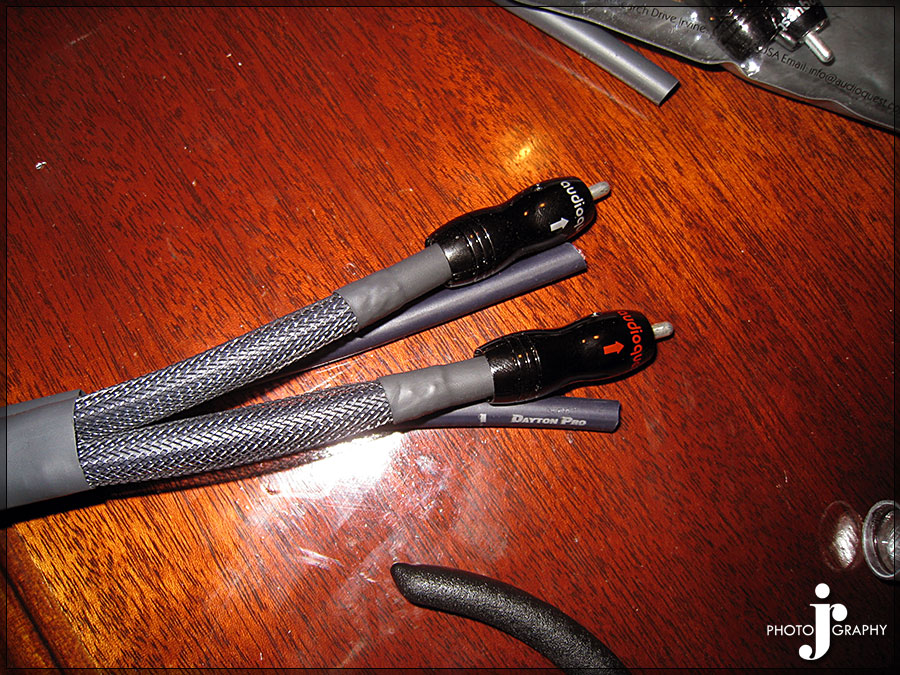
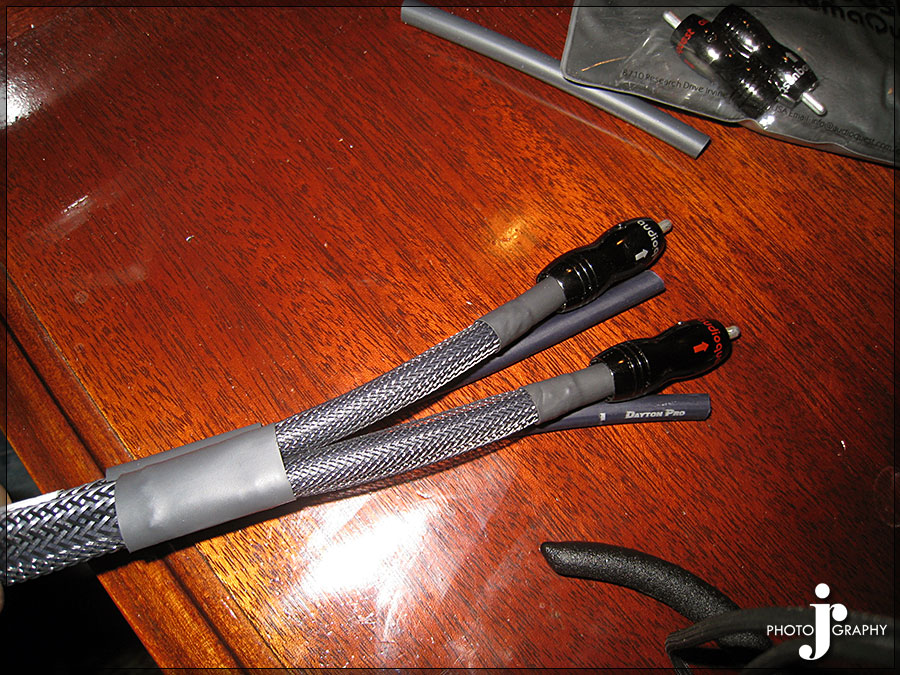
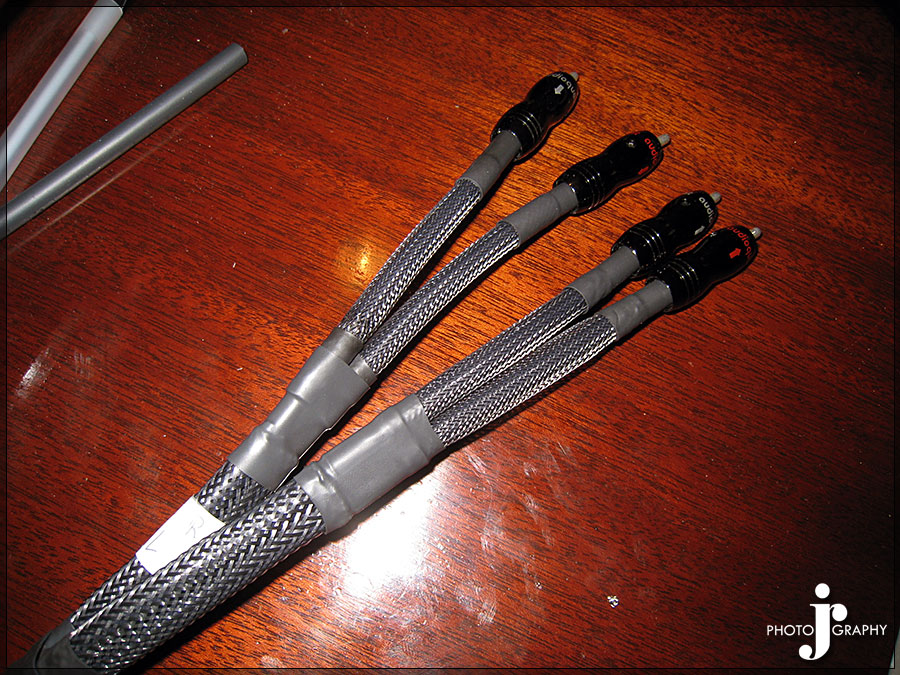
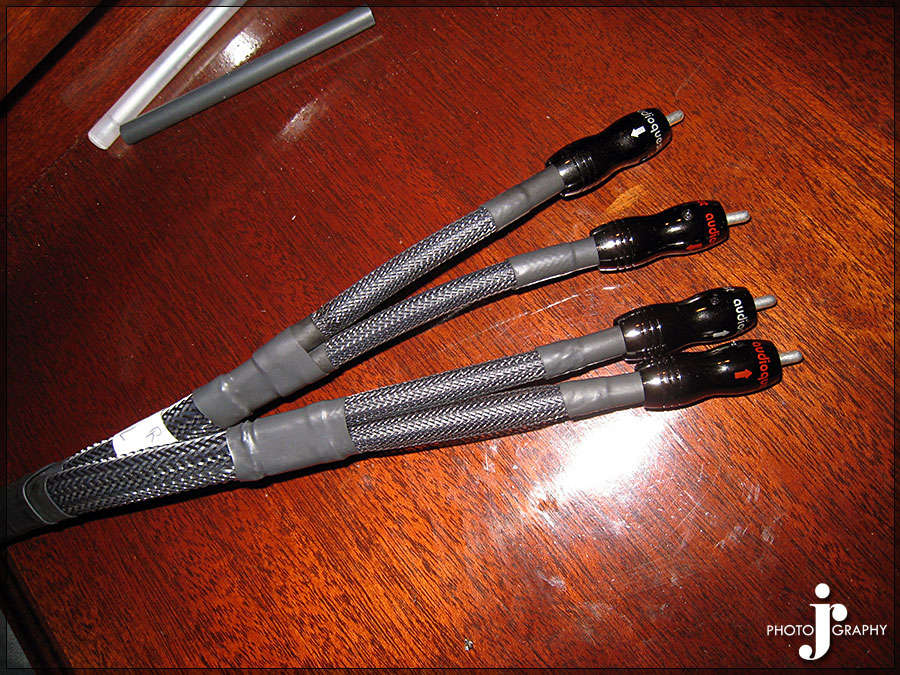
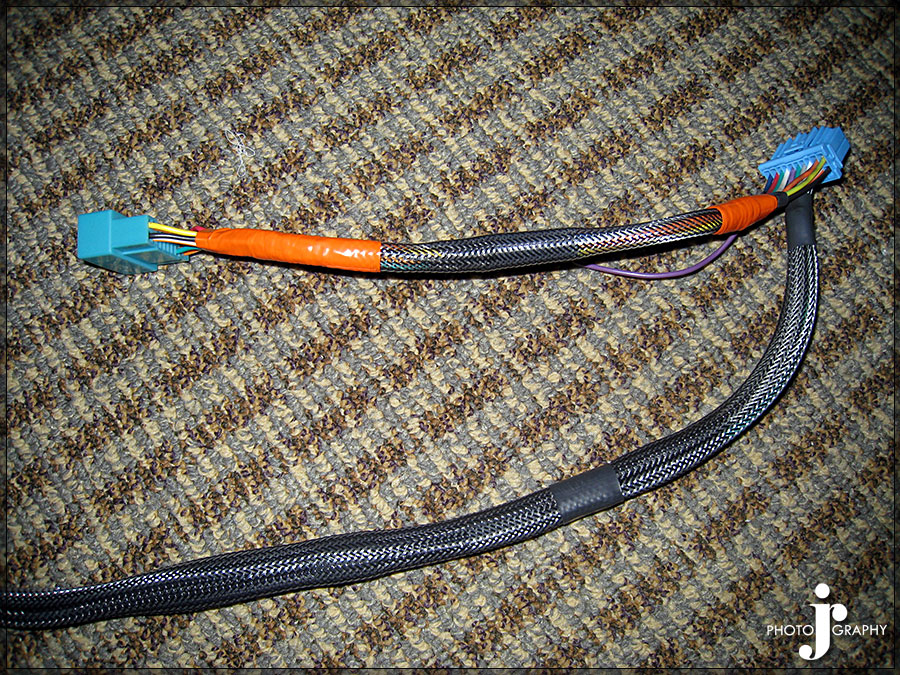
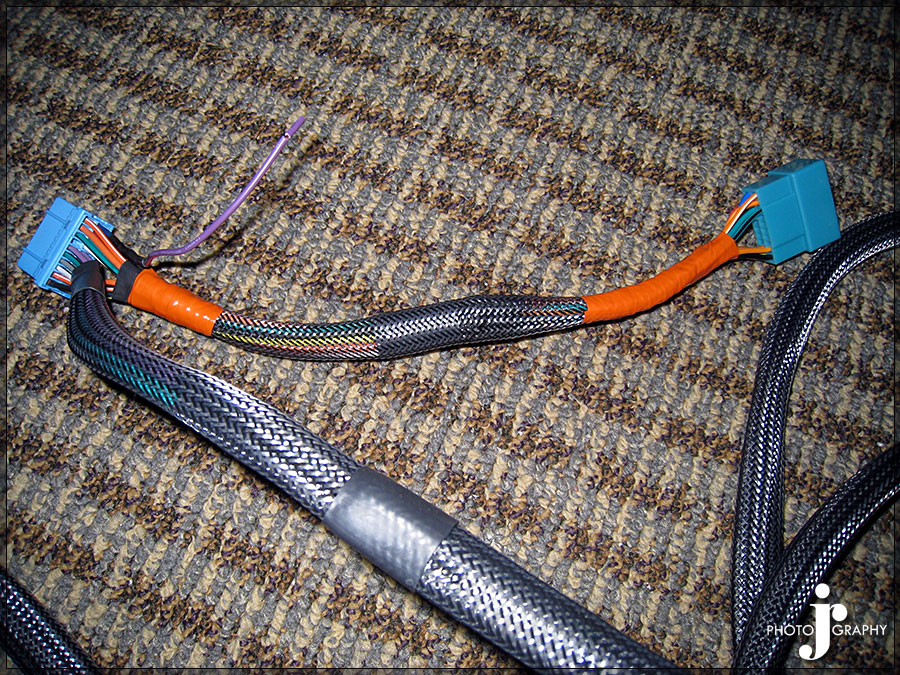
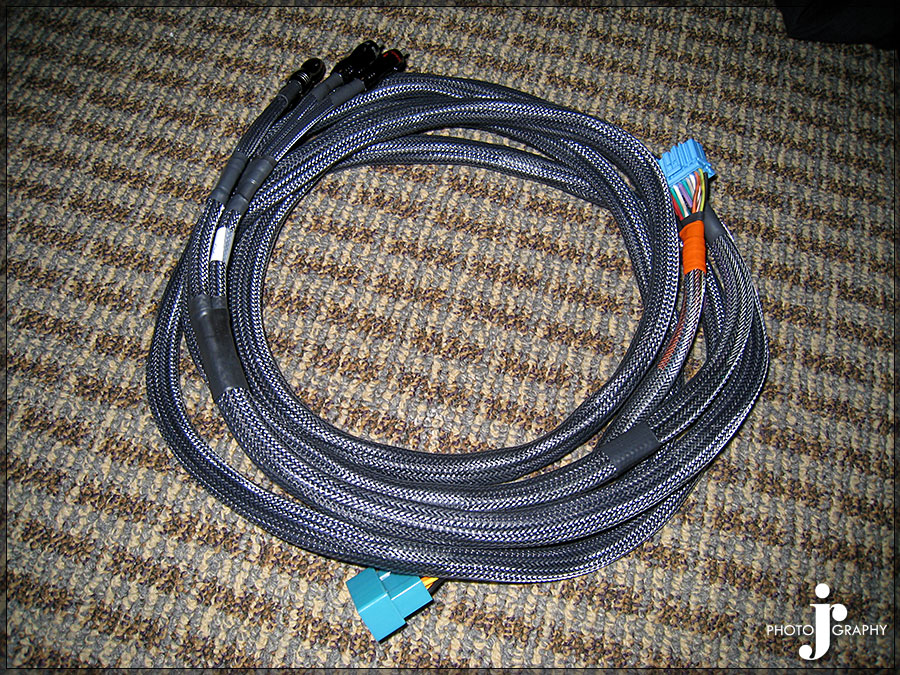
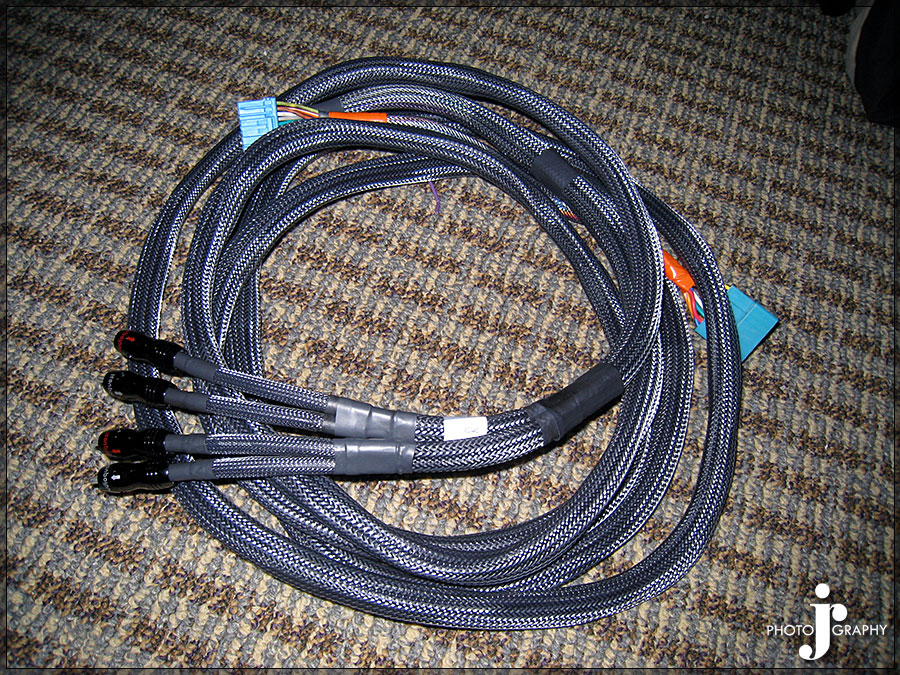
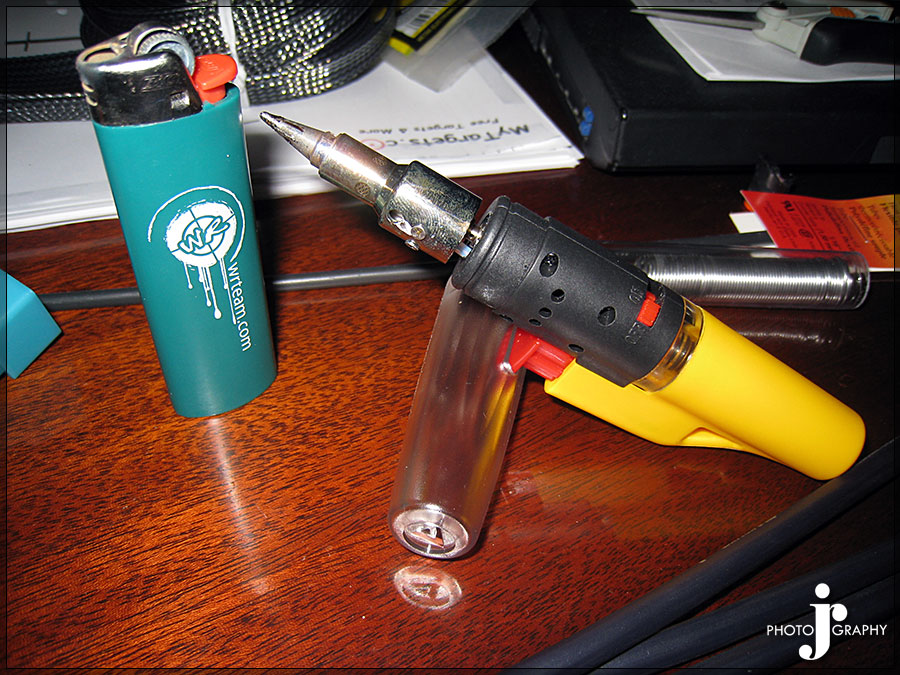
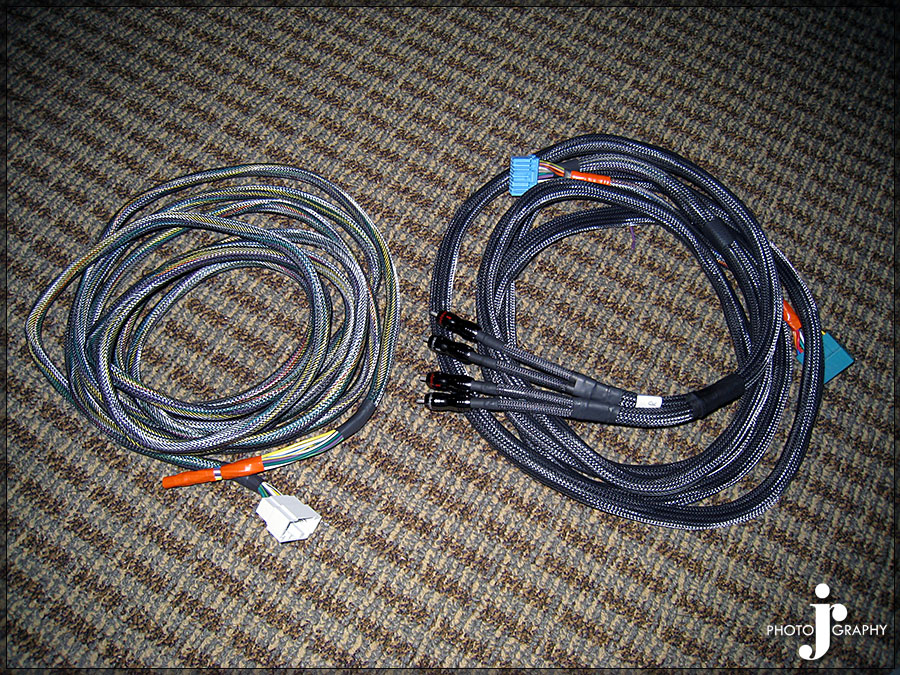 My tools for the job
Stage 10 – Phase 1 Primary Install
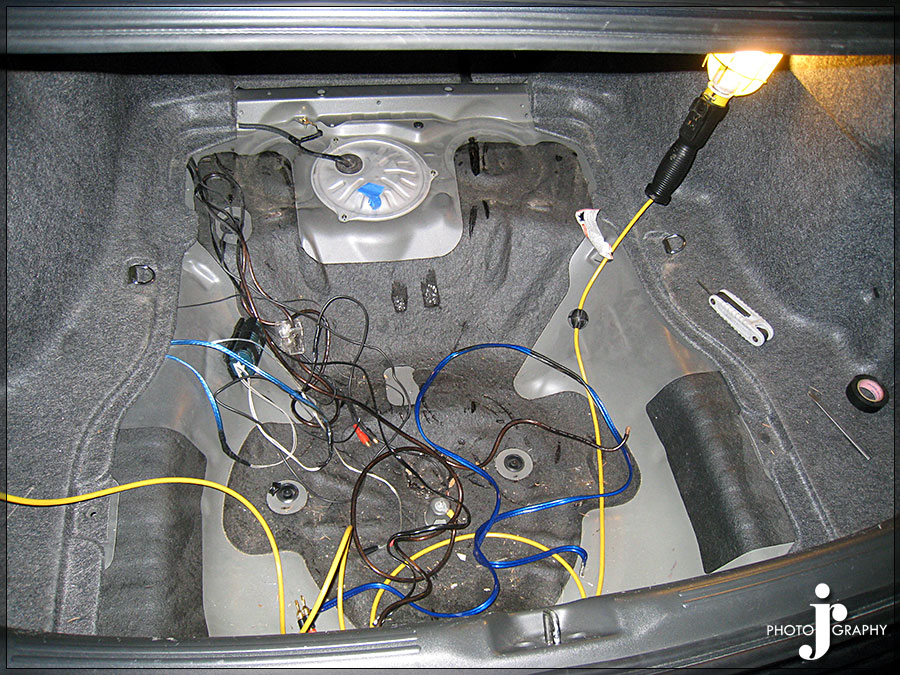
Ok so this past week over spring break I began my system install. One of the main reasons I am redoing my system is I obviously want to replace the rest of the speakers for better sound but the main reason of redesigning my trunk setup is to make room for the Carbing trunk brace. Here the brace laid in place and also the remains after the removal of the old system.
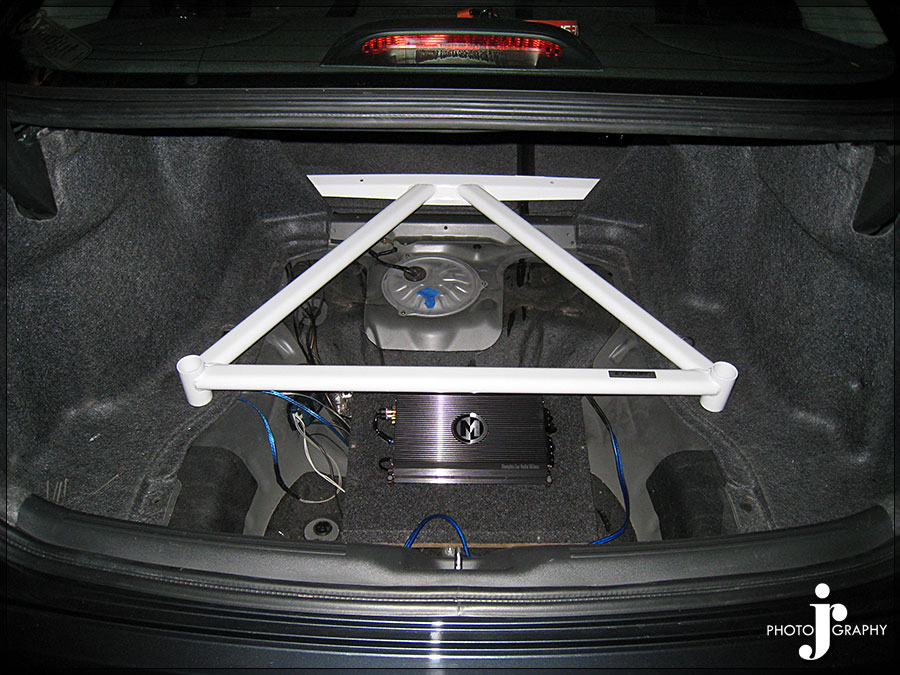
It was cold out so I used my parents porch heater to heat the garage up. Worked very well and kept the garage nice and warm during the days it was around 20 degrees out.
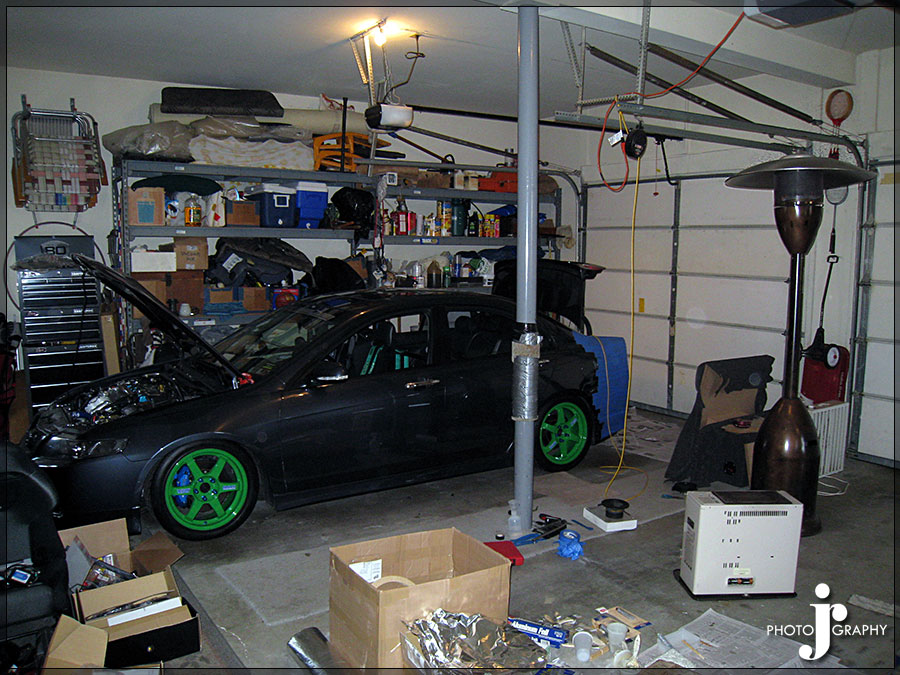
I removed a portion of the interior panels and the front and rear seats along with my old setup in the trunk as well. I then taped off the entire rear of the car as to not scratch anything while working on it. I began the mold for the second sub enclosure first so that it would have time to dry while I wired the car. I did three coats of mat and resin for the new mold and still need to add a coat or two of just resin to add some thickness to the box and strengthen it.
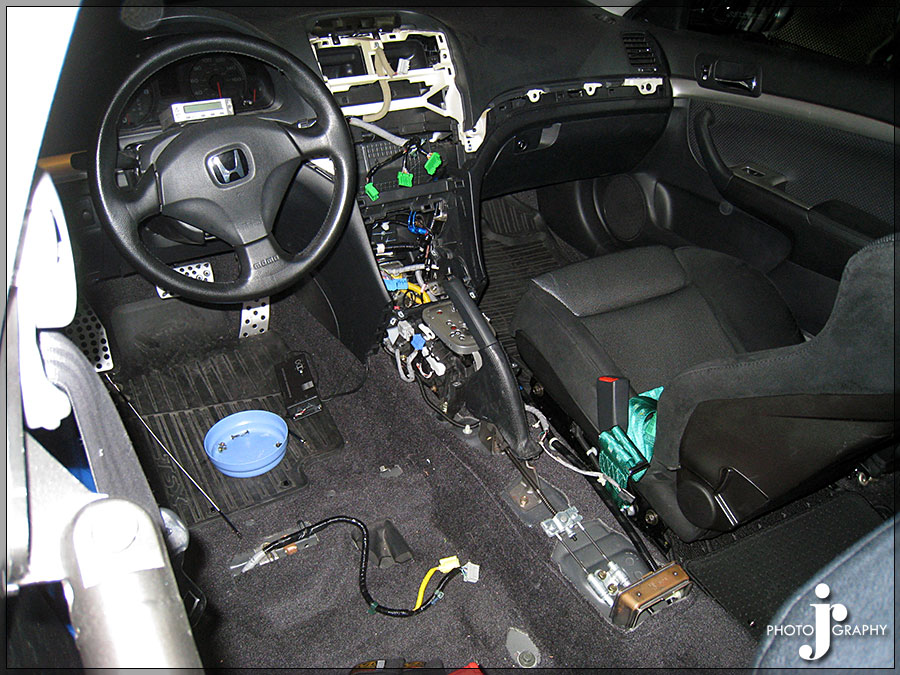
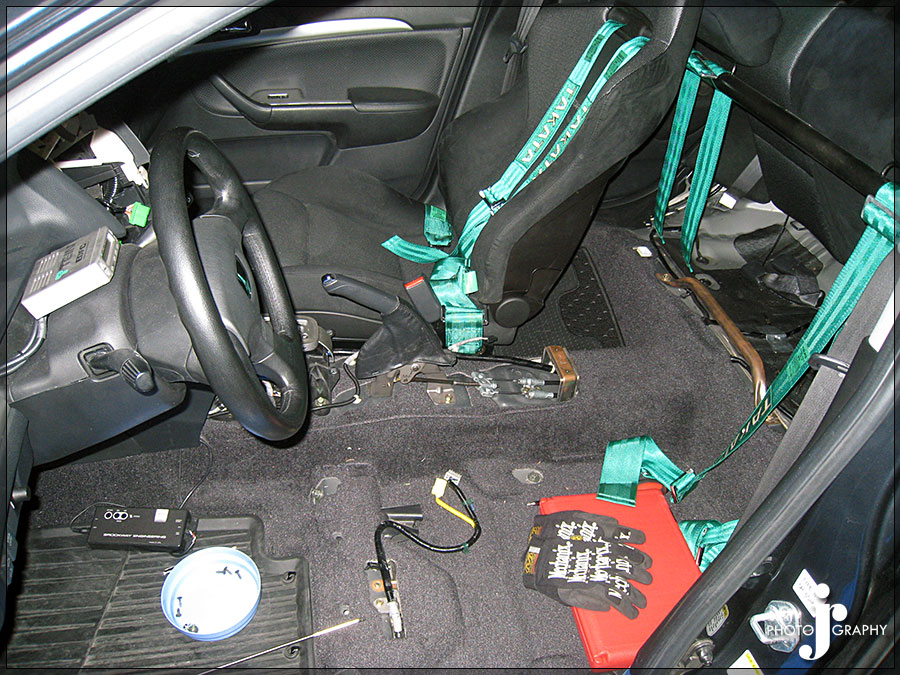
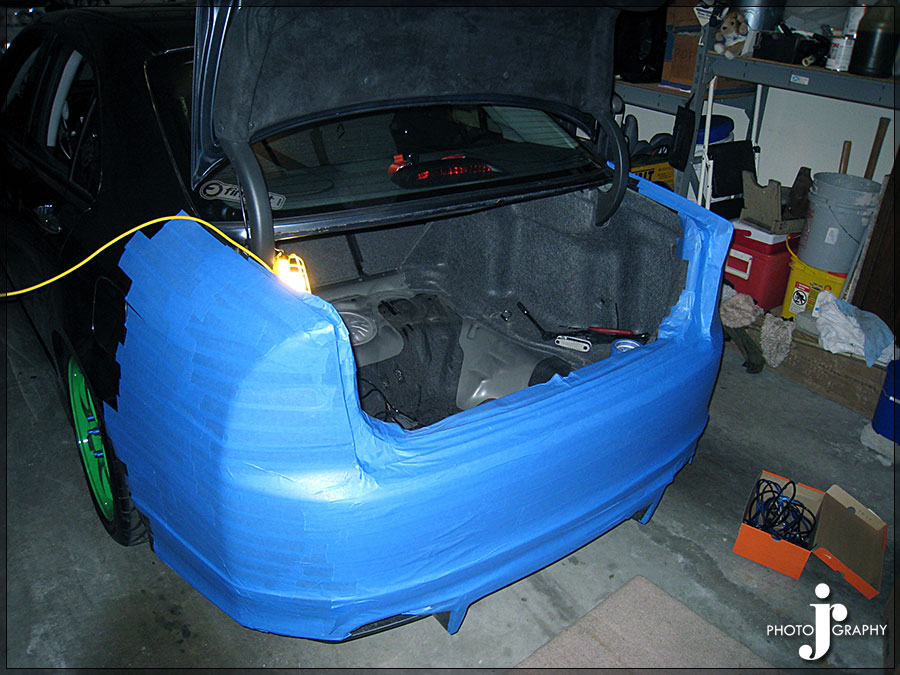
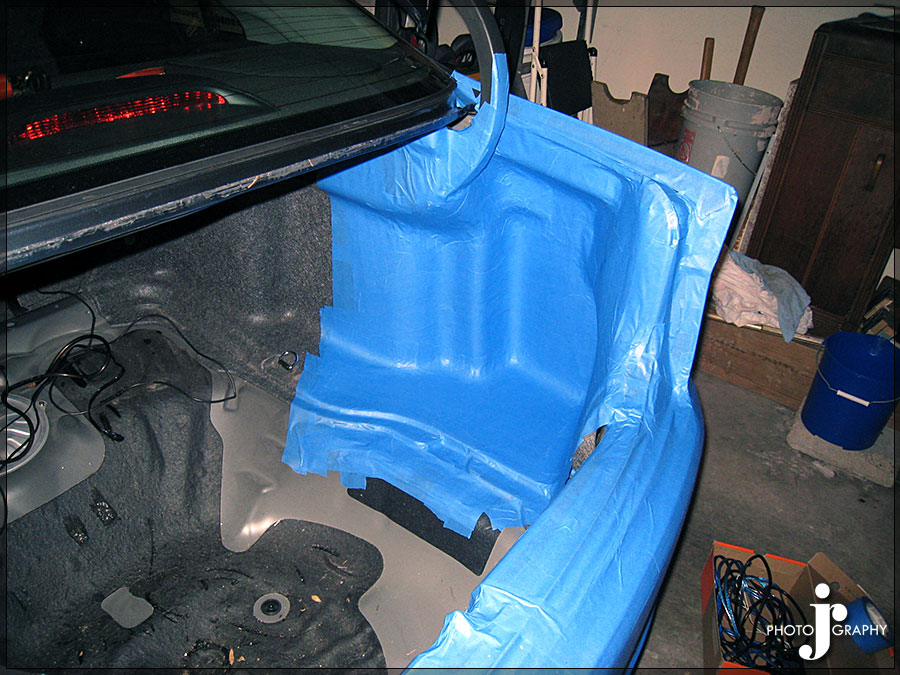
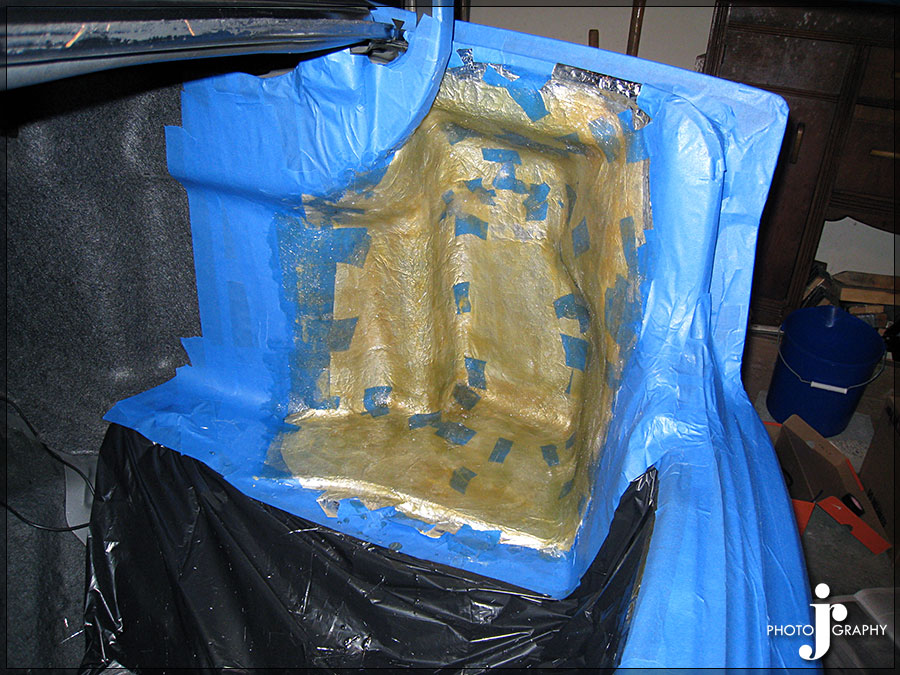
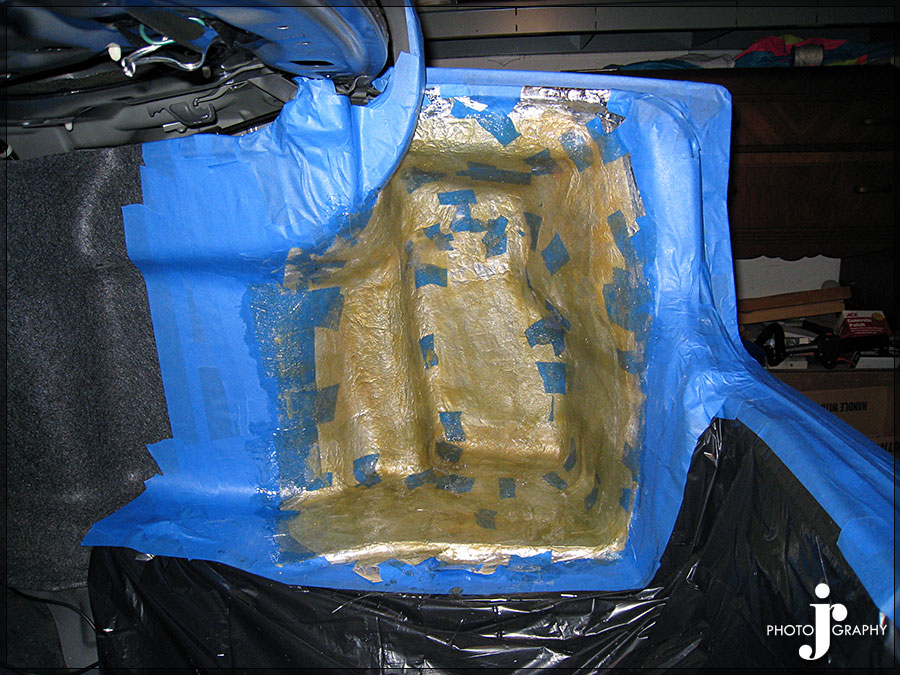
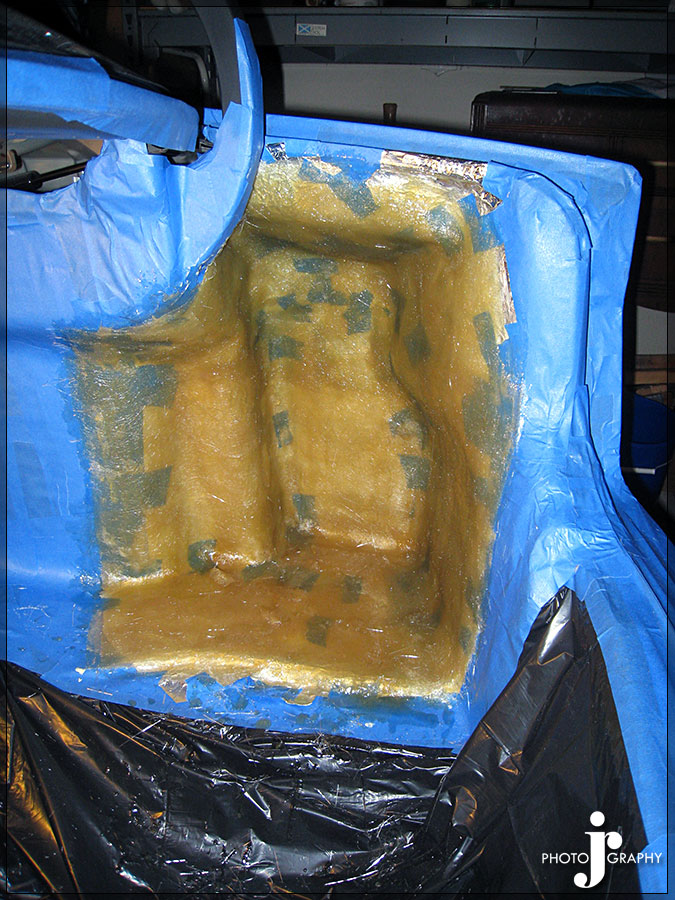
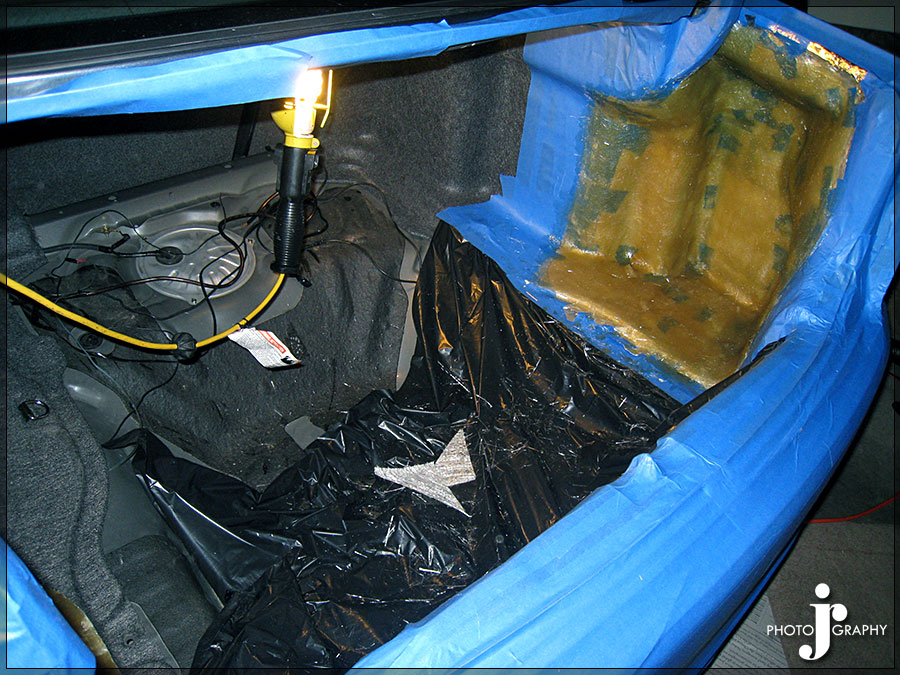

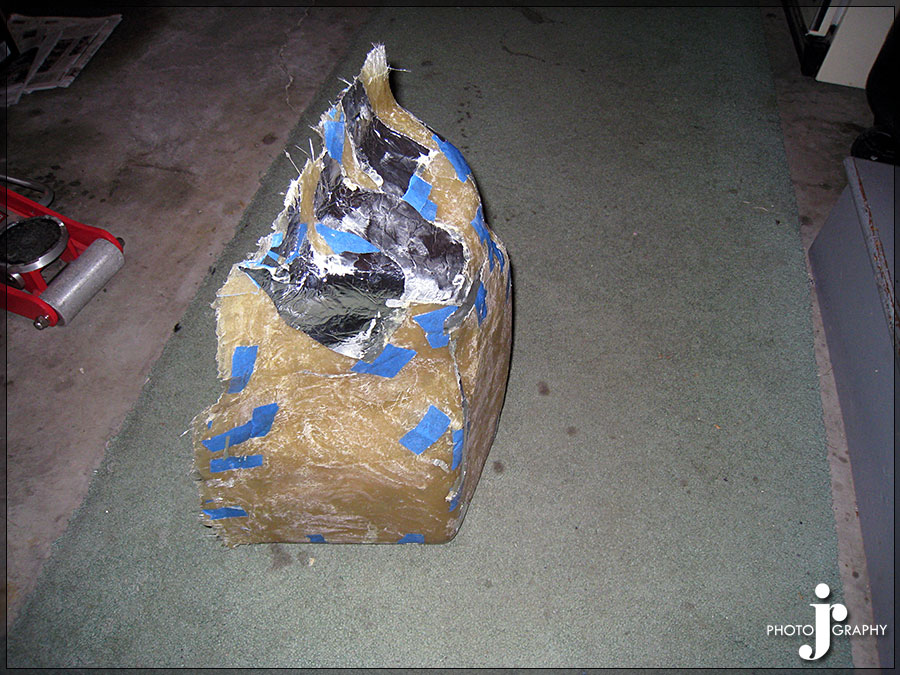
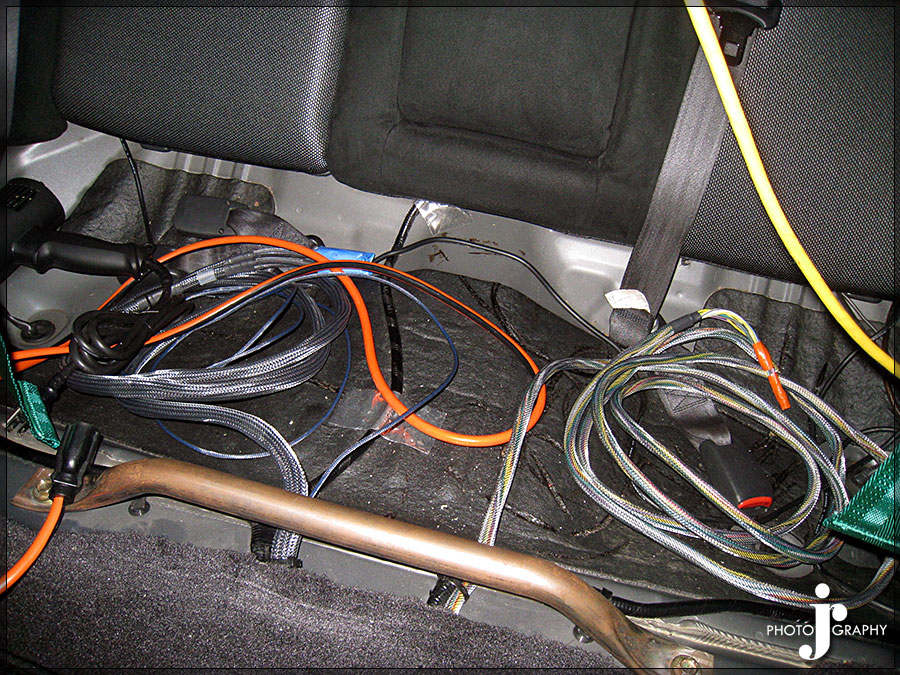
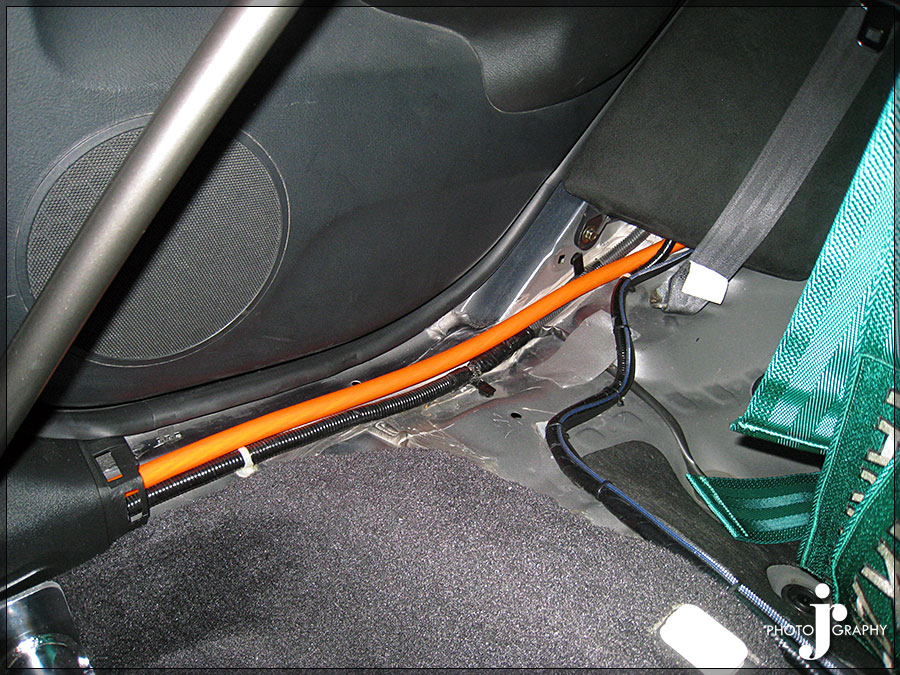
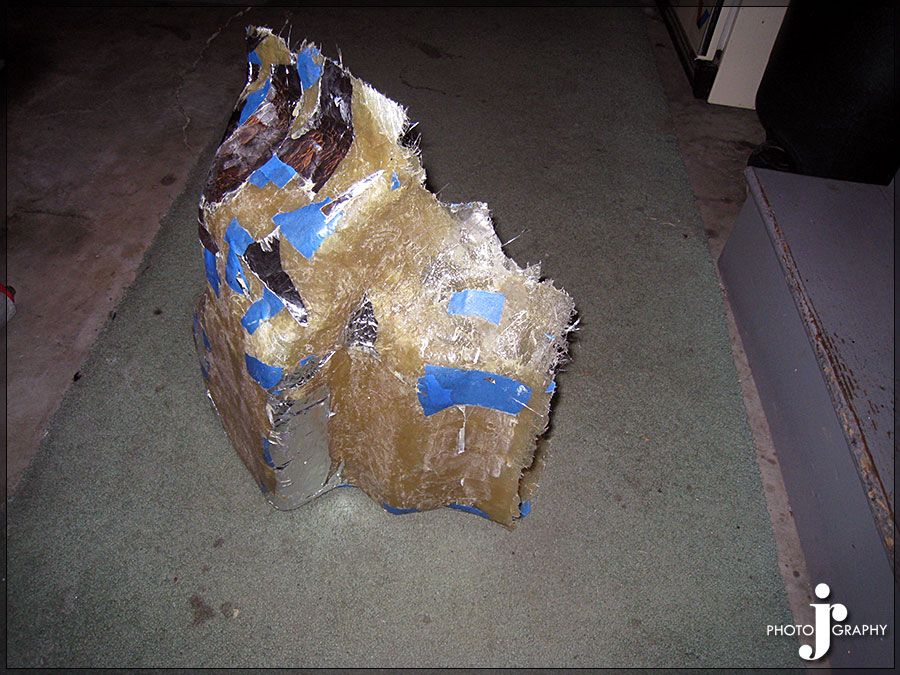 I then ran the custom plug and play harnesses down the middle of the car and left them at the rear seat.
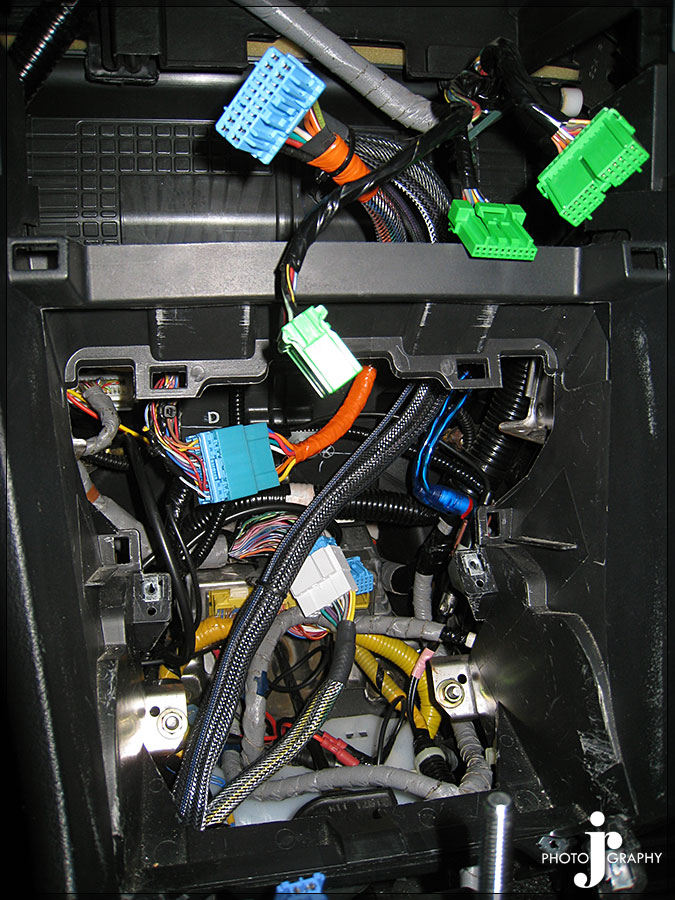
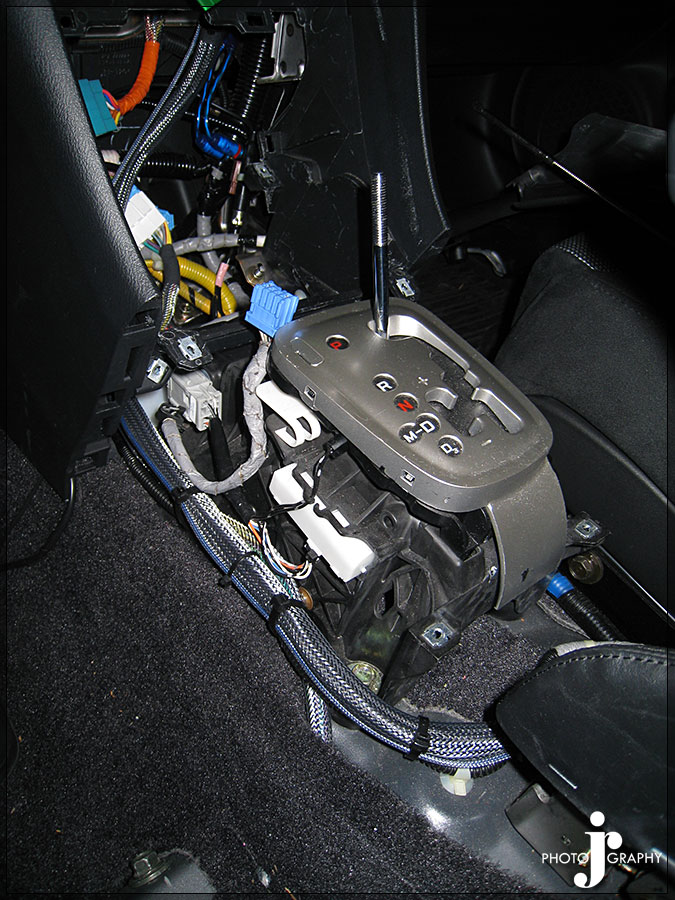
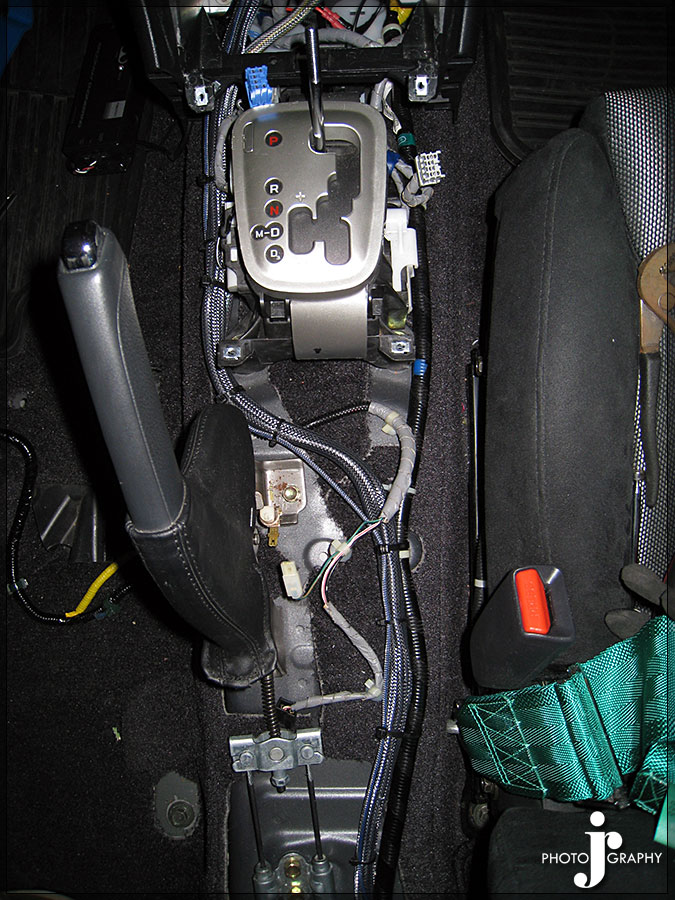
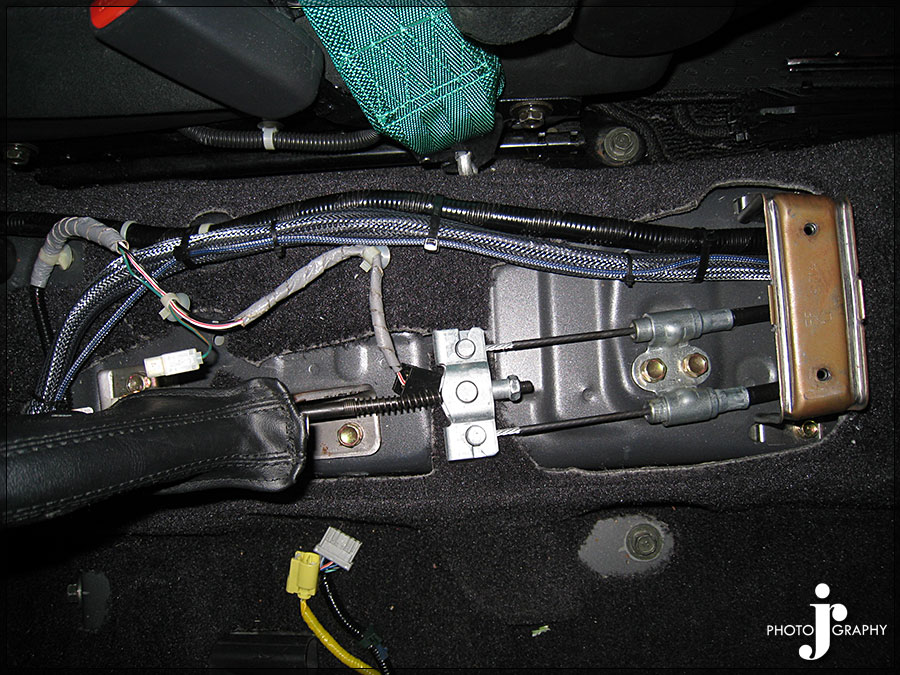
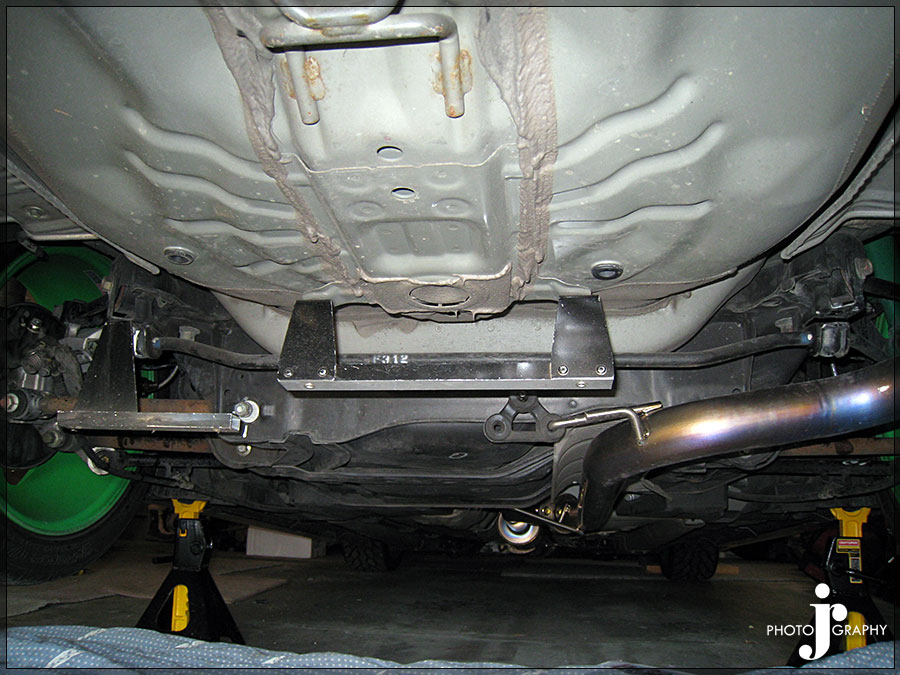
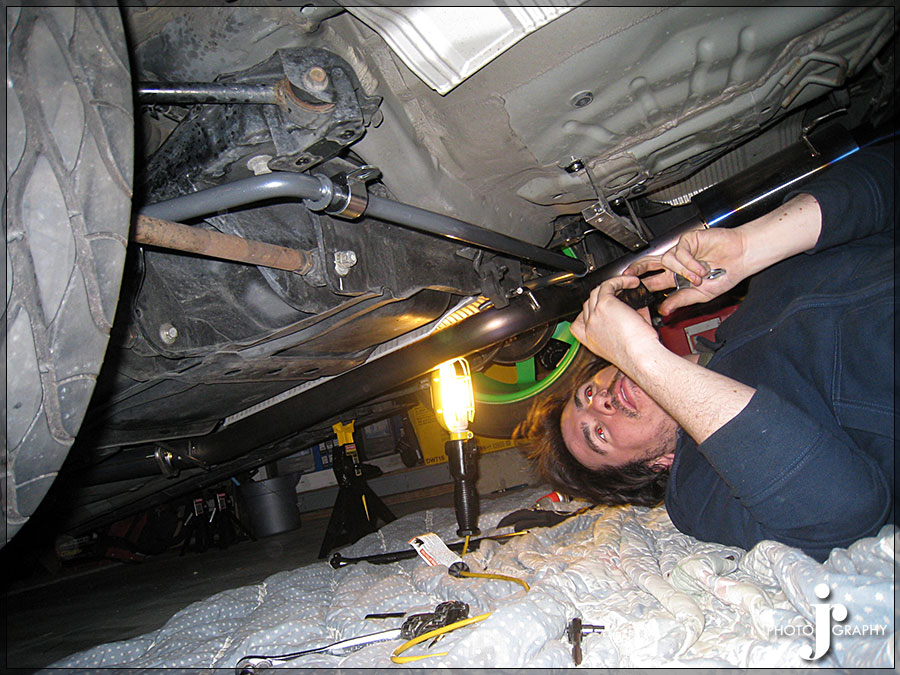
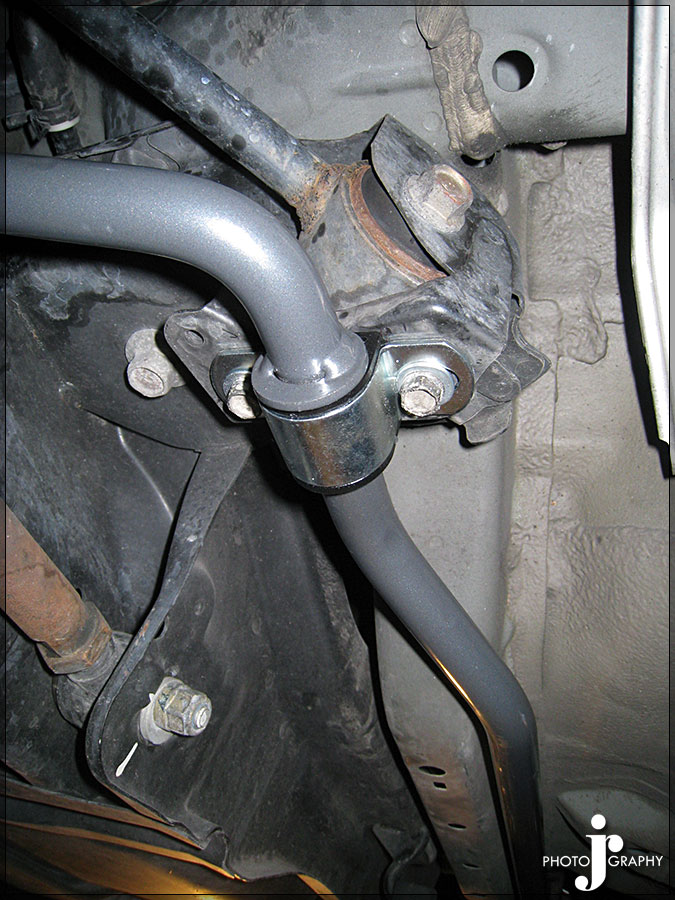
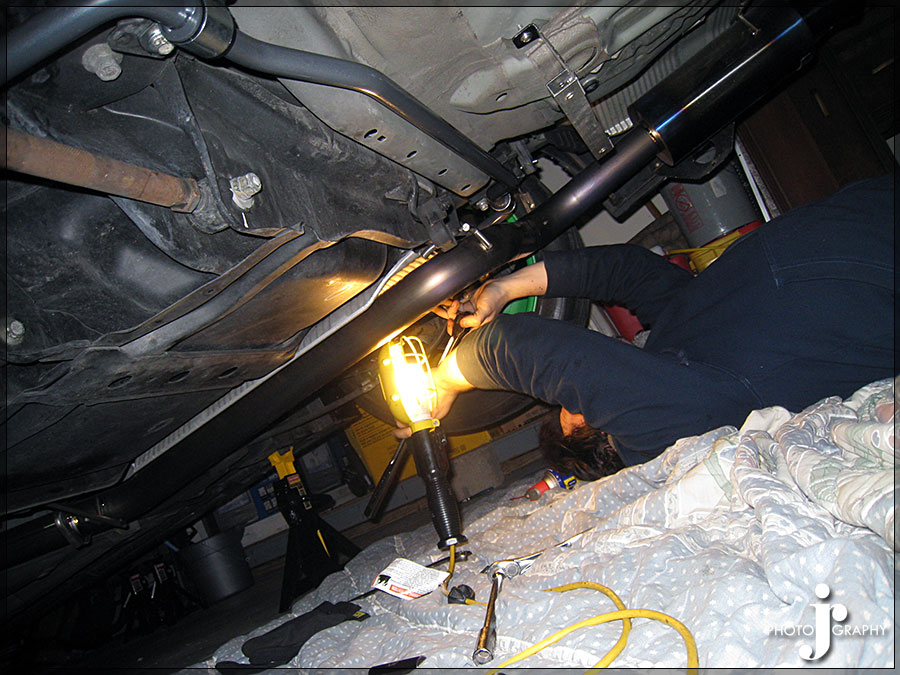
I also had to drop the rear diffuser so that I could install the Progress and got the Progress rear sway bar installed with the help of my friend Brent (MemphisTSX).
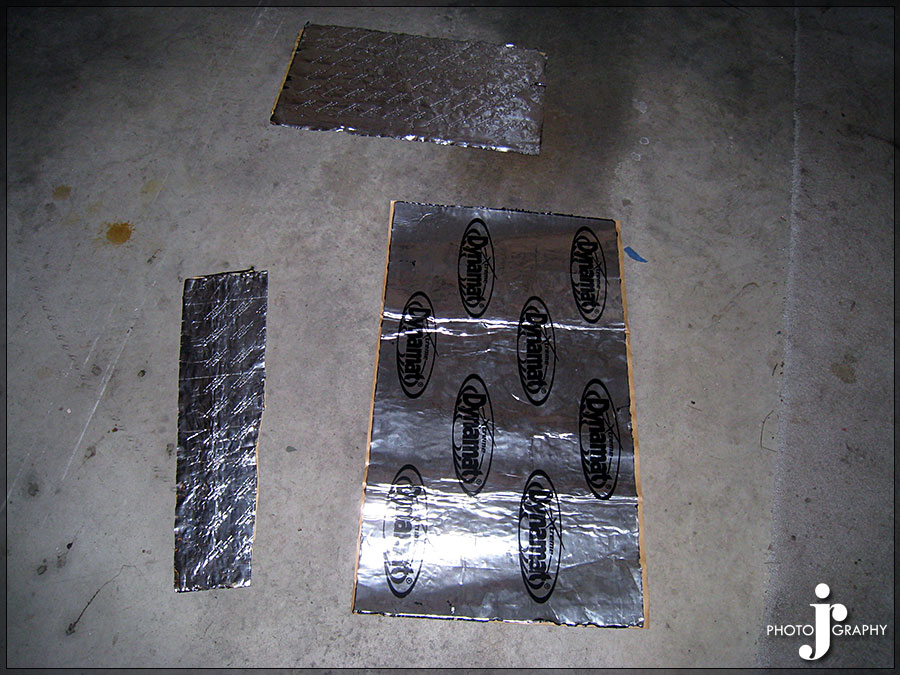
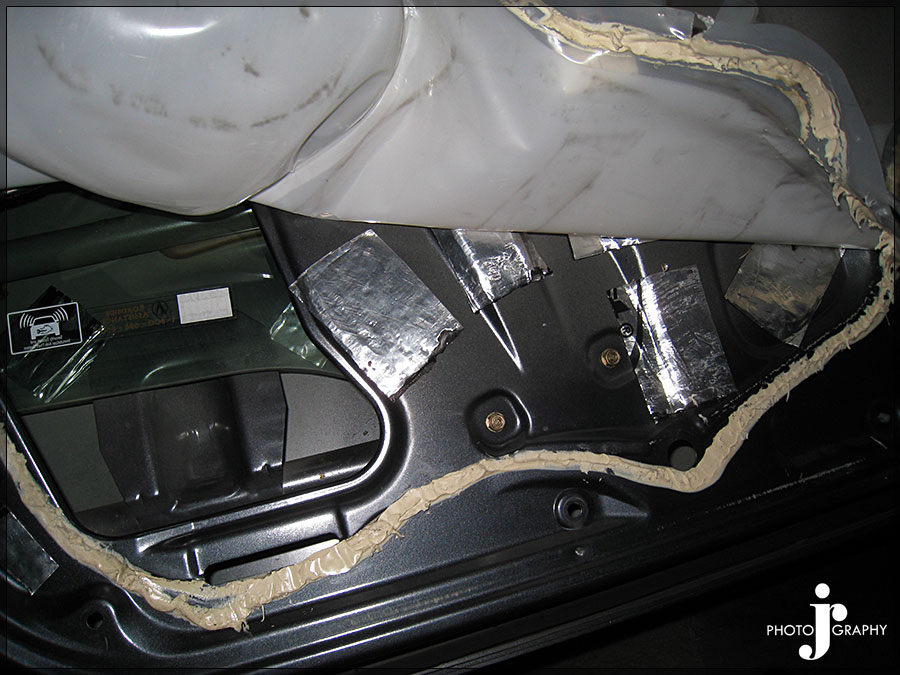
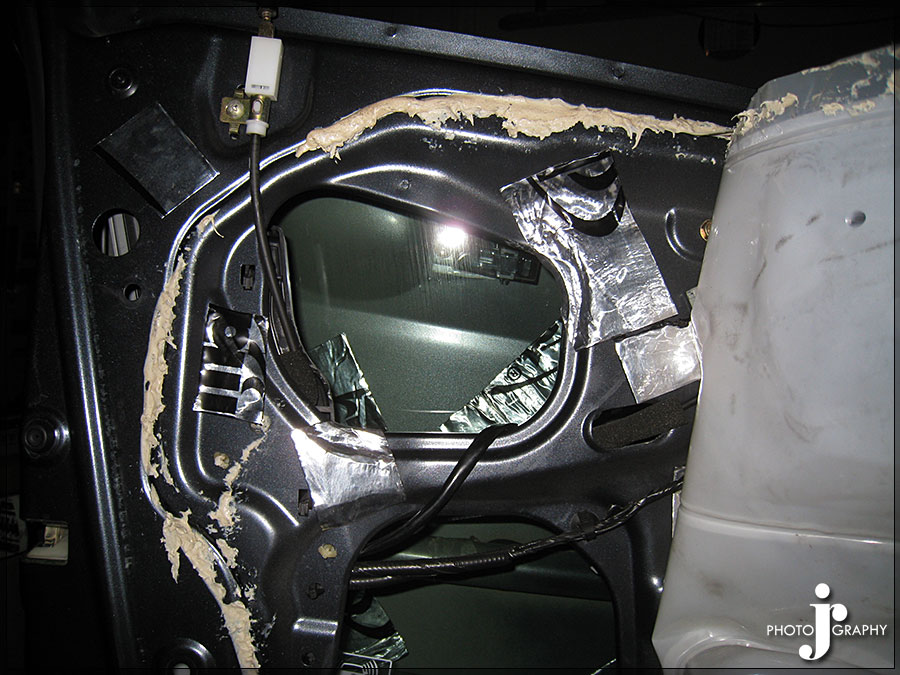
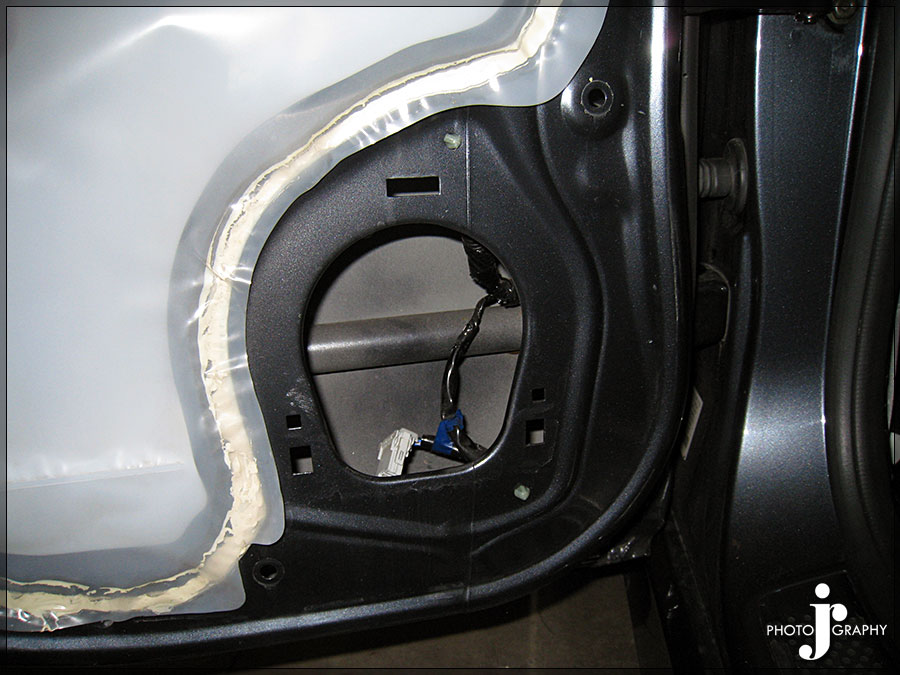
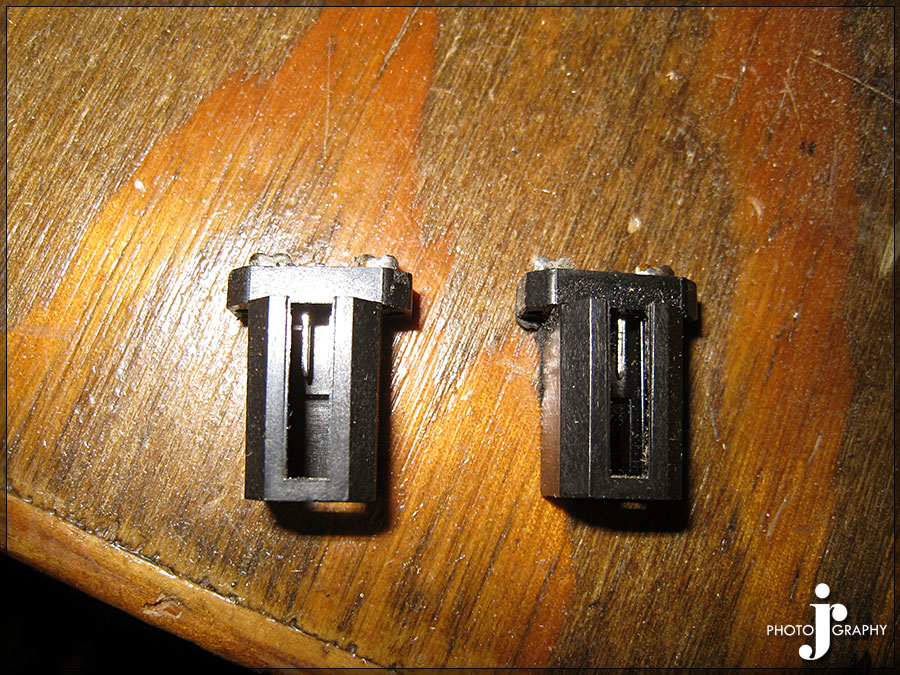
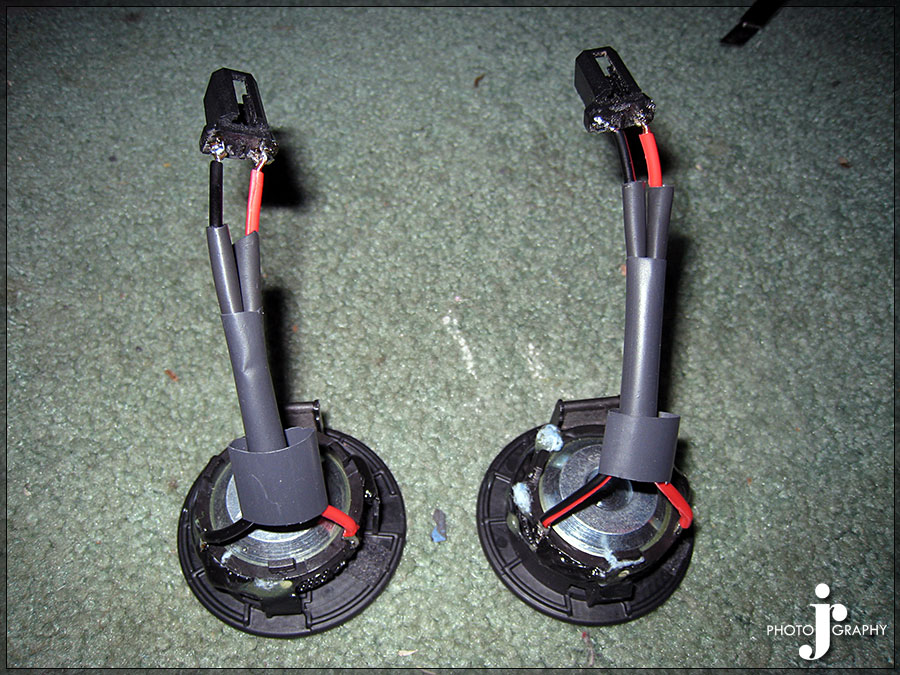
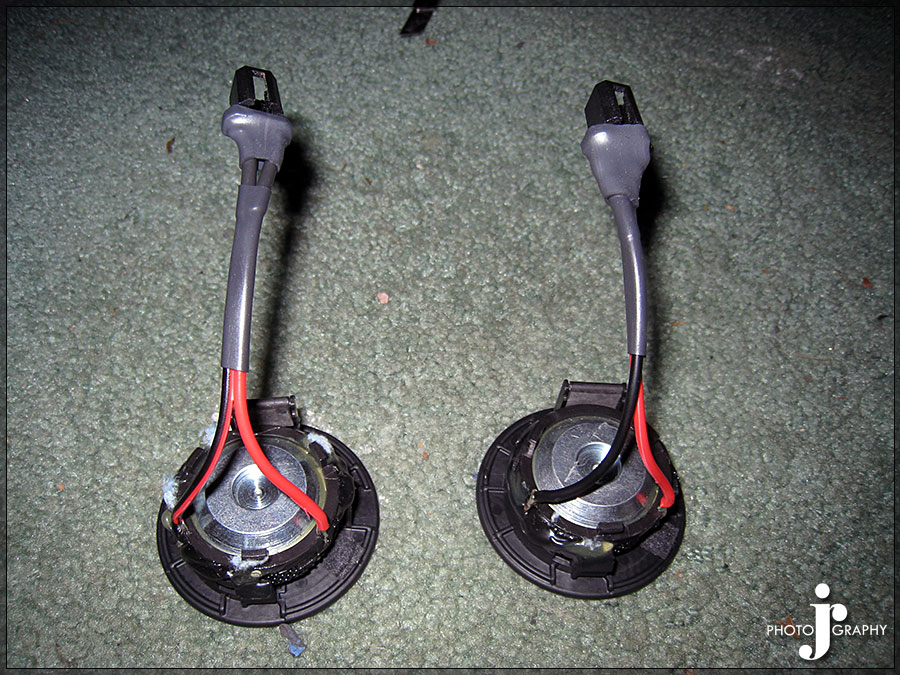
I dynamatted each door lightly before installing each speaker then. The specs for the size speakers that could be used in the tsx were far from right from metra. The specs were clearly measured with the windows up. Also the tsx speakers are so small the holes need to be severely enlarged to accommodate the new speakers. I enlarged the holes using tin snips as I did not want to use a dremel and end up with lots of metal filings in the doors. I also needed to use spacers to prevent contact with the window. This was accomplished using generic speaker spacers by metra that I had to custom modify to fit the speakers that were even to large for the 6.5” speaker spacers. I used metra Honda connector adapters so I did not have to cut any of the factory wiring. I installed the front woofers in the doors, the rear woofer and tweeter combo component along with the rear crossovers in each rear door. The front tweeters I had glued into the factory grills. My local shop suggested that if I didn’t plan to ever put the factory tweeters back in to cut the connectors off them so that I could make a plug and play harness for the new tweeters as well since one is not available. This also helps cause there is like no slack in the OEM tweeter wires. Since I had the speaker harness adapter from a civic run to the trunk, the front crossovers were then mounted in the trunk instead of the front door.
Dynamat
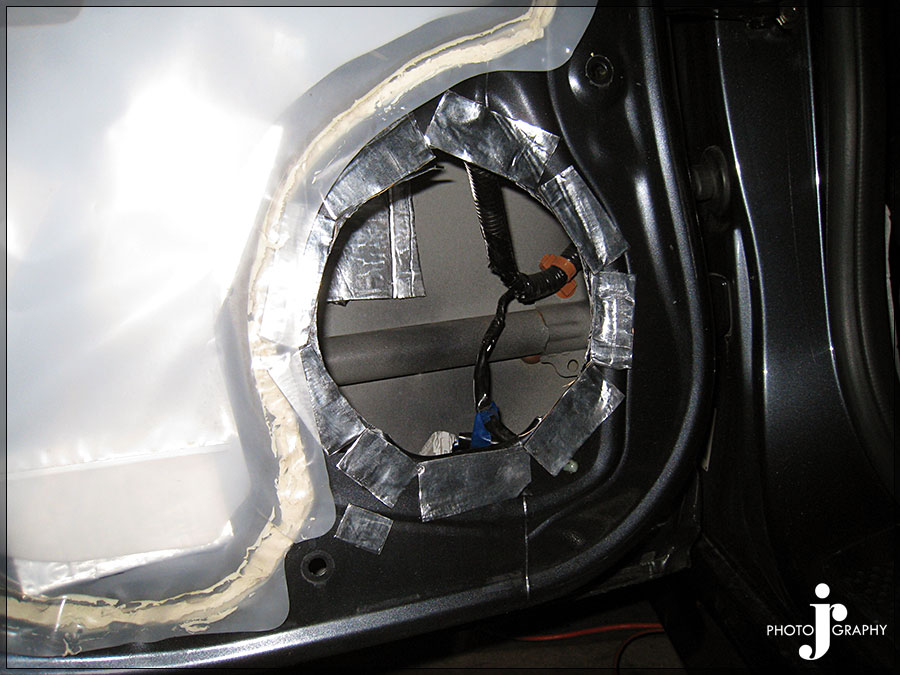
Speaker Comparison
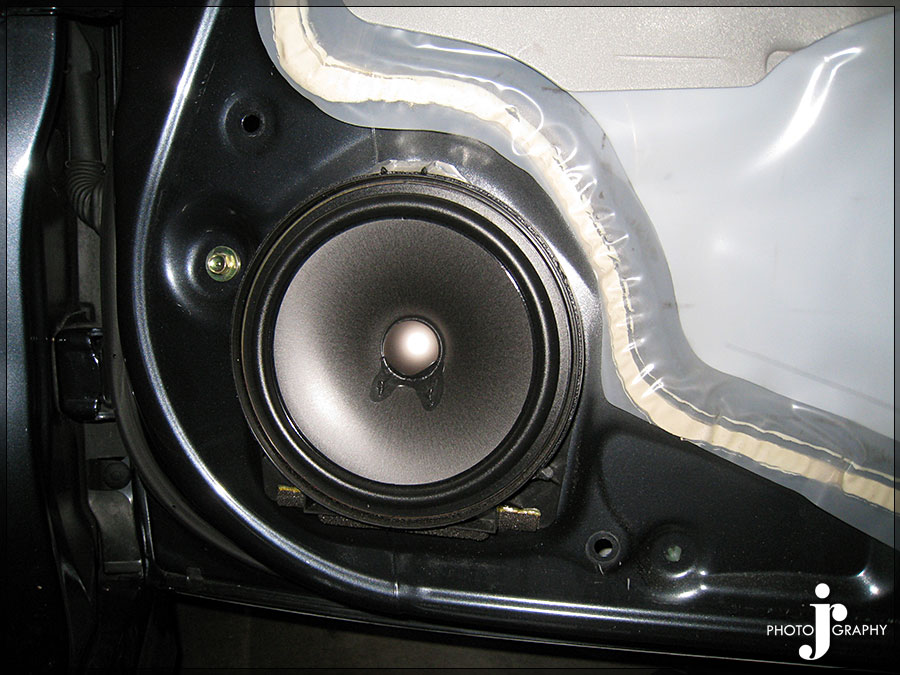

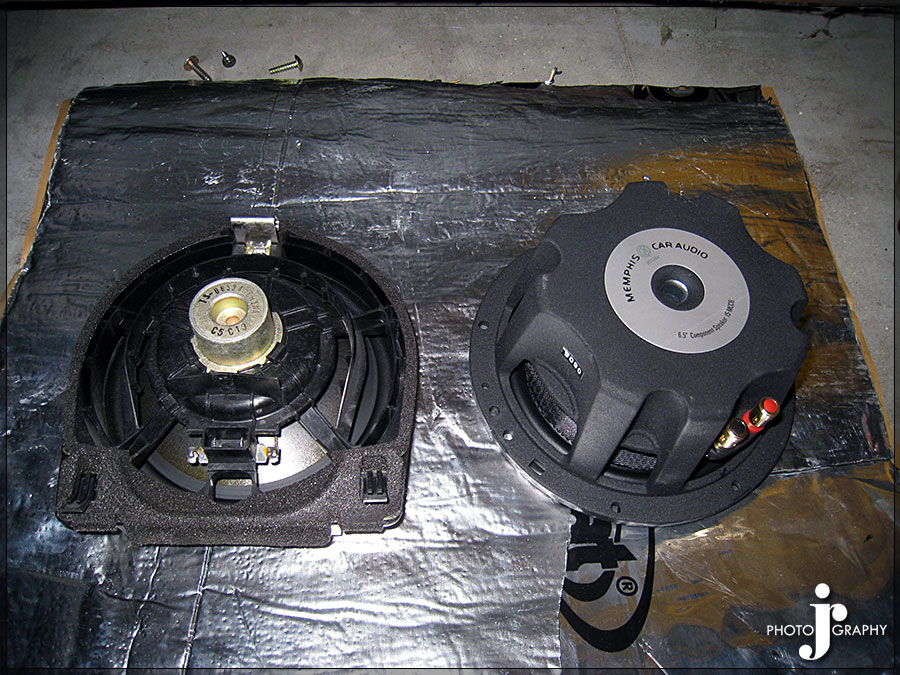
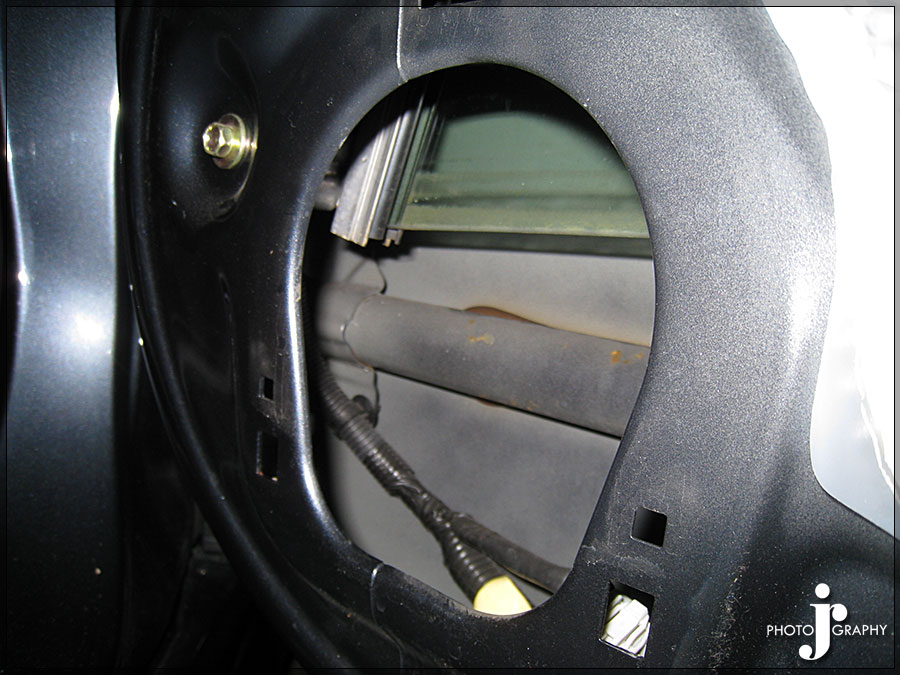
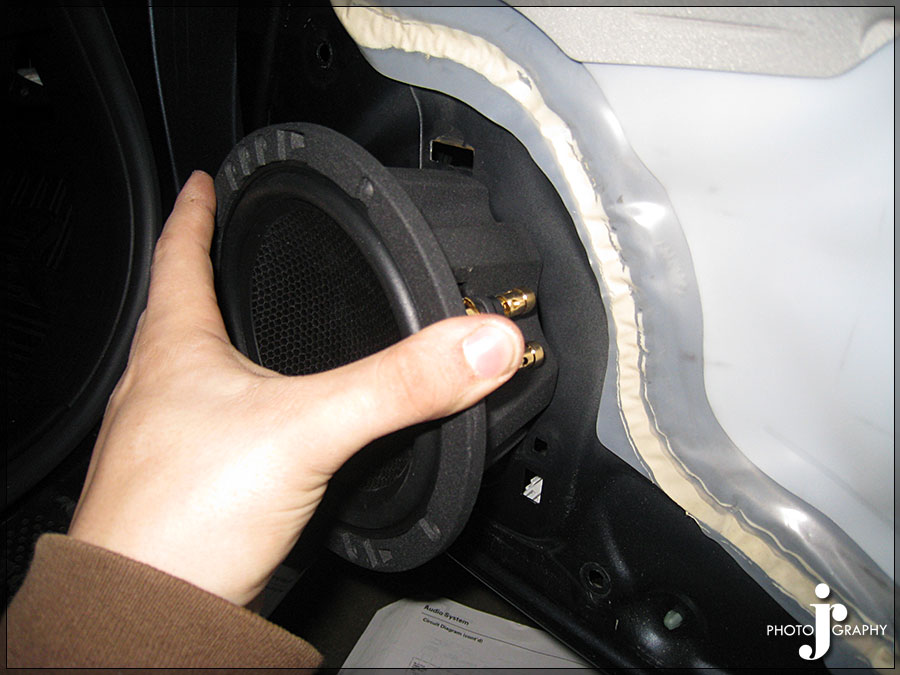
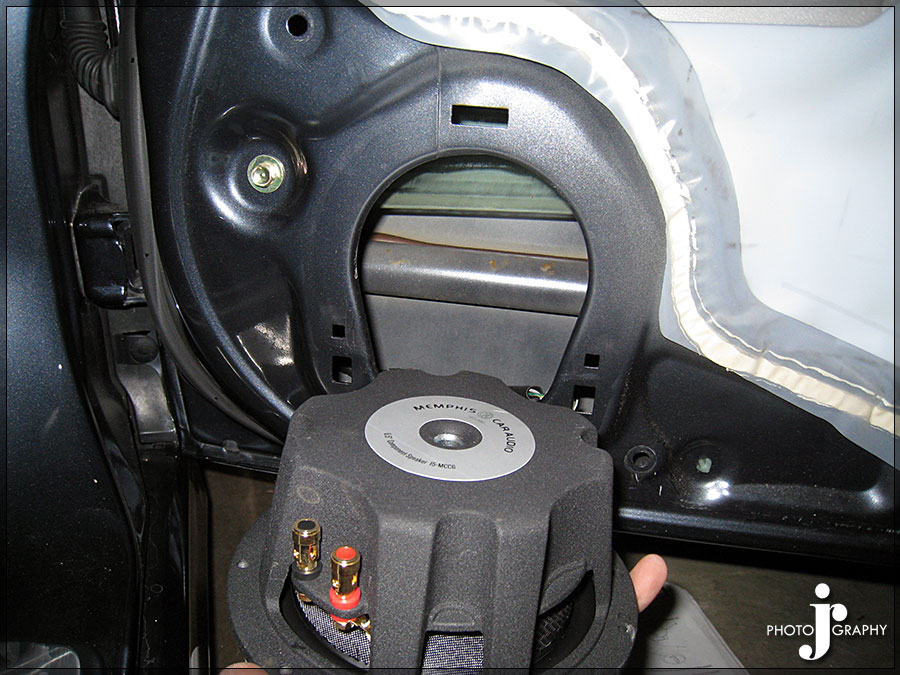
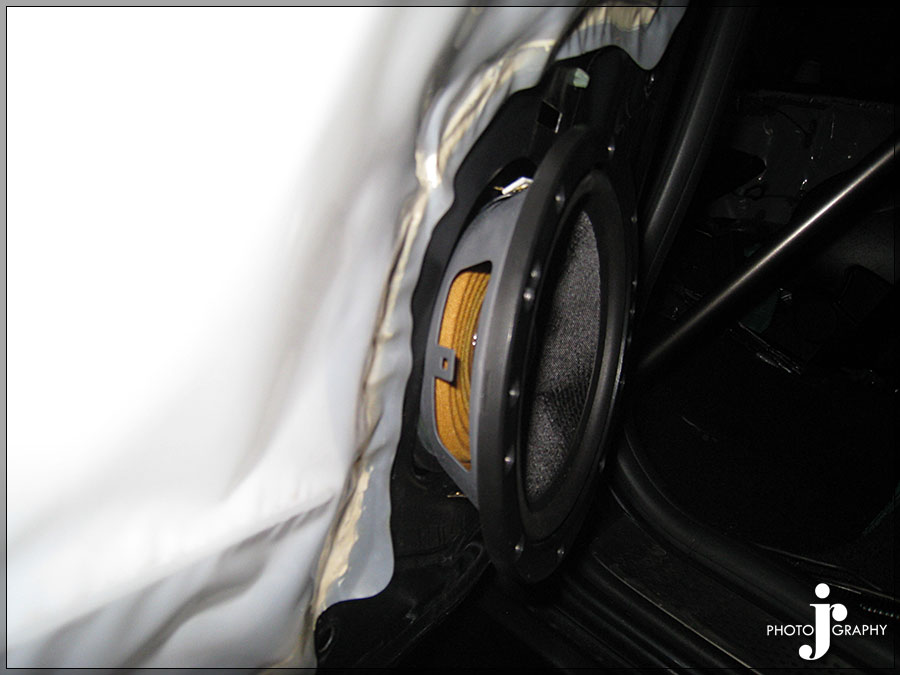
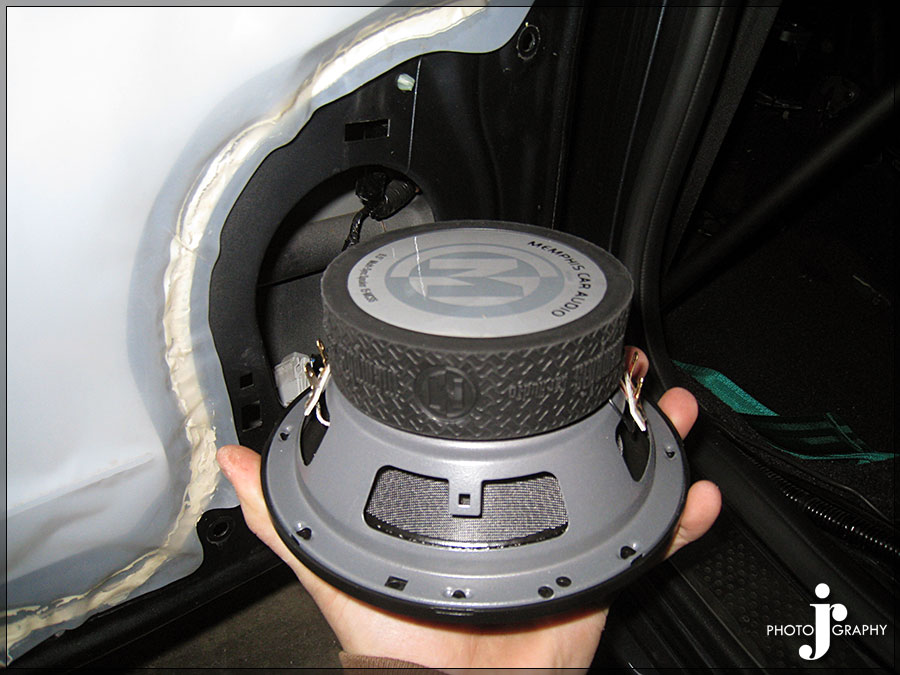
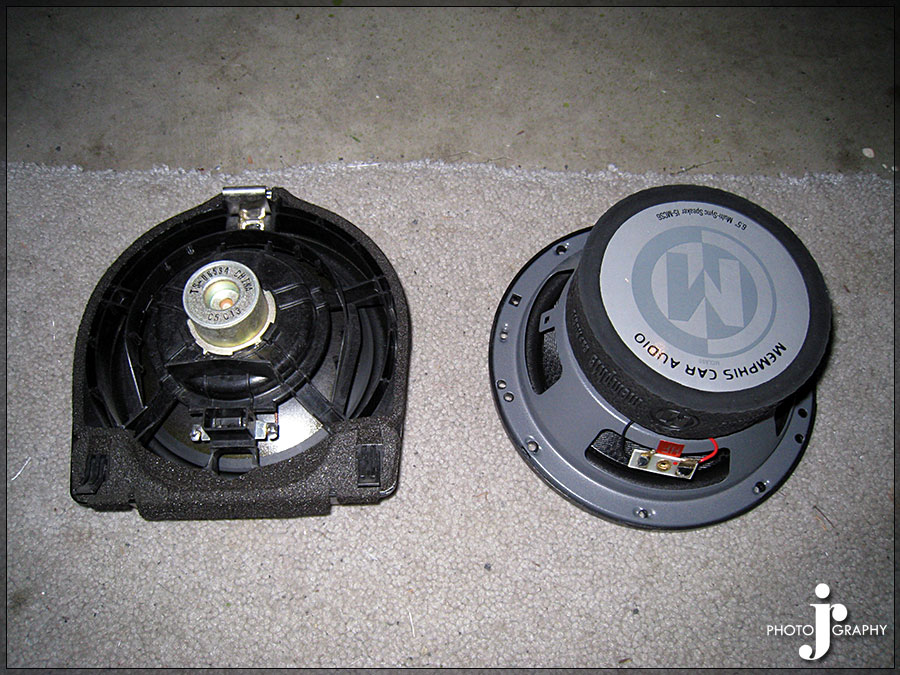
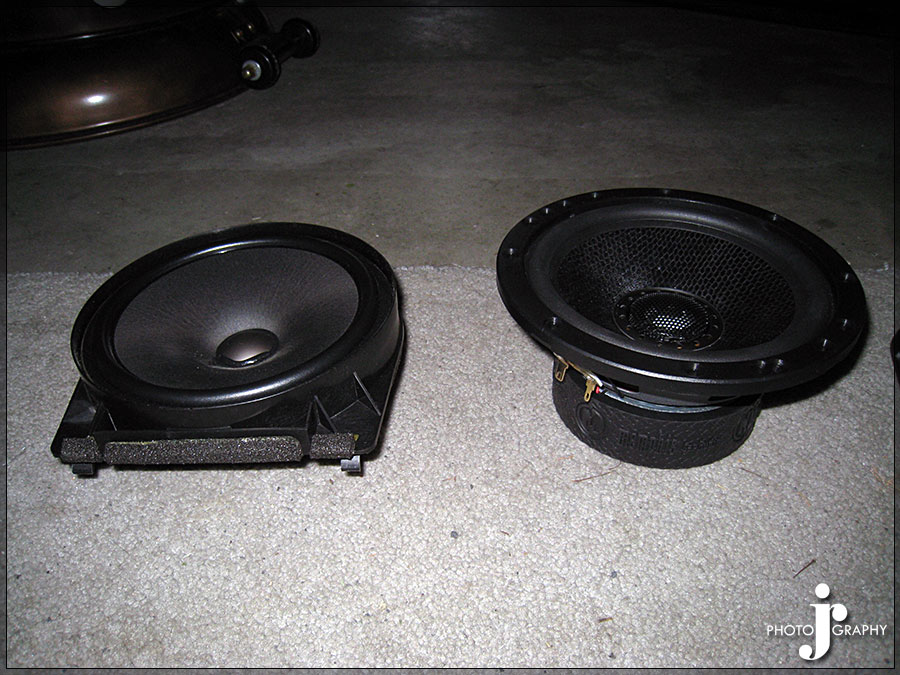
Custom Speaker Spacers
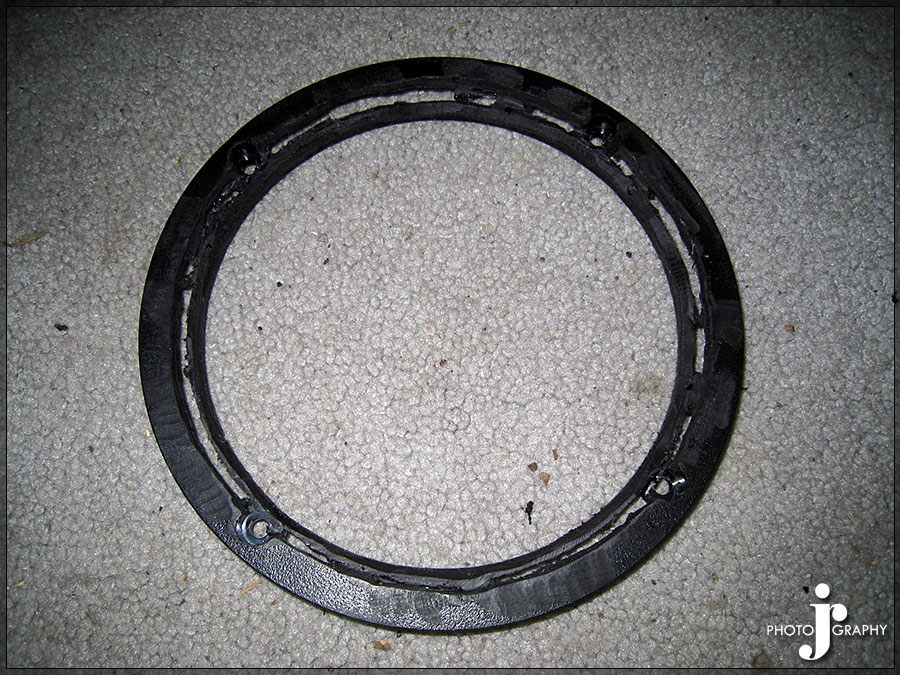
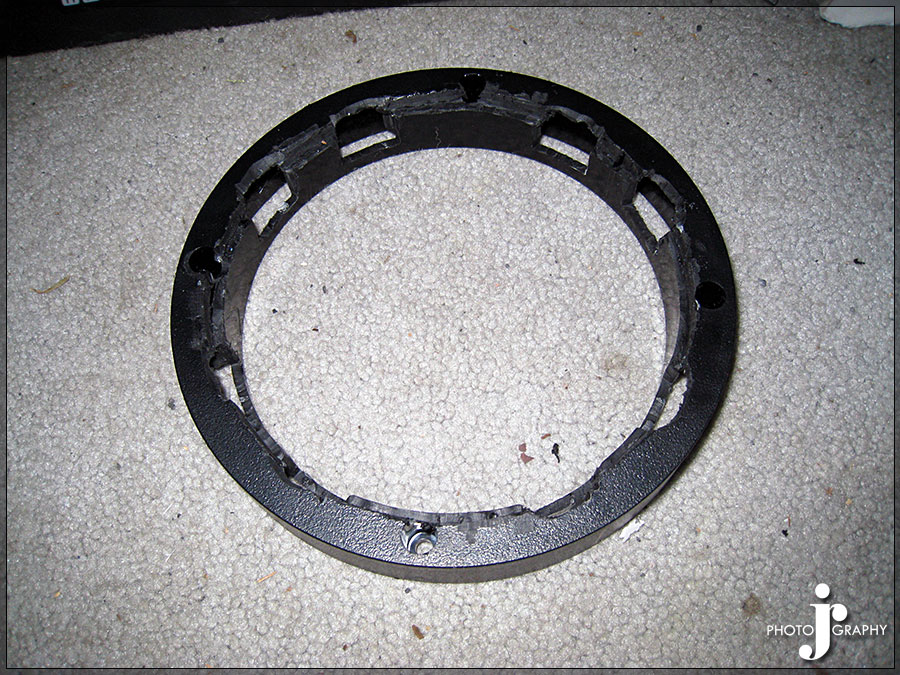 Custom MDF Spacer Cause I miss placed the other plastic 1in spacer and didn’t want to keep looking for it. I have since found the other plastic spacer though.
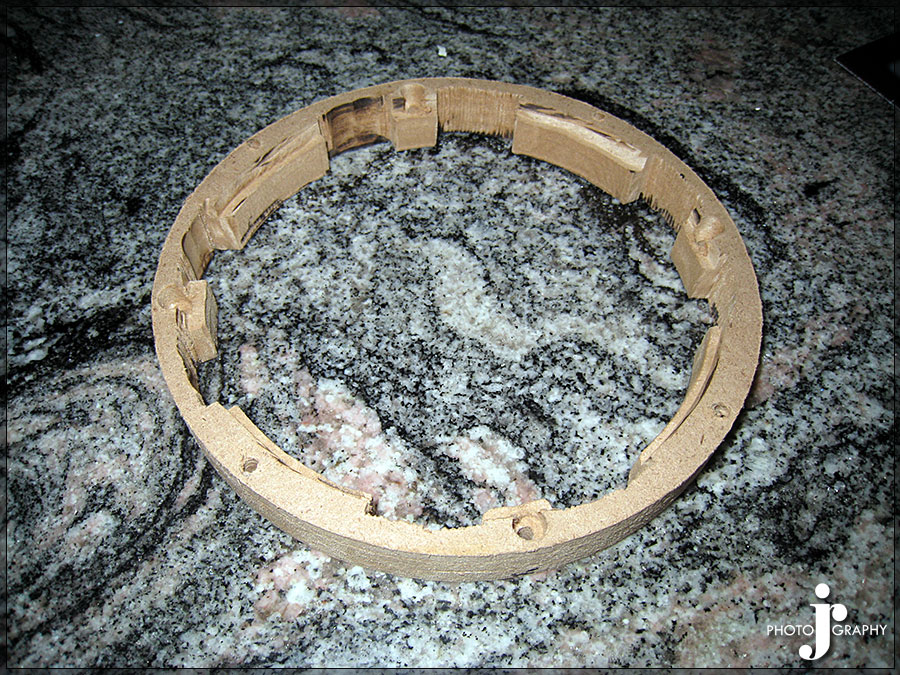
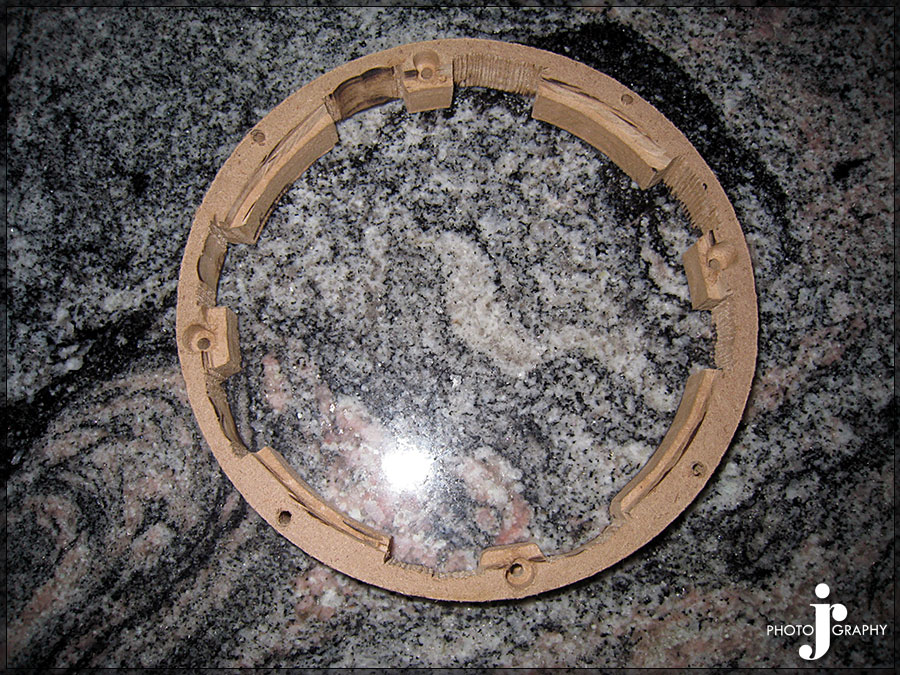 Installing Door Speakers
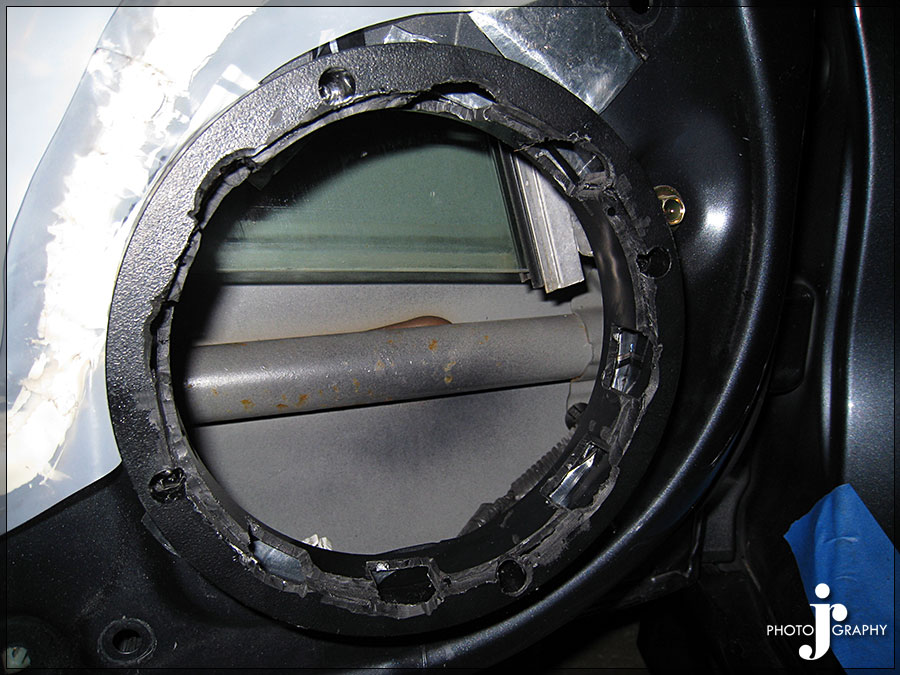
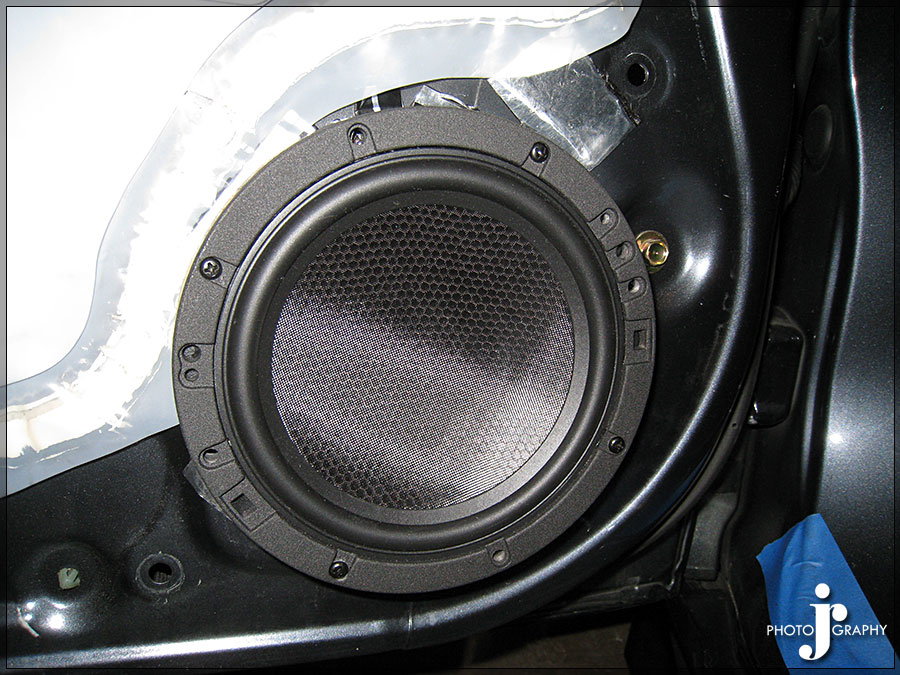
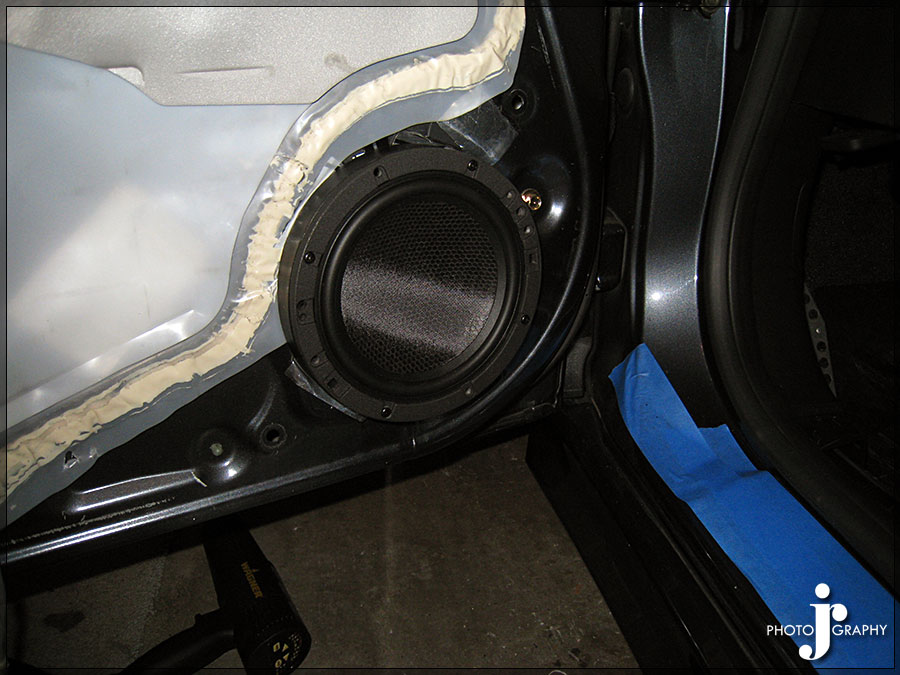

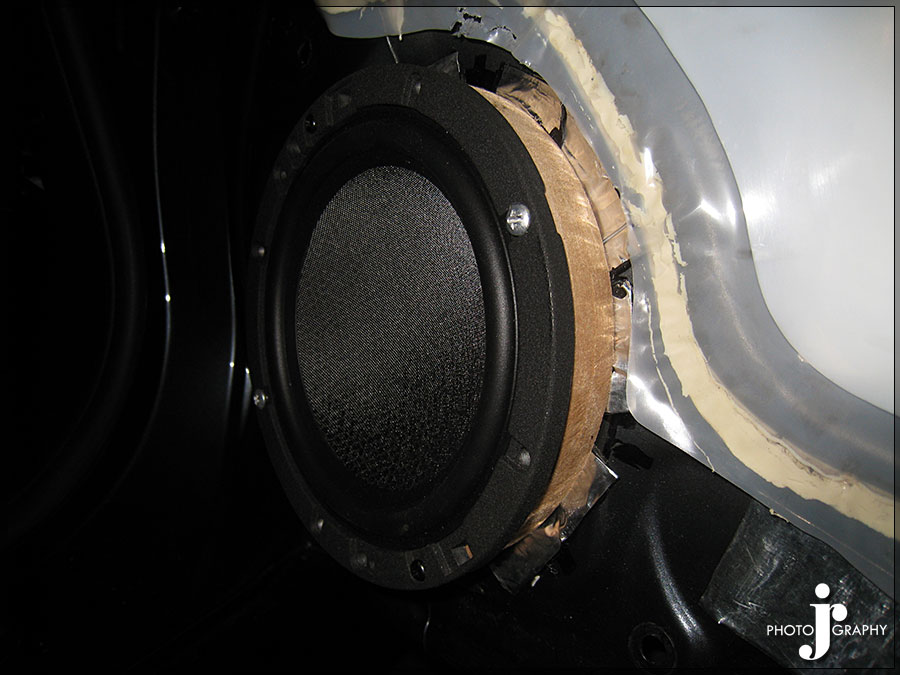
Had to cut a little bit of the plastic around the speaker grill away to allow for the door panel to fit back on since using the speaker spacer.
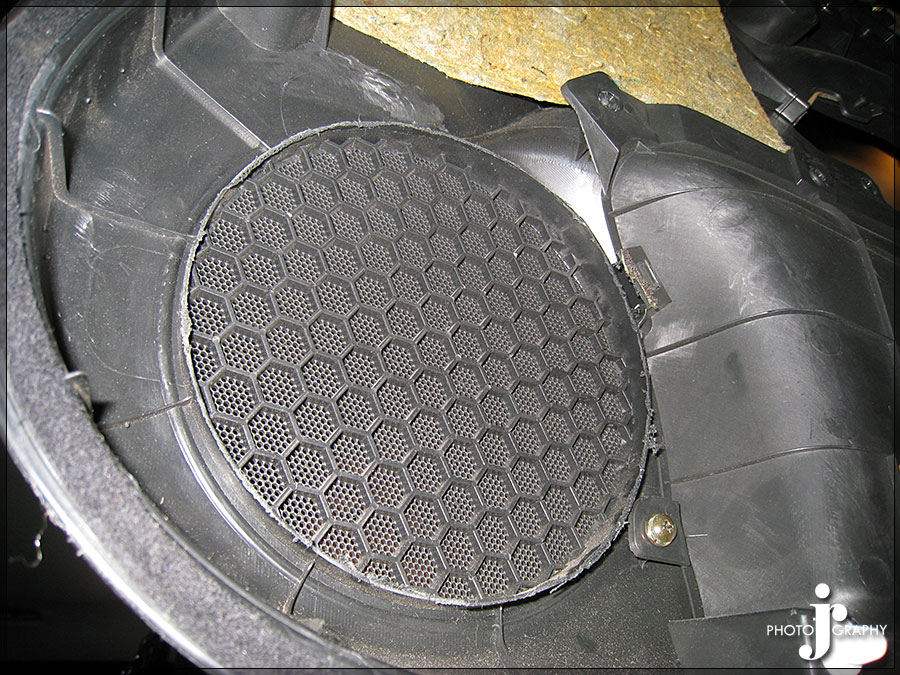
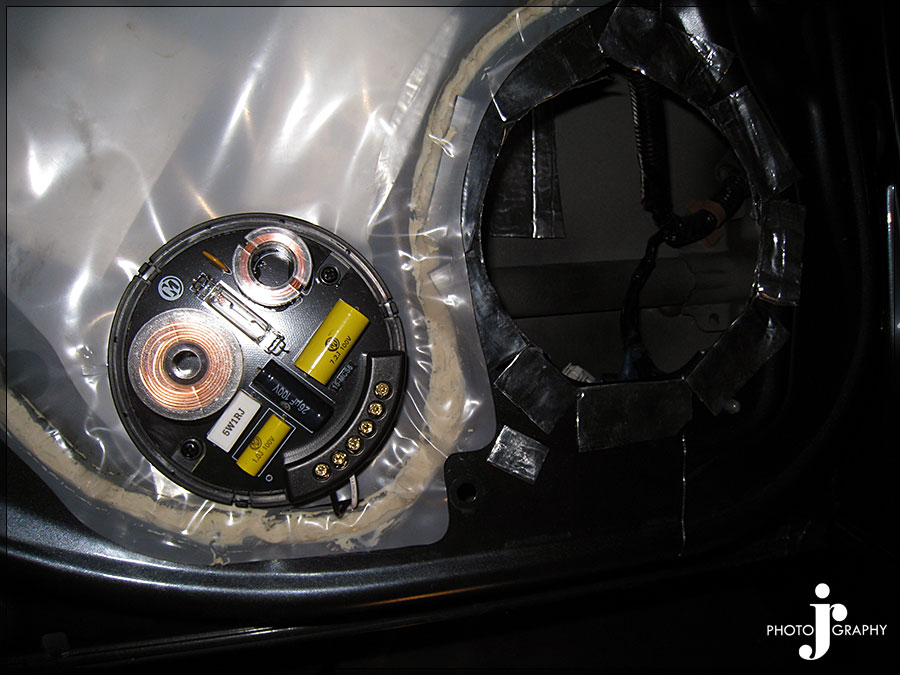
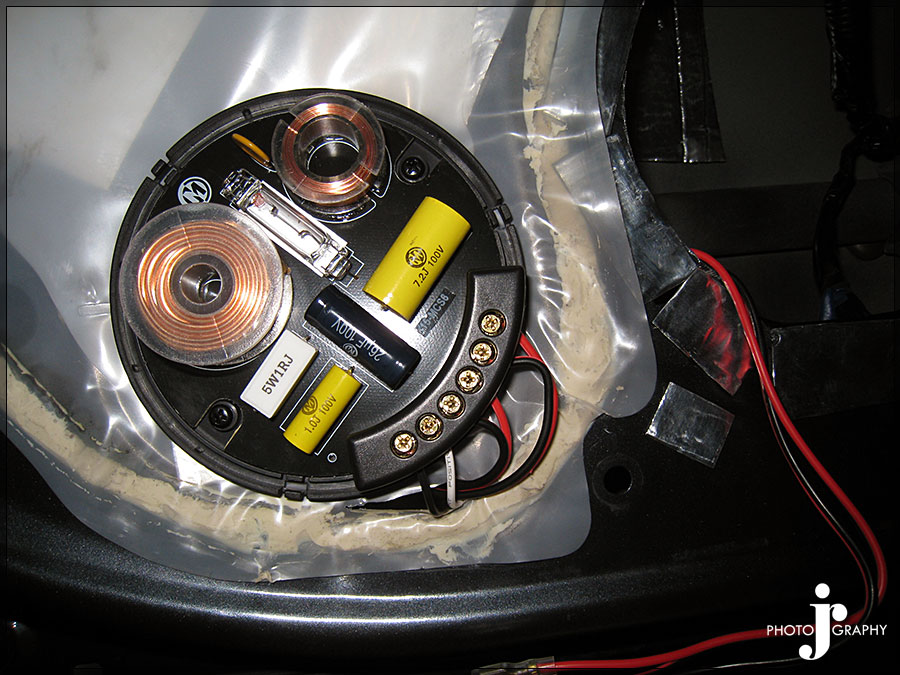

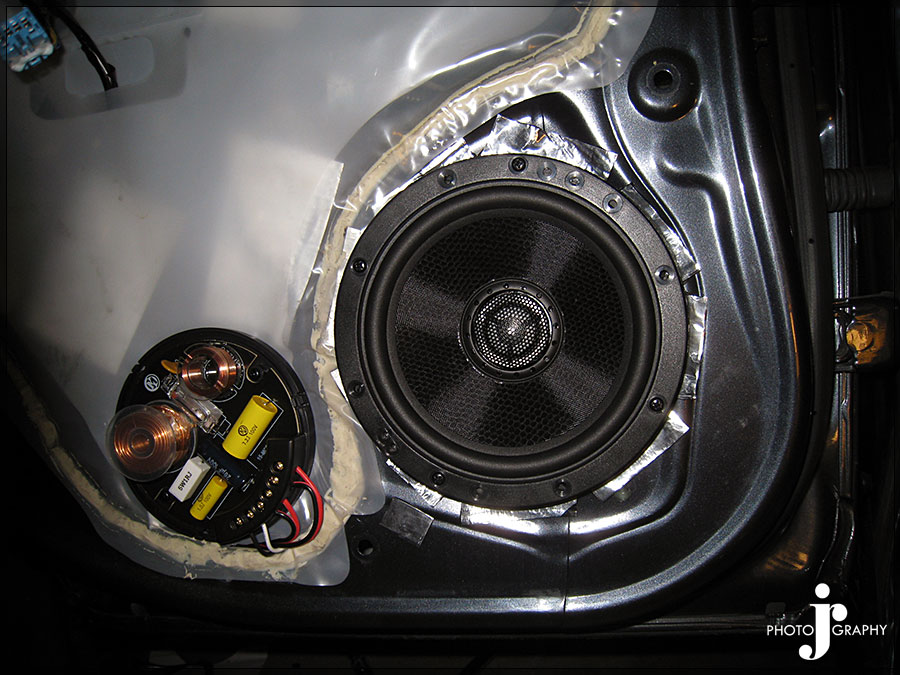
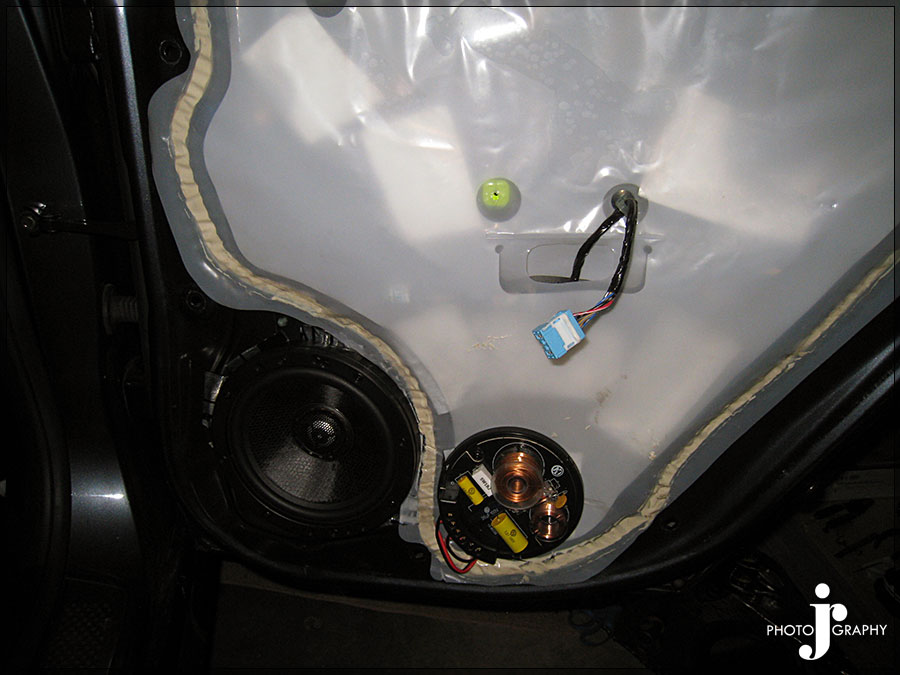

Custom Tweeter Install and Harnesses
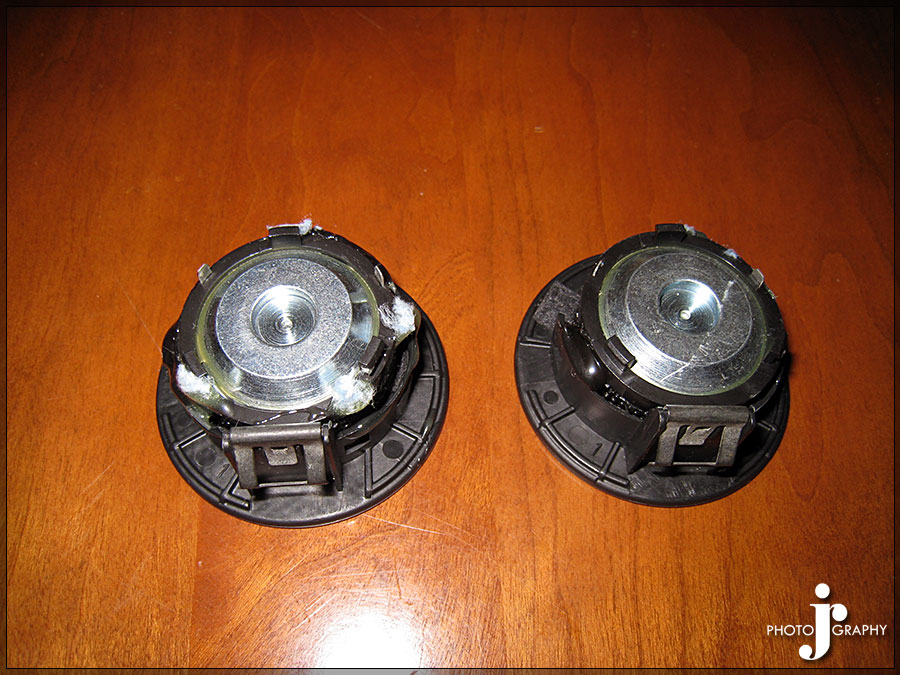
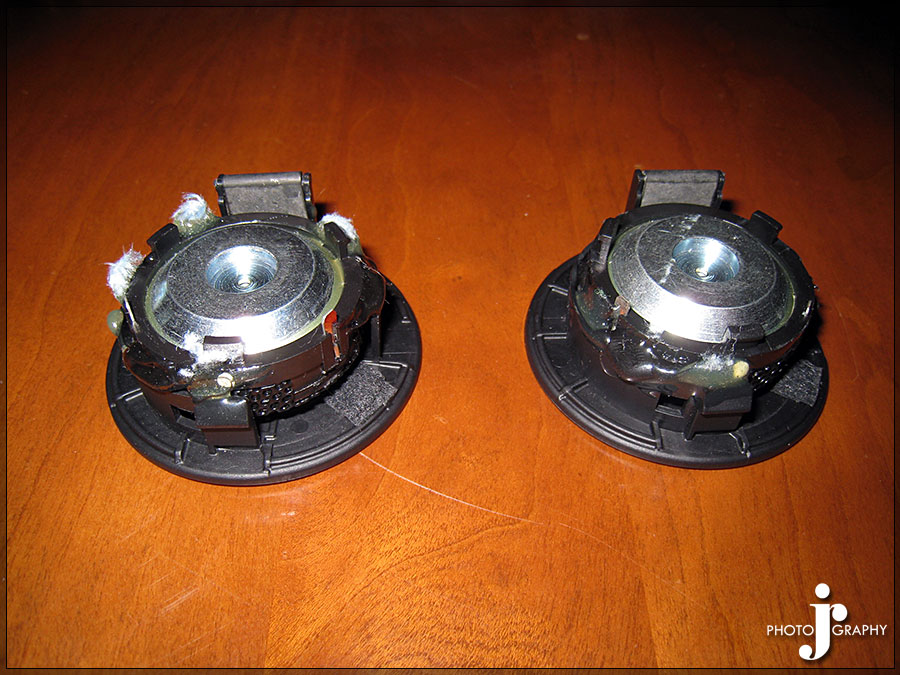
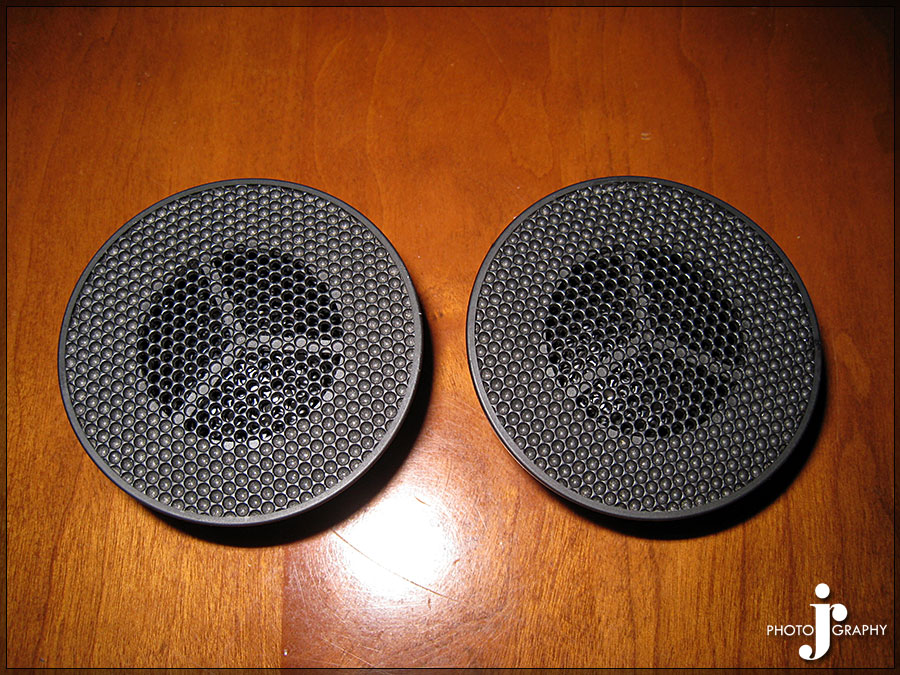
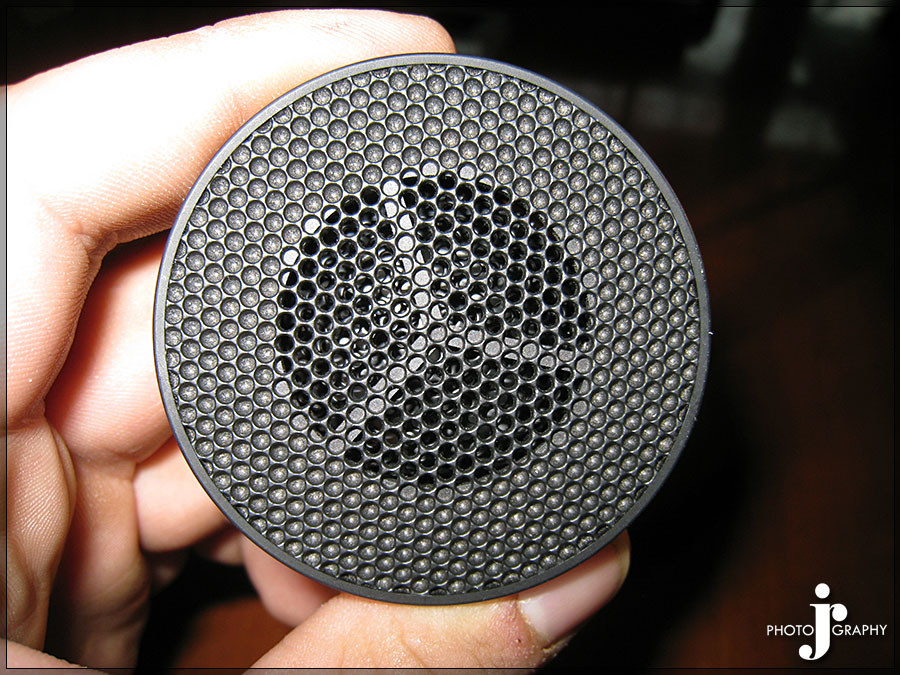
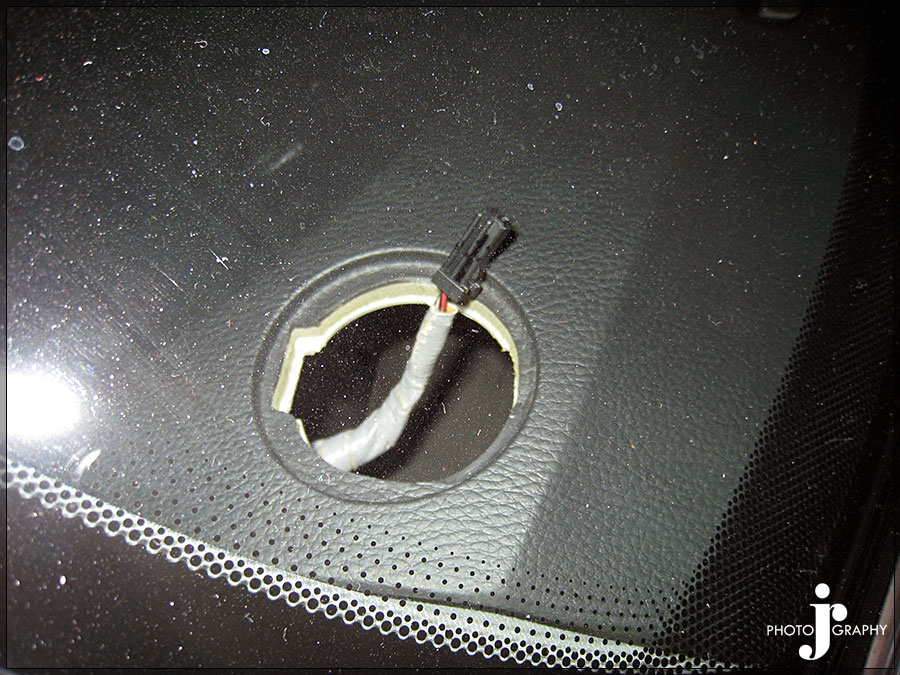
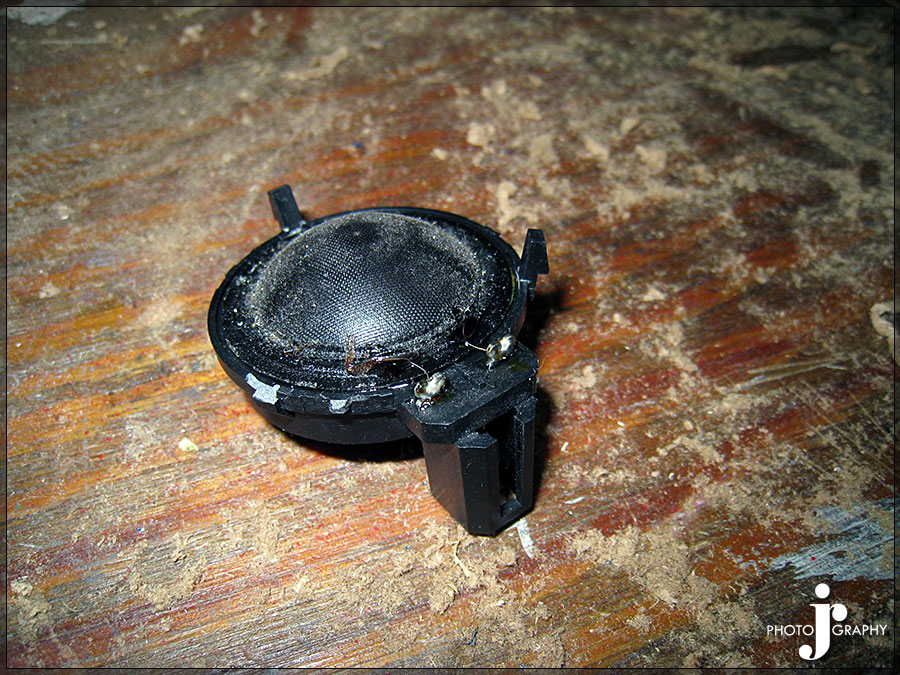
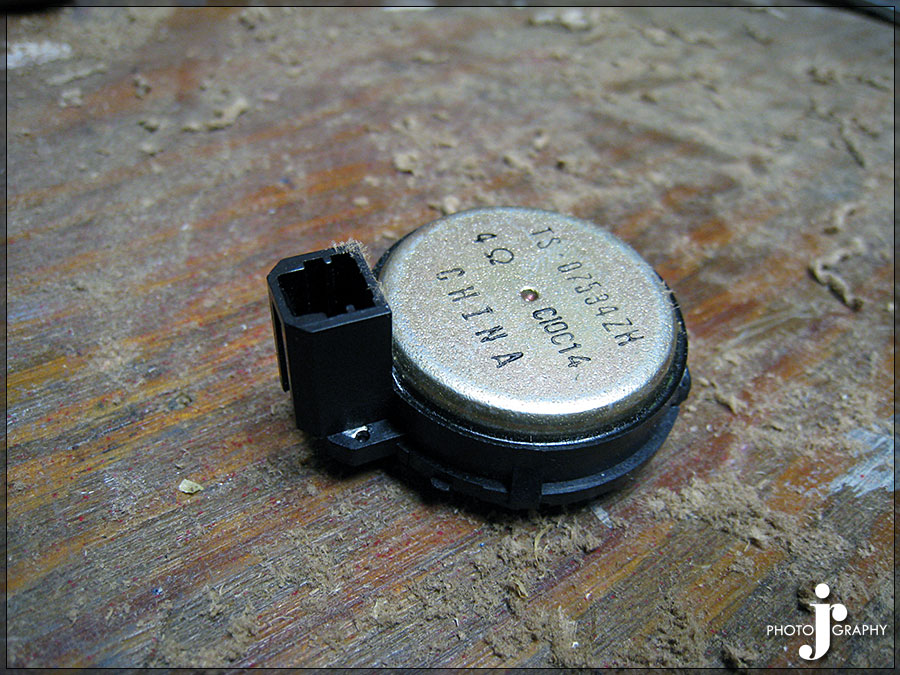
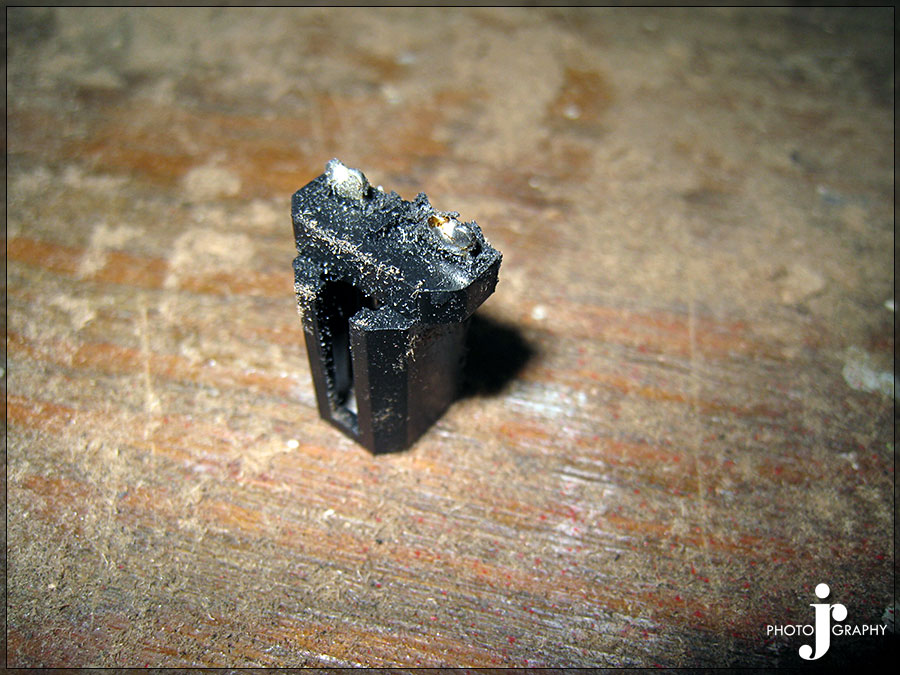

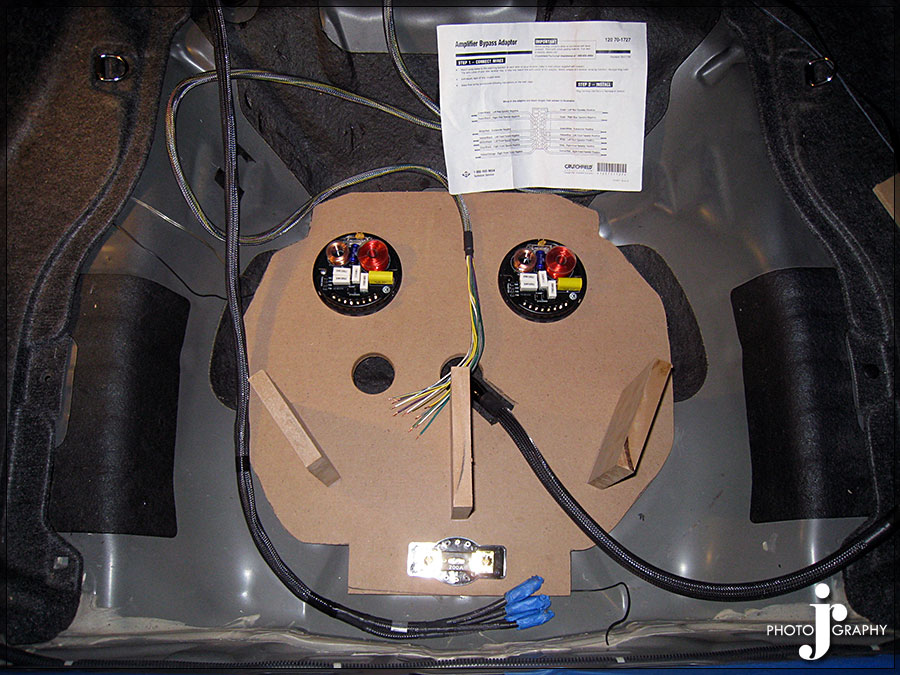
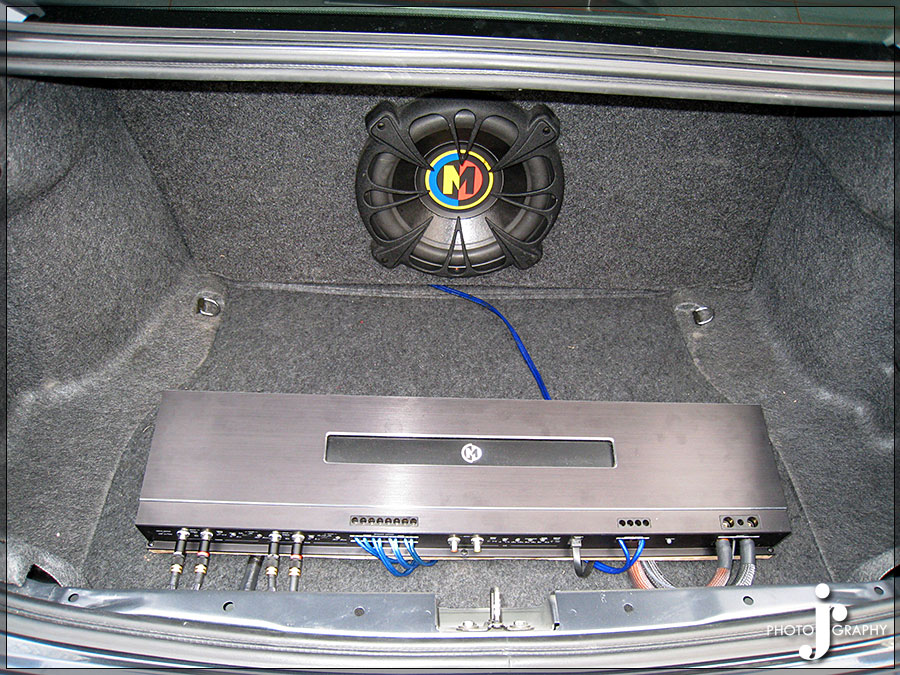
For the amp rack design I decided to do something simple so not to take away from the Carbing brace. I decided to mount it in front of where the Carbing trunk brace will be mounted. I didn’t want to just mount it flat so I decided to mount it at a 15 degree angle instead. I am using the OEM trunk carpet for the false floor so that it has perfect fitment with the floor. I designed a base inside the spare tire compartment and then created vertical supports to support the weight of the amp. I then reinforced the OEM insert with a 1/2in thick piece of MDF. I made 4 sloped 2 inch risers to support the amp that lined up with the reinforcement board. I then cut 3 ovals to run the wires up bellow the amp between each of the four slopped supports. I mounted the front crossovers and the amp external fuse on the hidden floor under the false floor. The amp is currently mounted on a 1/2 in piece of MDF which will be replaced with a 1/2 in piece of frosted plexi that will be lighted up in either blue or whilte LEDs. The ground wire in the picture was not long enough for the install so it is currently routed incorrectly in the pictures for test purposes. The power wire is correctly run under the false floor but the wire to the battery was run outside the car for test purposes as well. I unfortunately forgot to take pictures while making the amp mount but will take pictures of it when I install the plexi piece instead.
Panel Under False Floor
 False Floor
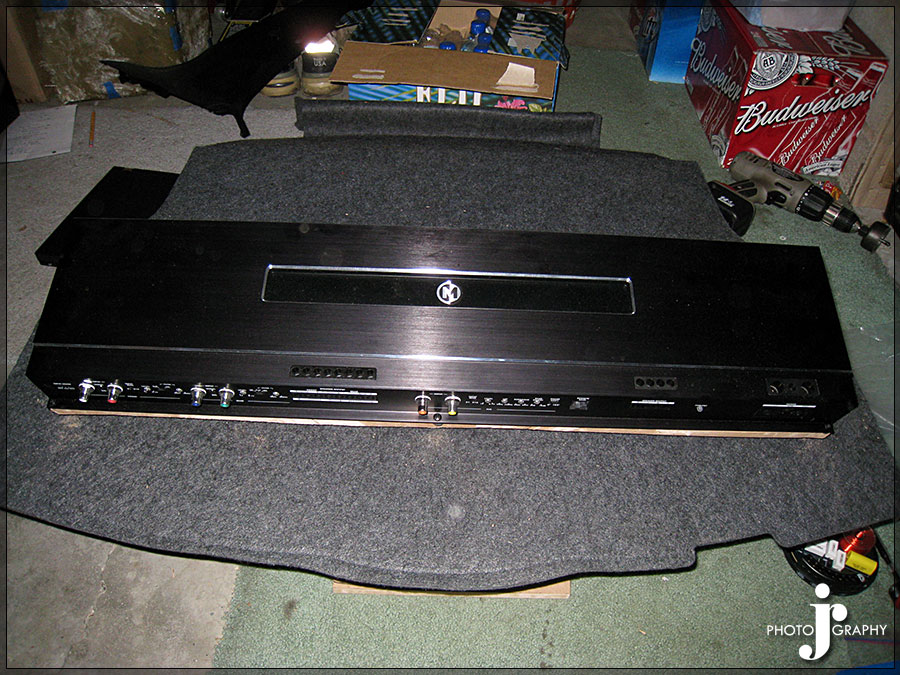 Wiring Below
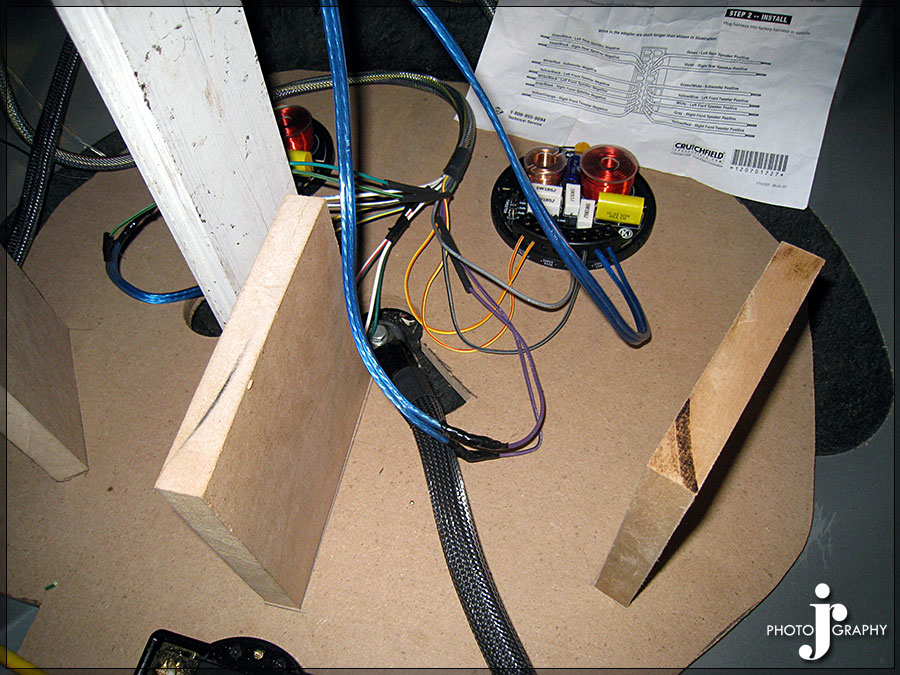
 On the top of this picture you can see the holes for the wires that were cut in the false floor below the amp rack.
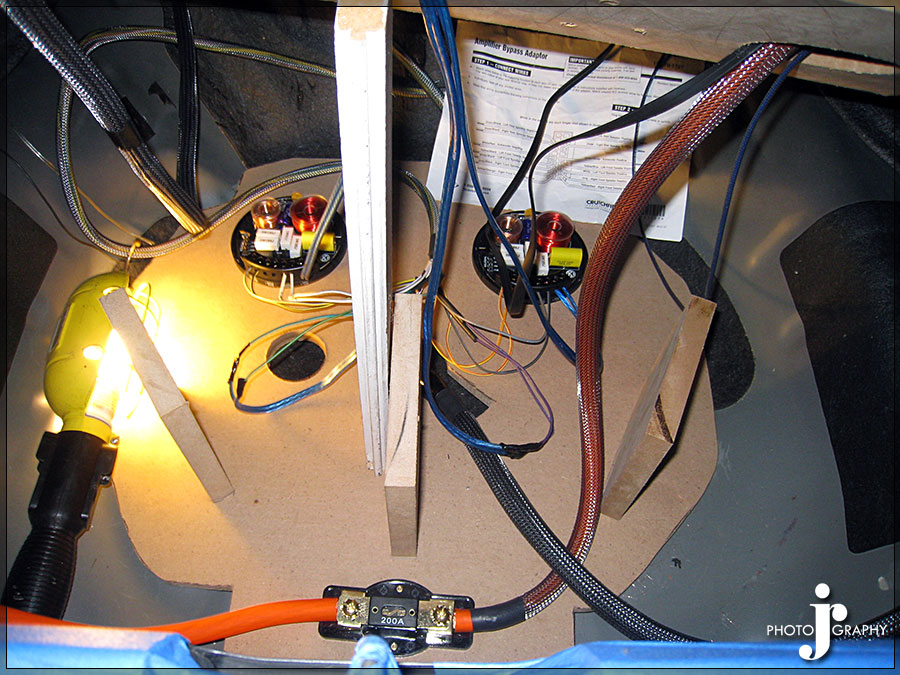

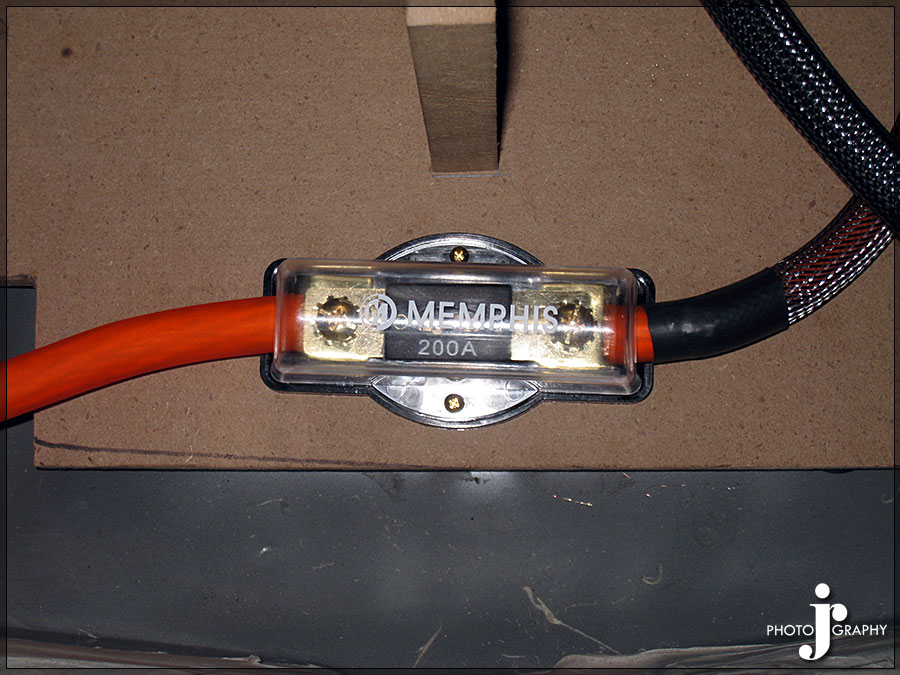
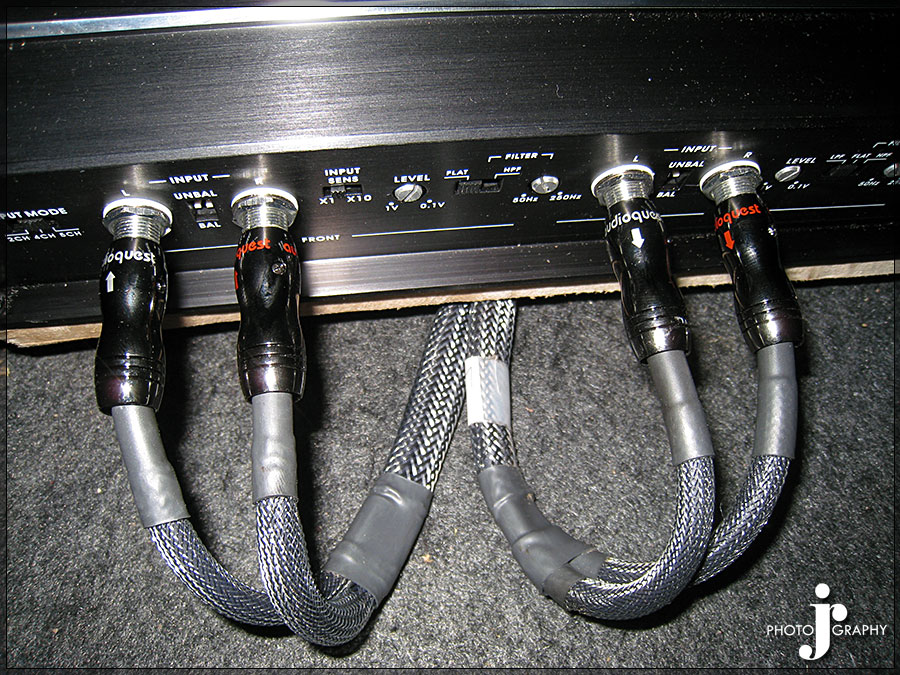

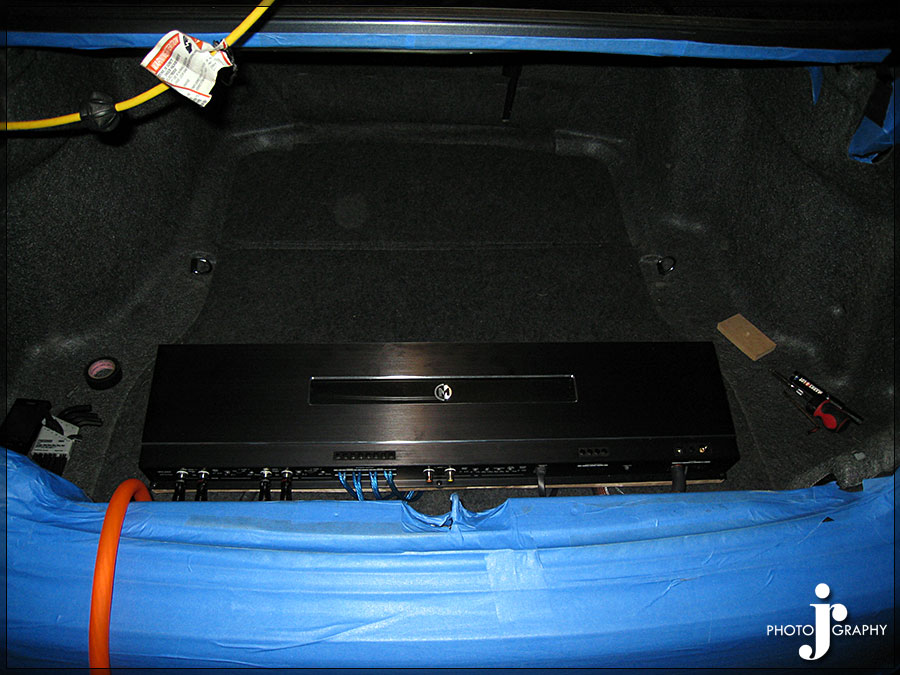
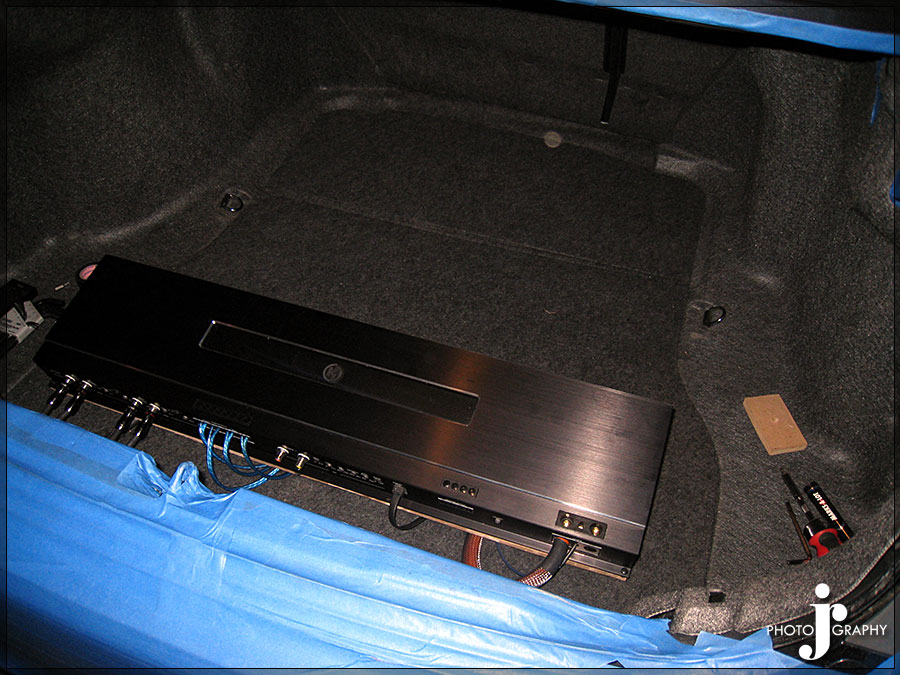
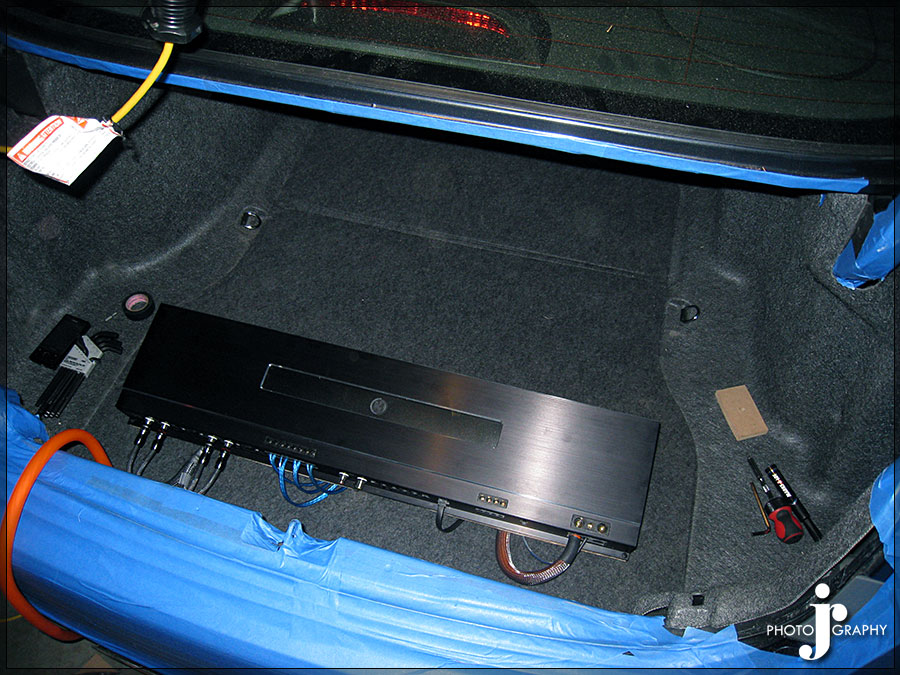
 Lights on the Amp
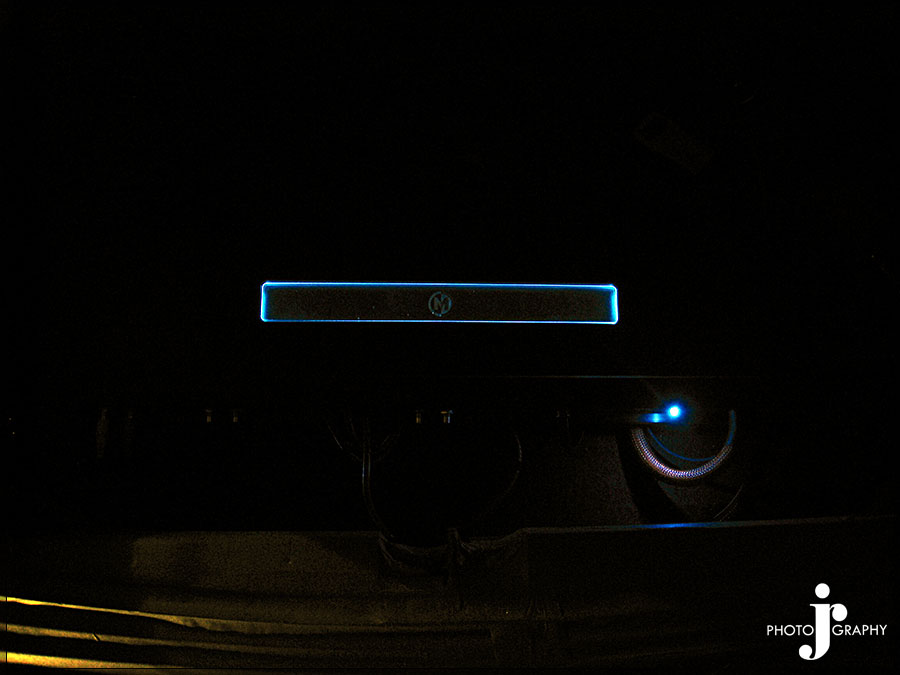
The plug and play harness did not work correctly and I believe there are issues in the RCA connectors so I will be ordering new one to try again cause I believe they are touching as they tripped my amp into safety mode. I tested the system using my iPod directly connected to the amp and putting the amp in 2ch input mode. All speakers play perfectly and the sound quality is amazing without even having tuned the system yet. Hopefully in the next month I will get some more of the system completed.
Stage 11 – Phase 2 Primary Install
Well I went home again this weekend and got another day worth of work done on the car. I figured out what was wrong with the RCA plug and play cable and now I have sound from the factory head unit. I tested it again with the power wire run outside the car and I have no signal noise. I then proceed to run the power wire through the firewall through a large grommet in the middle of the firewall for the primary harness to the interior. I had to make a slit in the grommet and then fed the 0 gauge wire through and into the interior. It comes out near the back of the radio and then was run down the passenger side.
In through the firewall
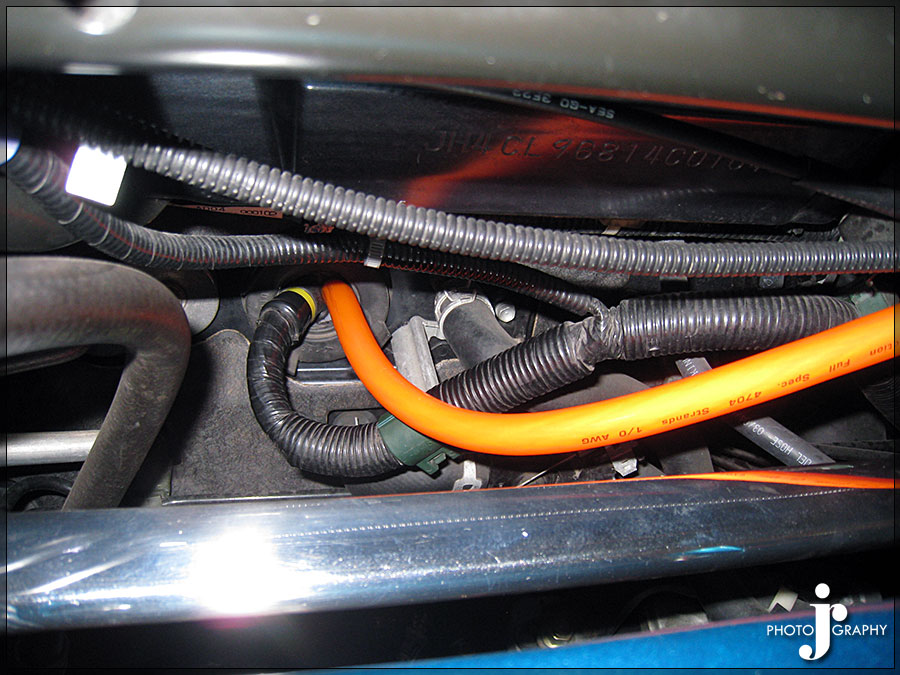 Most likely path to battery
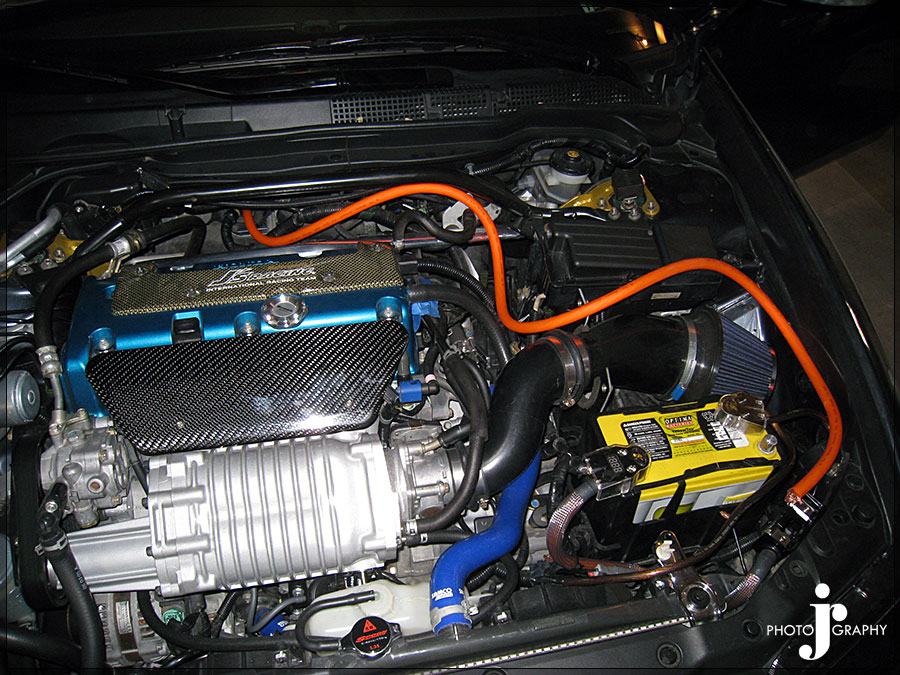
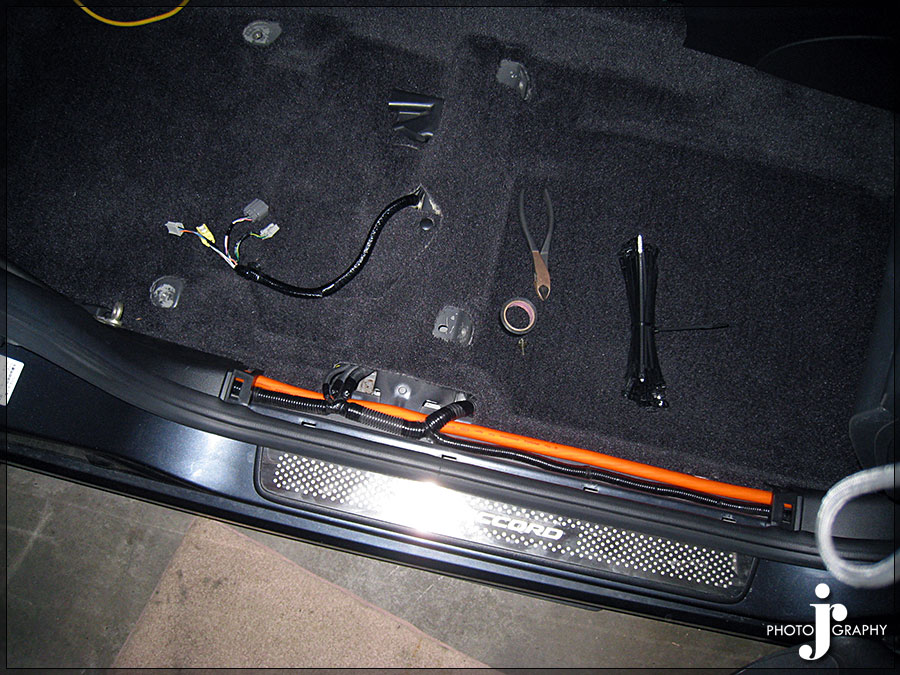

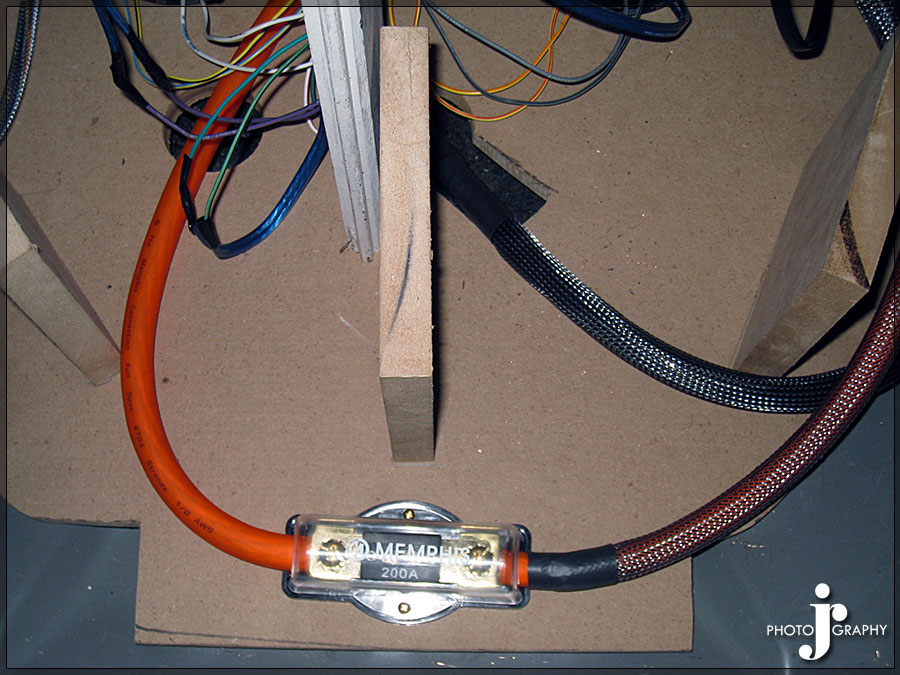 Here you can see better the design of the amp rack and how the wires are run to the amp
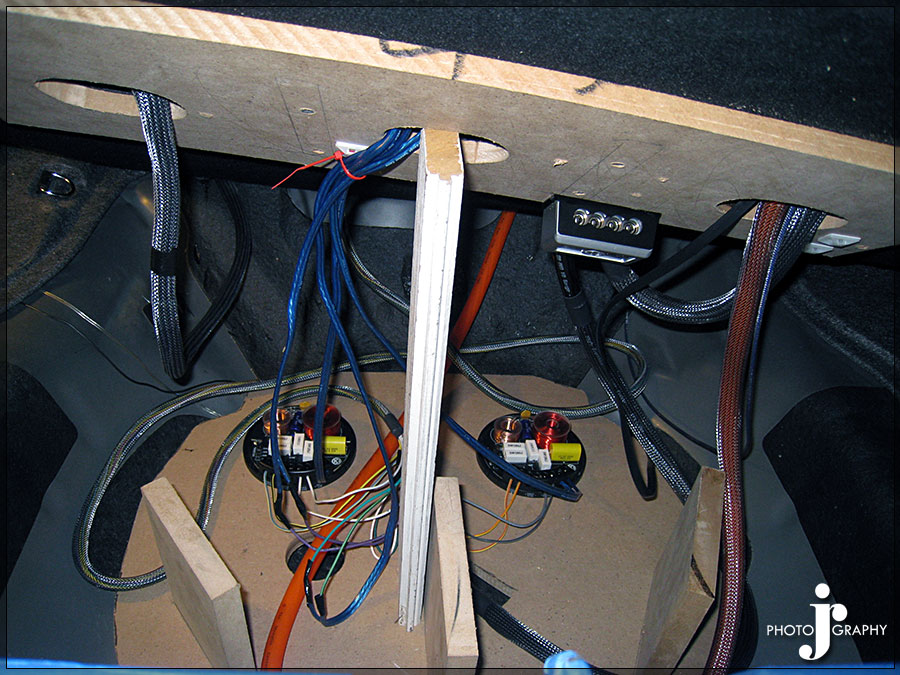
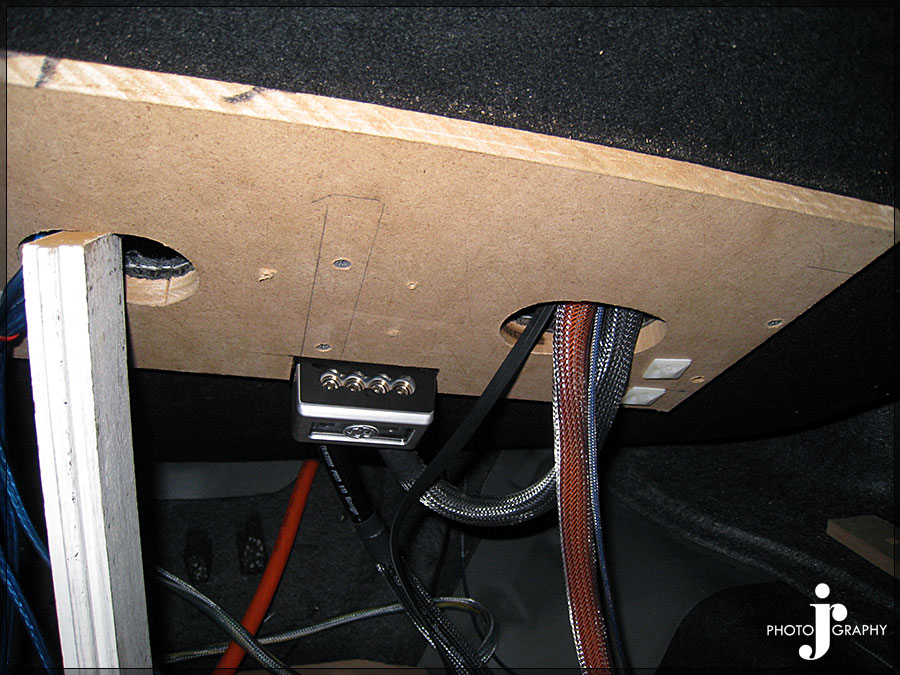
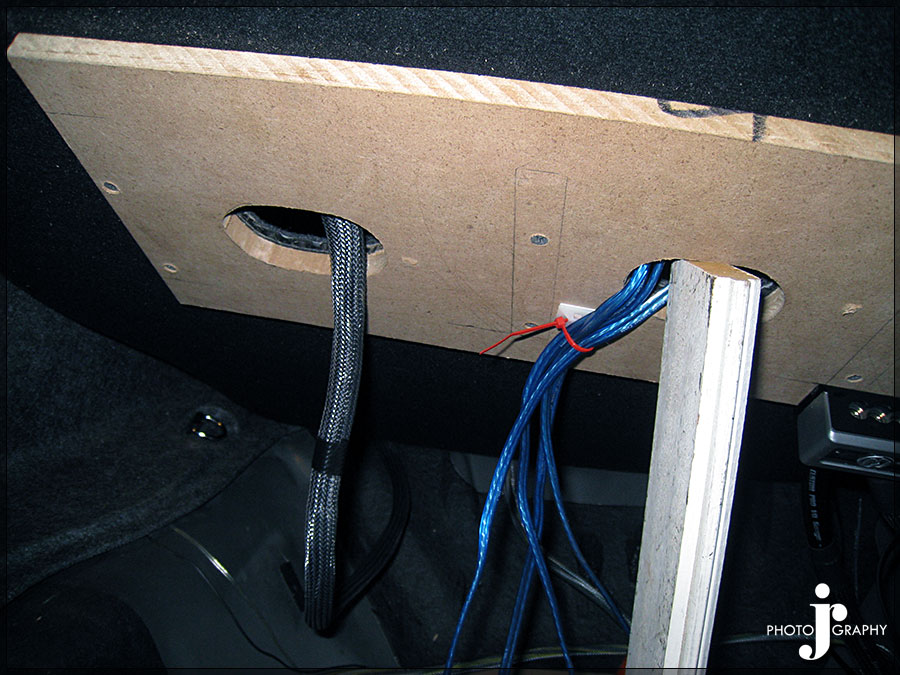
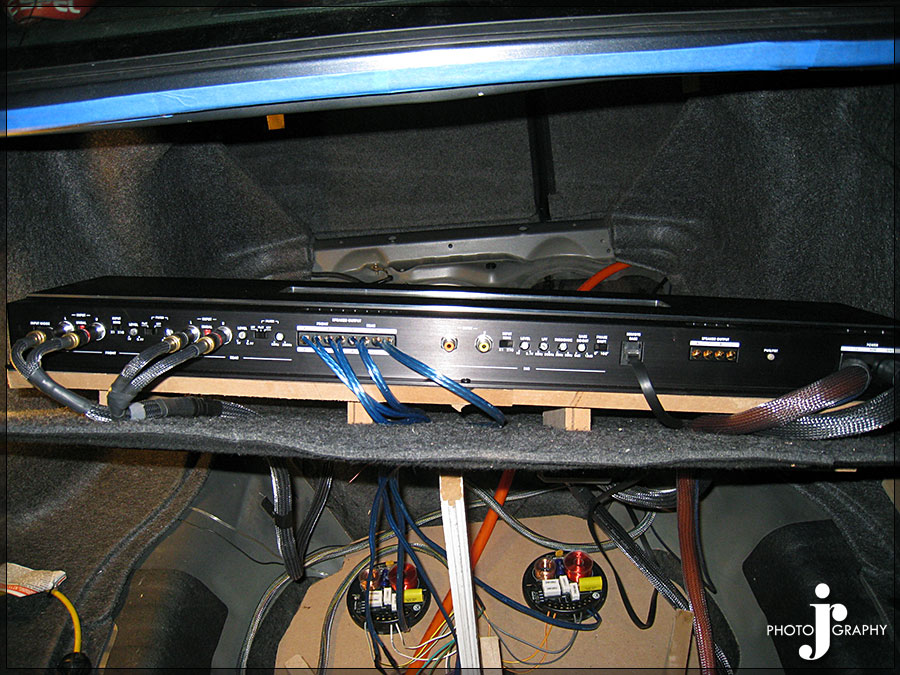 Amp wiring finished in the trunk
 Engine portion covered in wire loom and zip tied to factory harness to blend in
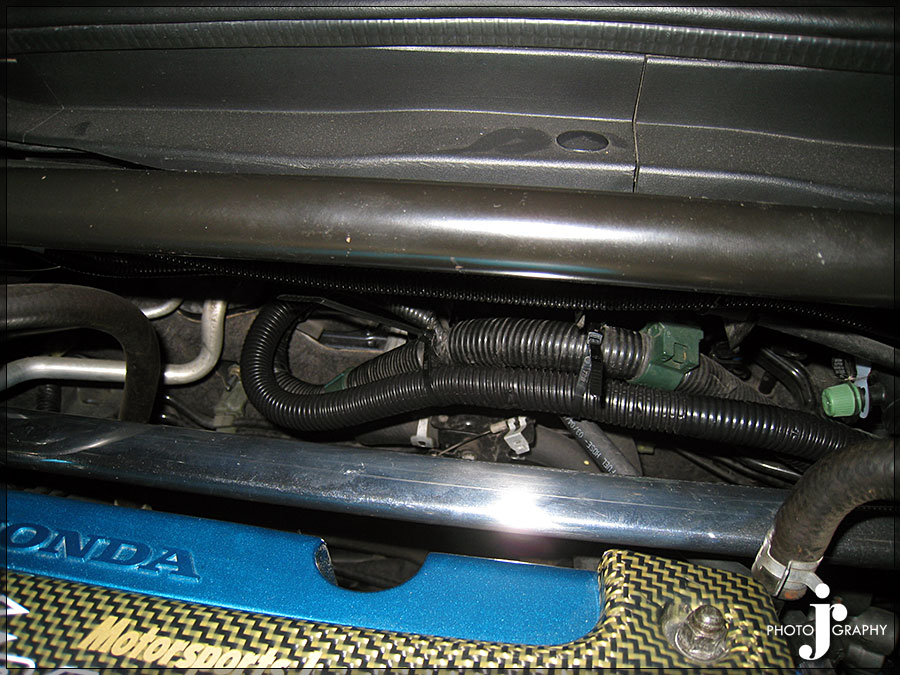
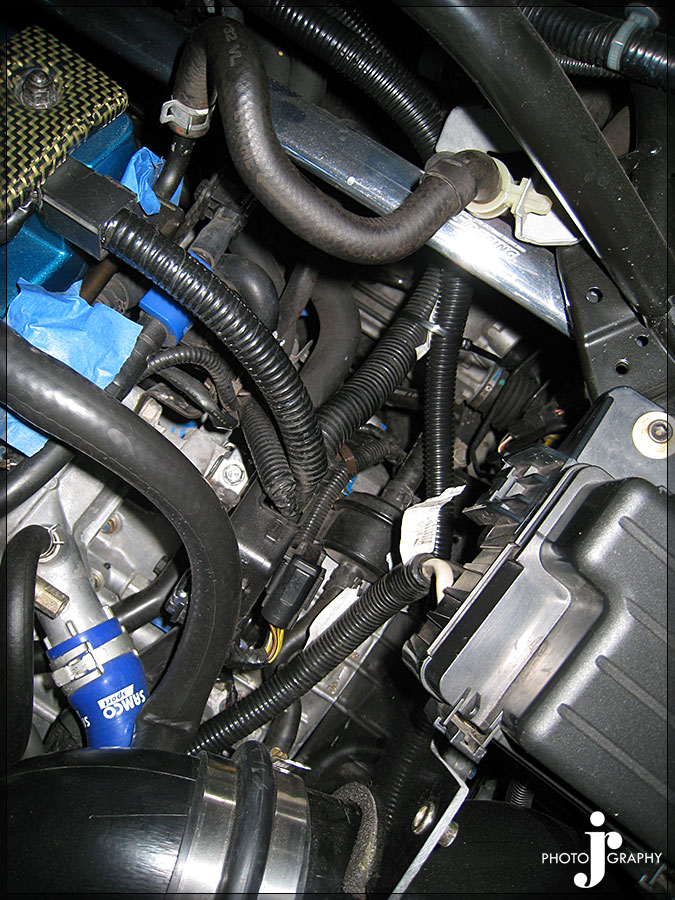

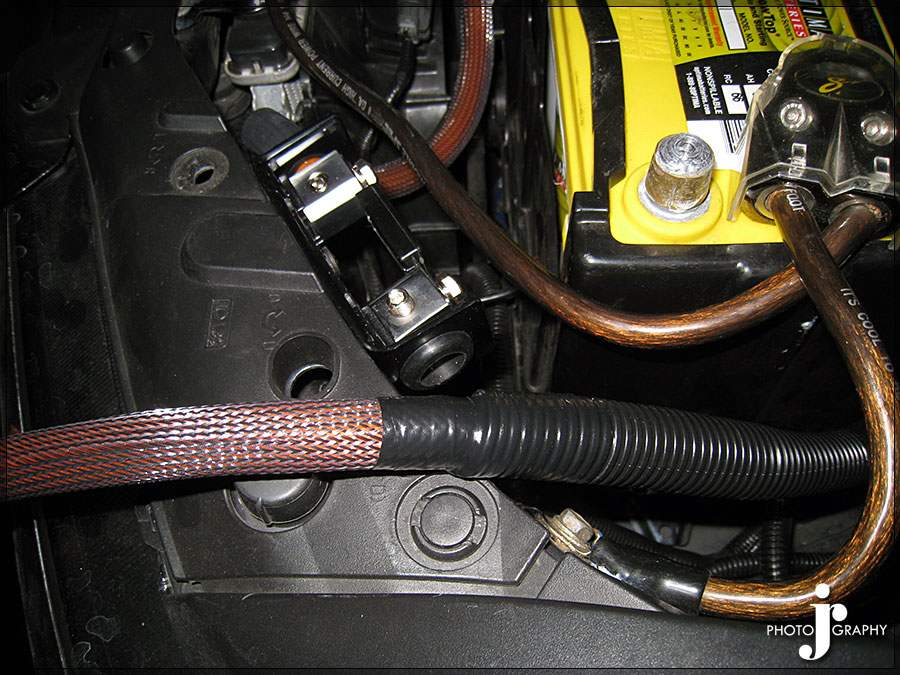
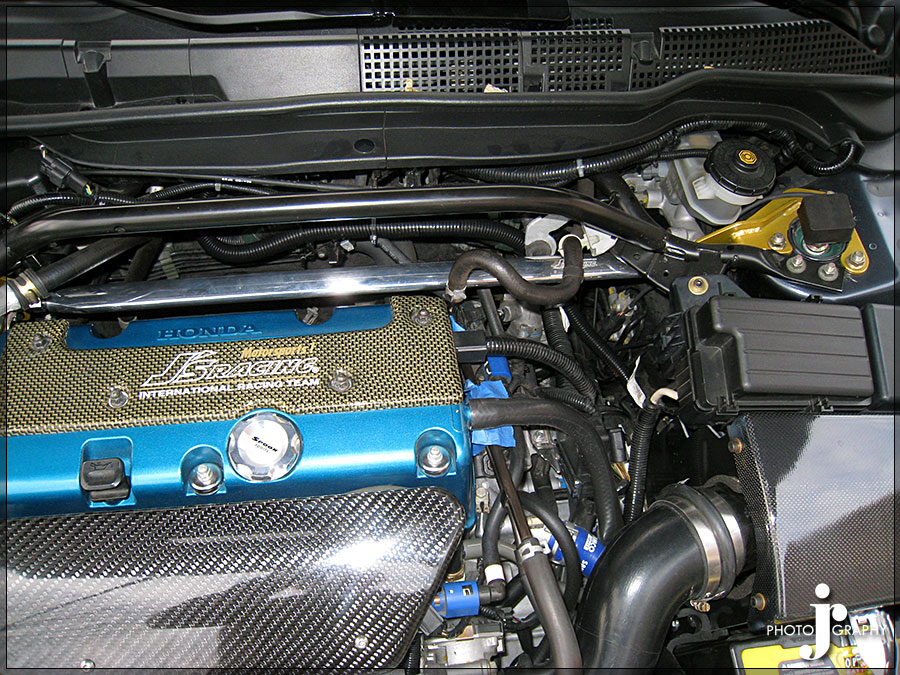
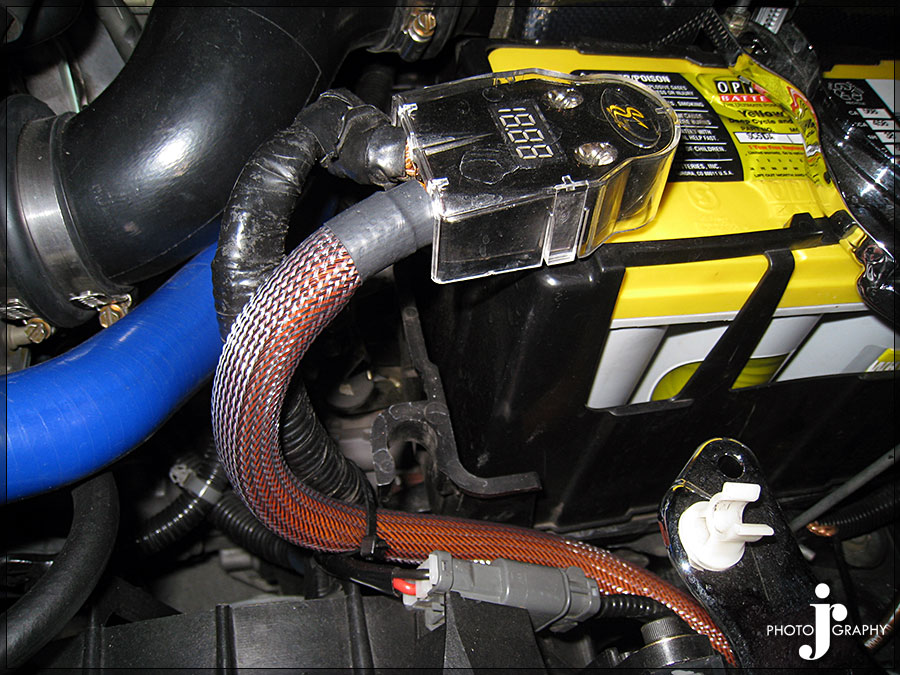
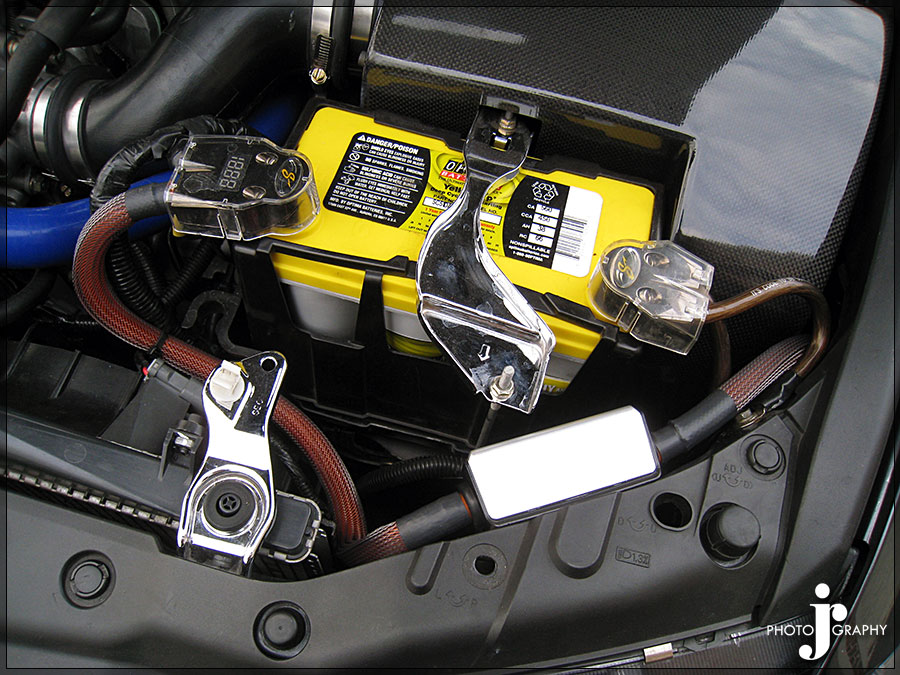
 I then realized that the amp which I would be running in the end at 1ohm to output 1100 watts to two subs could run at 2ohms and output 550watts. This is only 50 watts more than my old amp output at 2ohms so I installed my old sub box for now so I could have a complete sounds system for the time being till I finish the fiberglass boxes.
 After the sub was installed I took the car for a spin and noticed I have a terrible engine whine which I did not when testing the car with the power wire ran outside of the car. This is an issue to be cause the purpose of using the harness design I made was to eliminate the engine whine. I believe the reason for the engine whine is because the power wire runs directly behind the headunit basically. So I may end up rerouting the power wire under the car instead so that I can eliminate the engine whine.
Once the wiring was done I could finally install the Carbing floor brace since I was done working on the interior. Even with the brace set at the smallest setting it is still a very tight fit to get past the plastic B pillar panels. The way the bar fits though it would be extremely hard to put the panels back in after the bar was installed. I unfortunately scraped the one new side panel during the install but it should always hopefully be covered by the seat. I tightened the bar till it was extremely tight against the sides of the car. I have no idea whether it is over tightened or if that Is possible.

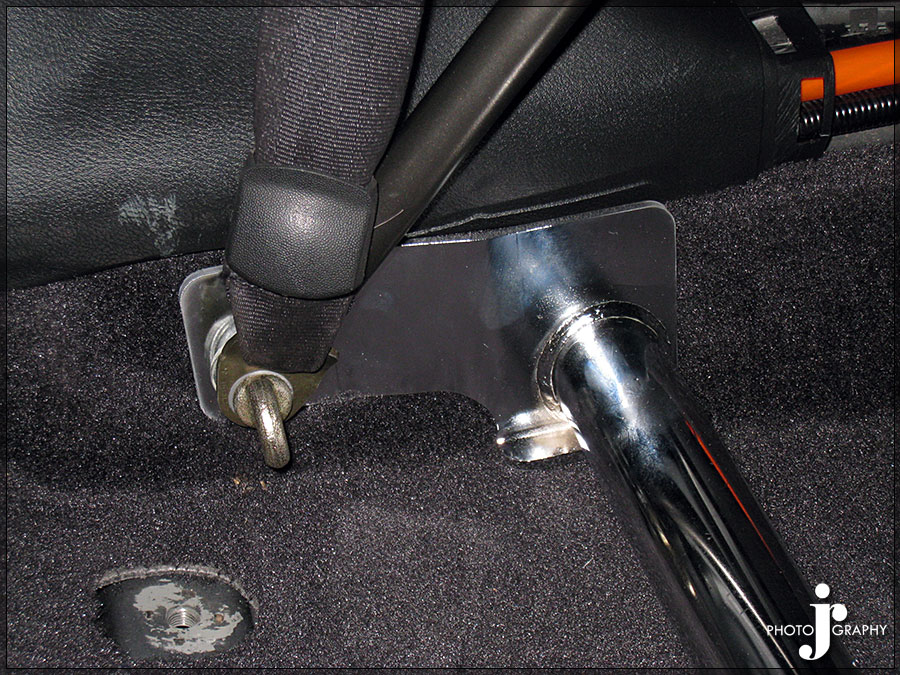
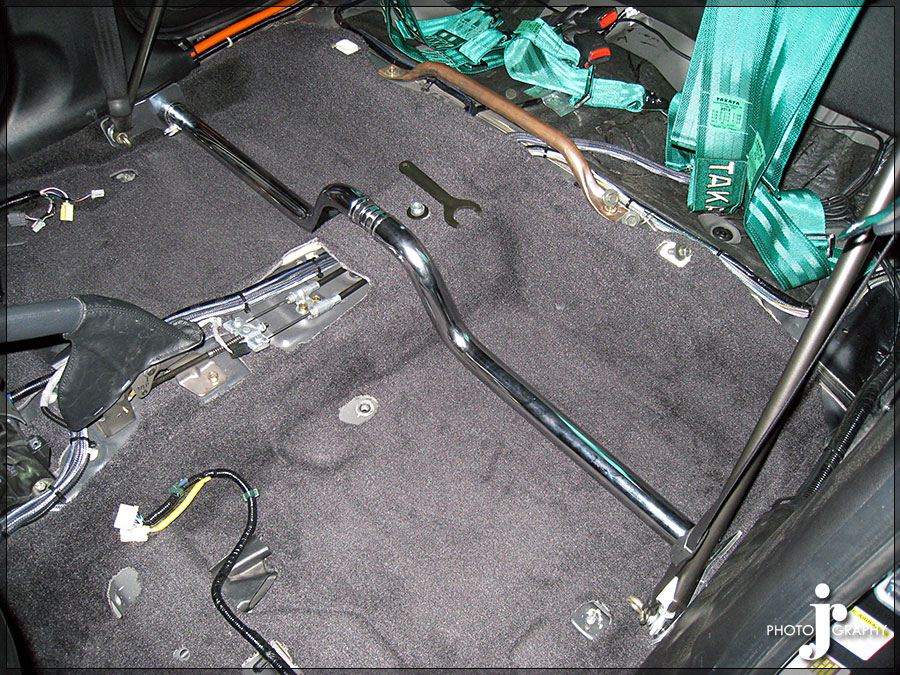
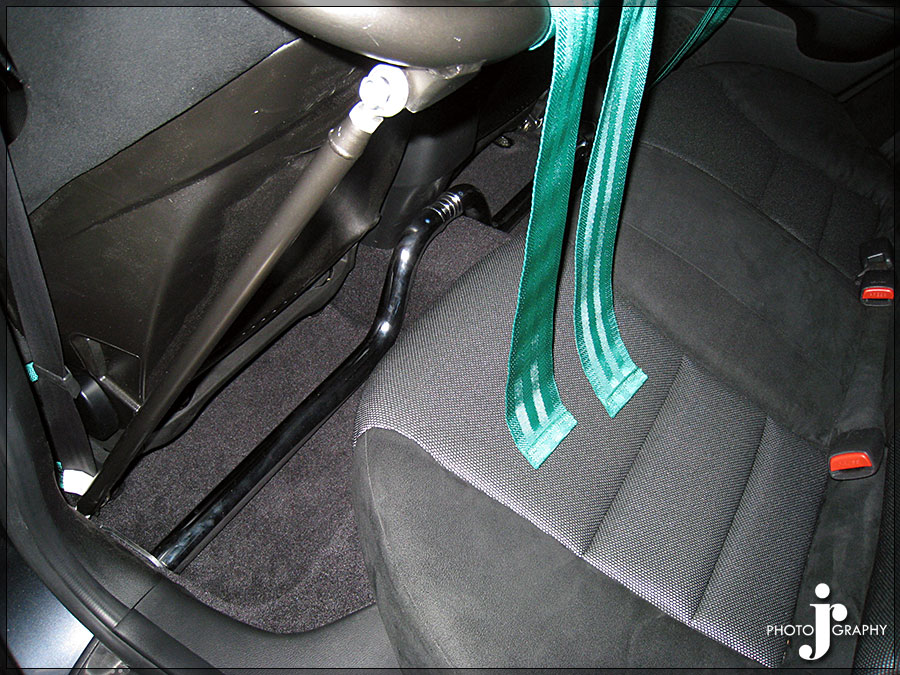
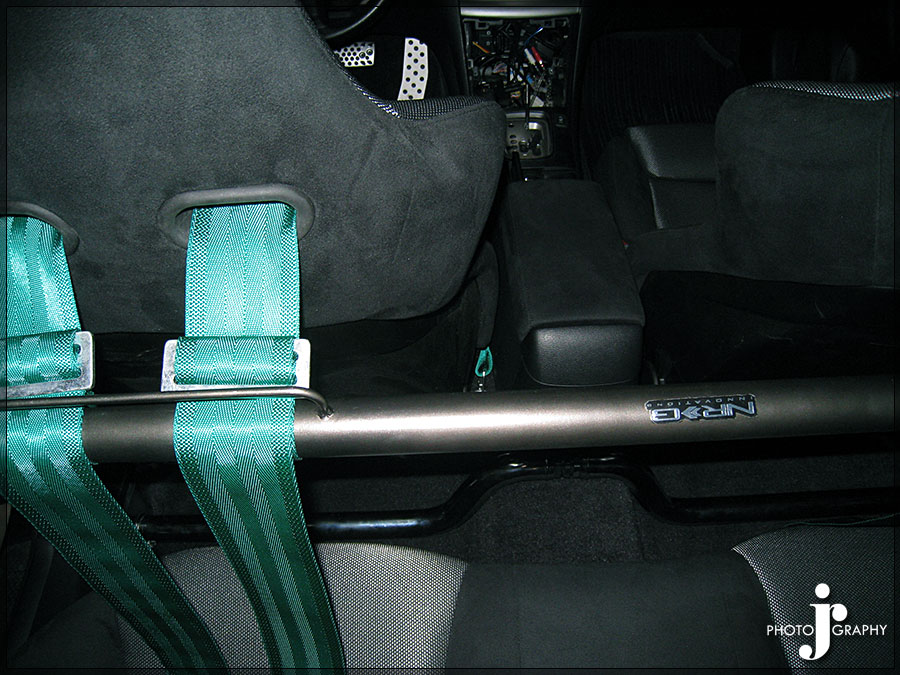
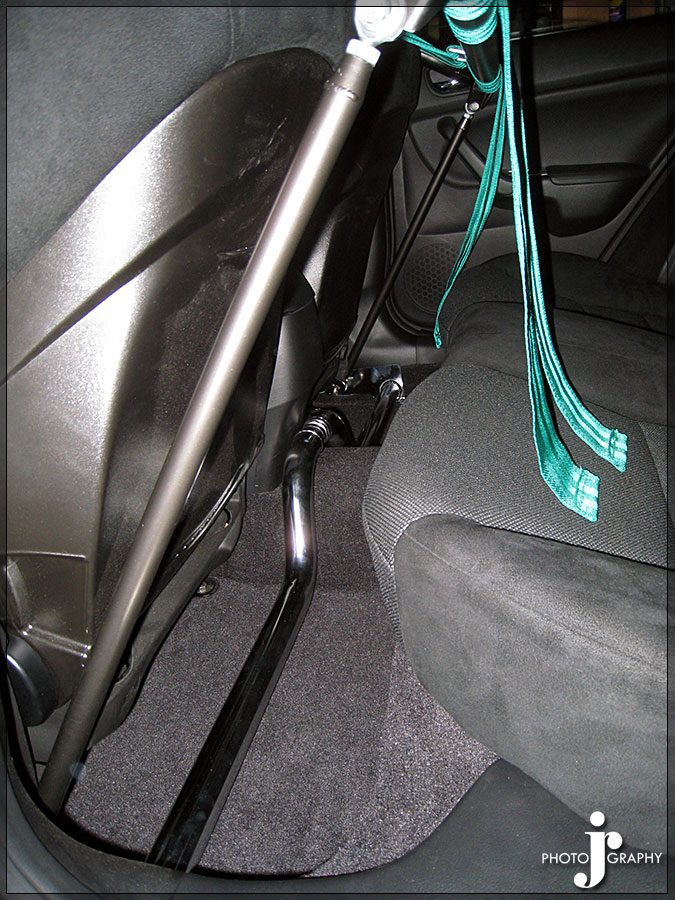 The euro r floormats still fit in under the bar but just barely.
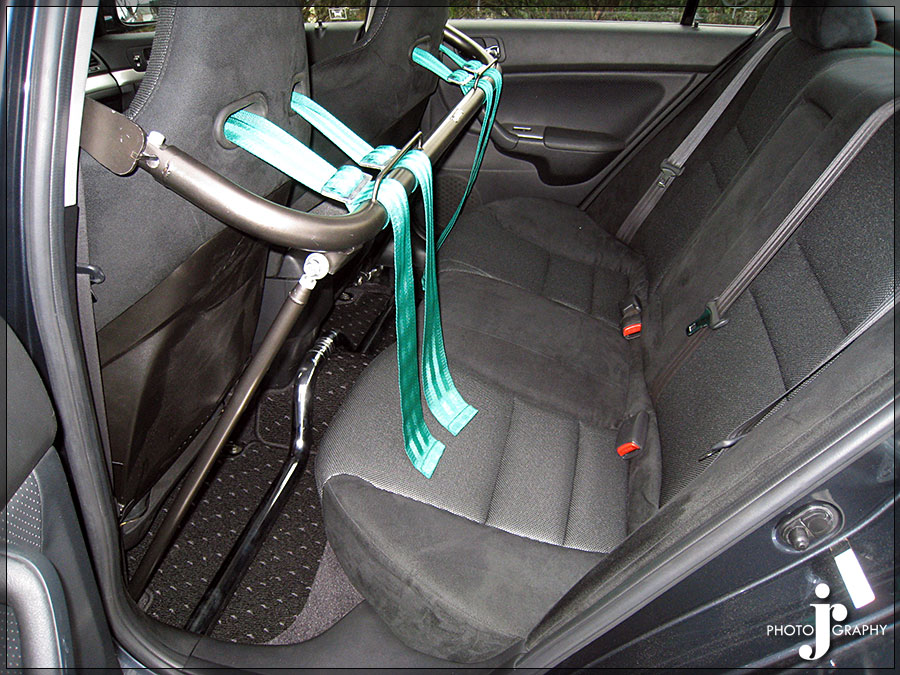

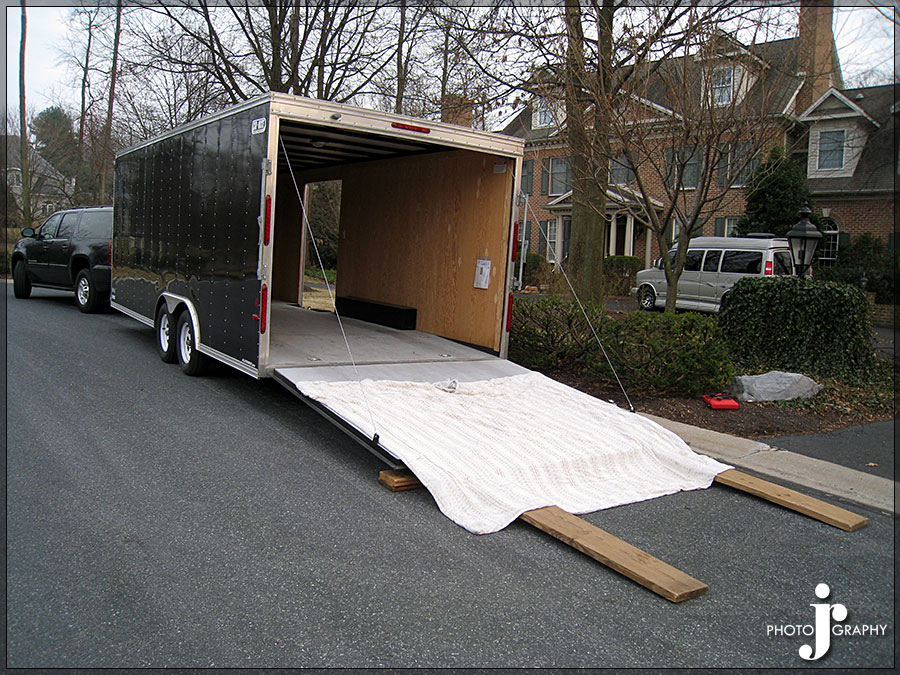
My Dad wanted the rest of his garage back so he didn’t have to worry about possibly knocking something over and denting the car or scratching the car. I had to put the car away because of this so not sure when I will get to work on the car next. I decided since I was pulling it out of the garage to snap a few quick pics for the heck of it.
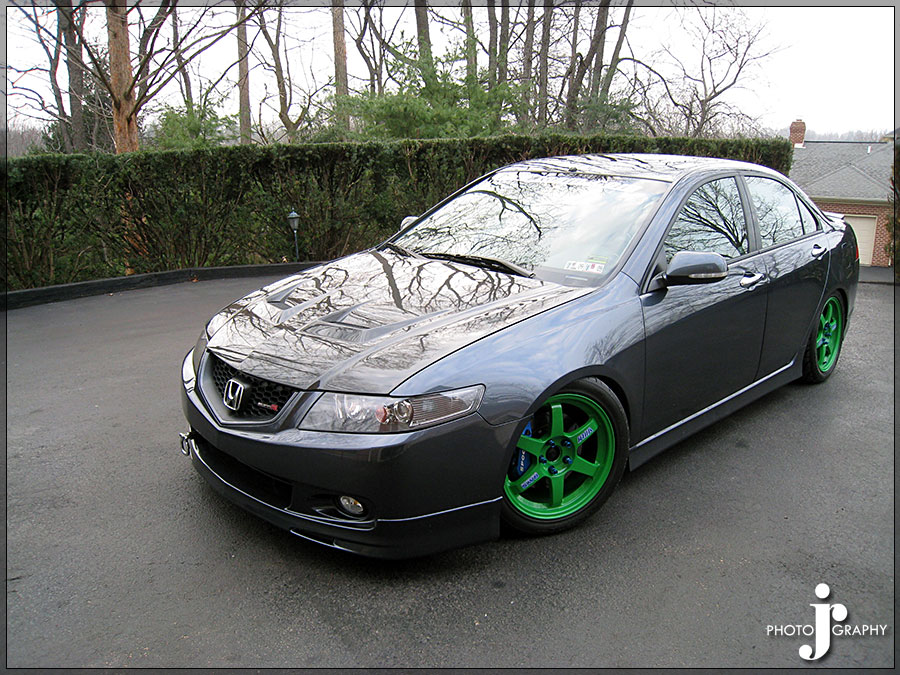
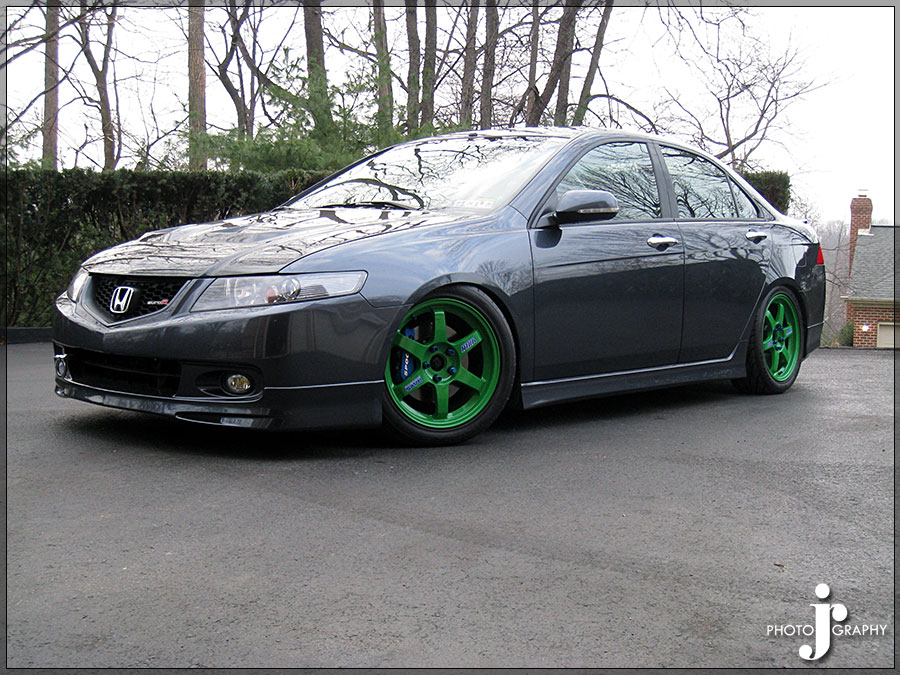
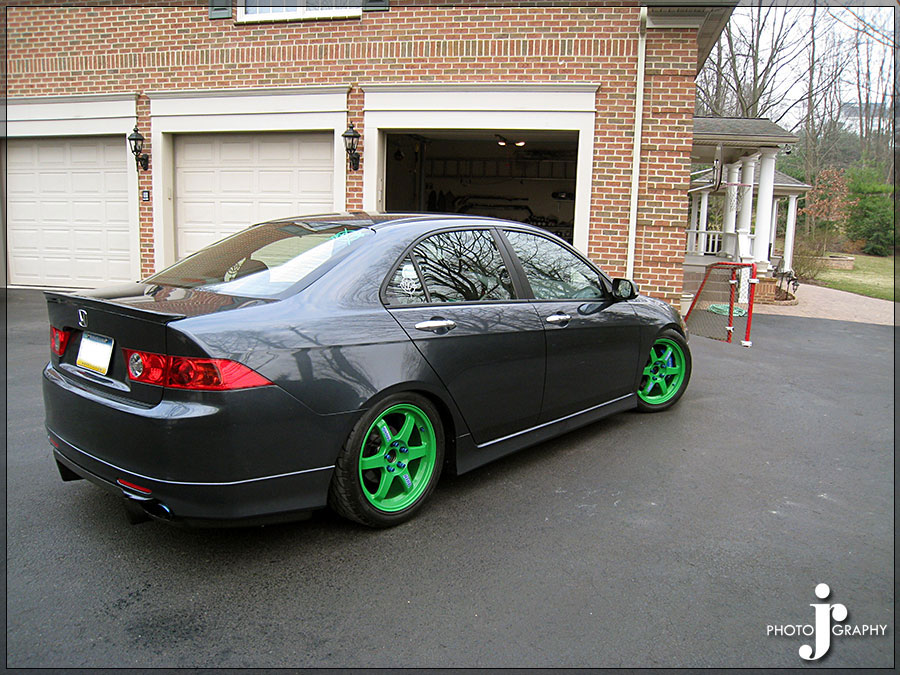
I hate having to put it away in the trailer cause when I come home from school on weekends I normally don’t bother getting it out since I am only home for about 48 hours at a time. Car needs long gradual ramps and a blanket incase the front lip does touch it at least wont scrape then.
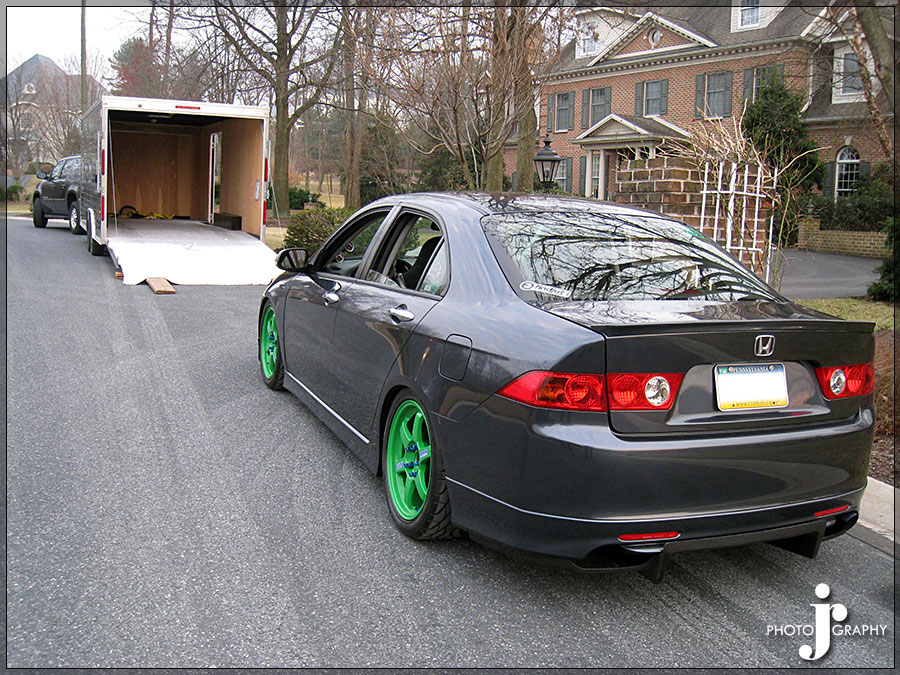



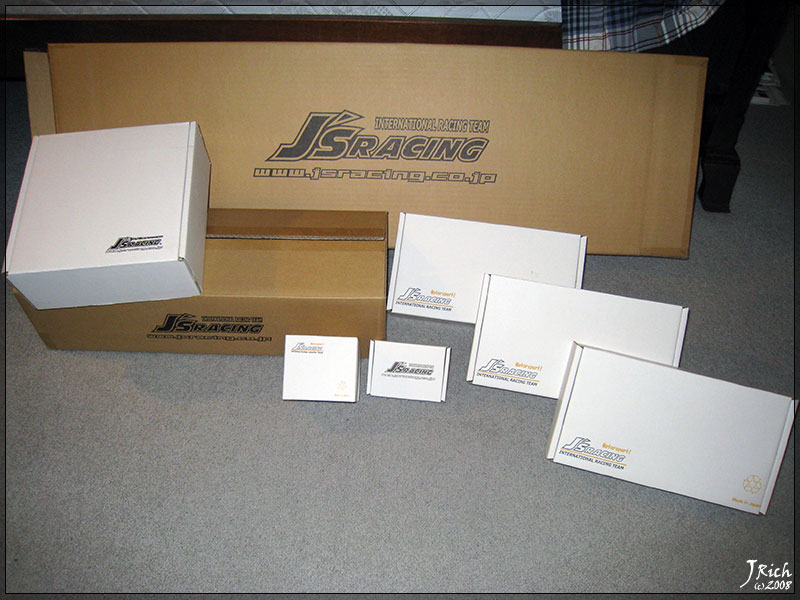
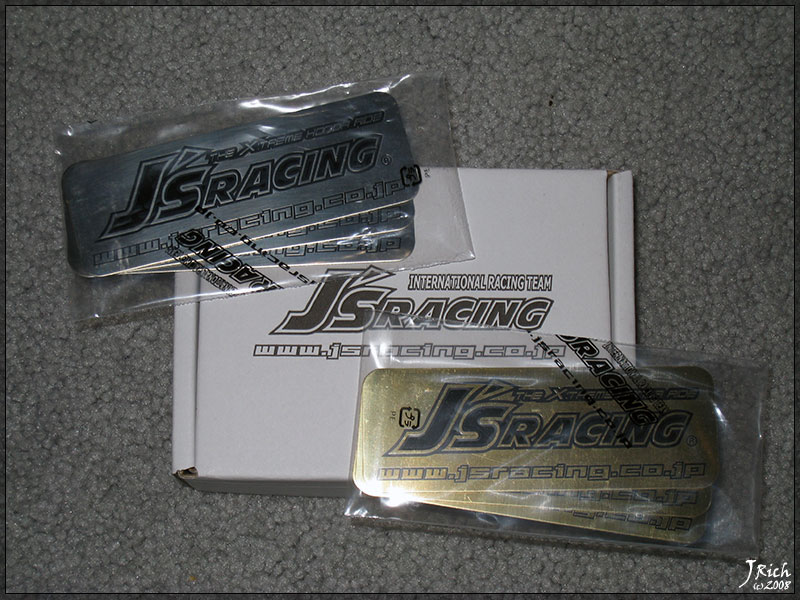
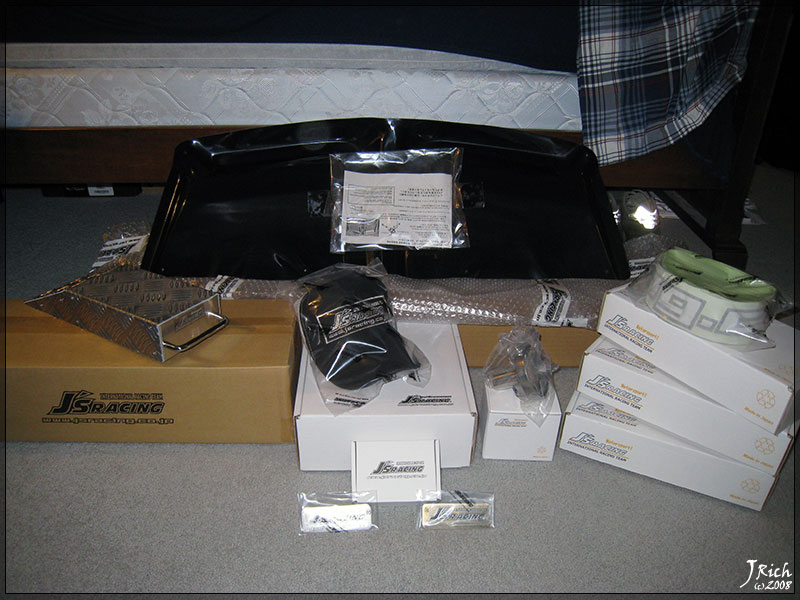 Couldn't decide what color emblems I wanted in my engine bay so I bought 3 of each. I am leaning towards going with gold cause of ends of the strut bar are gold. For now I am going to be putting one on the underside of the hood and then on the valve cover.
 Exhaust Silencer
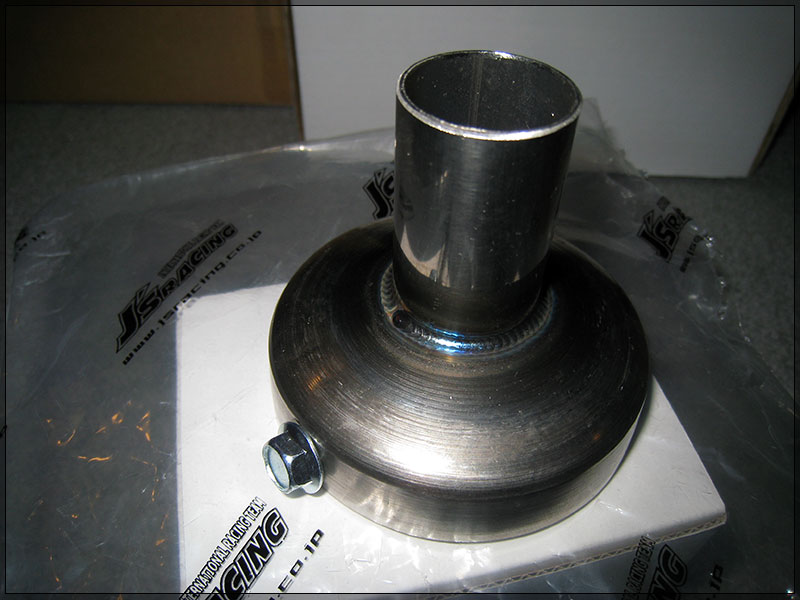
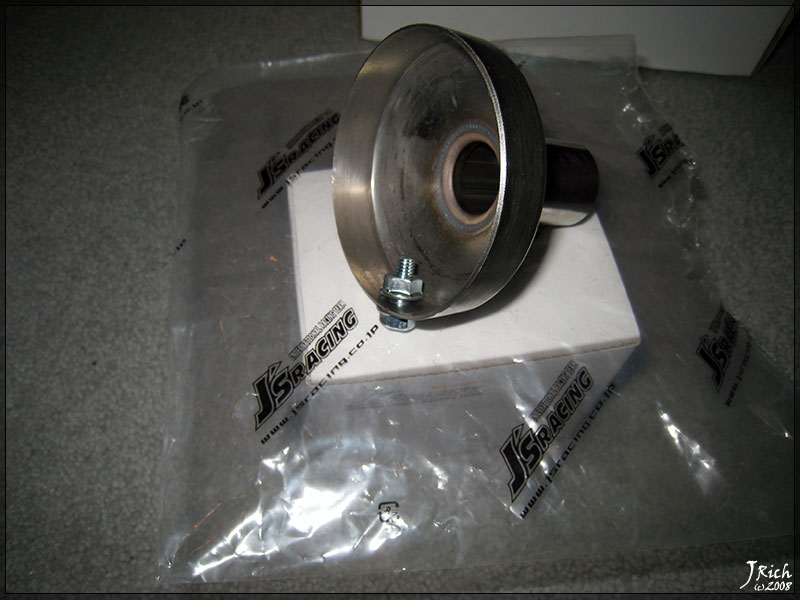
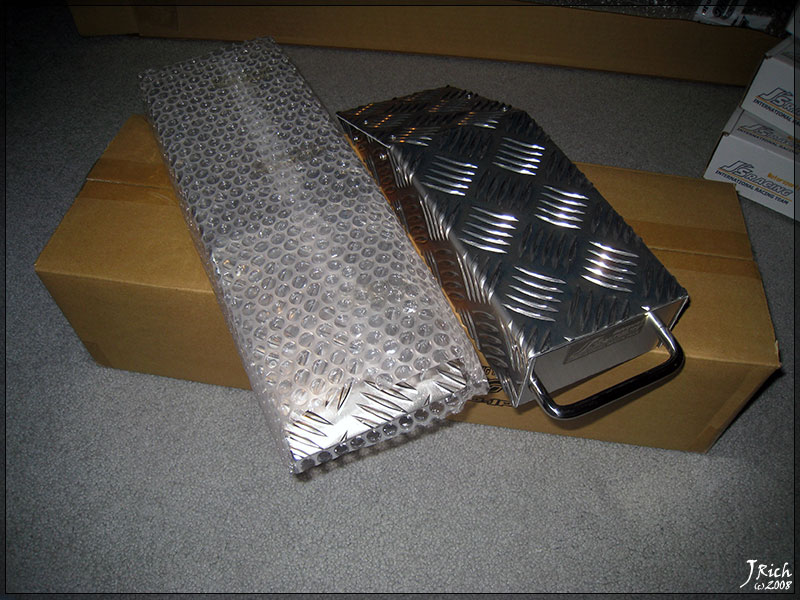
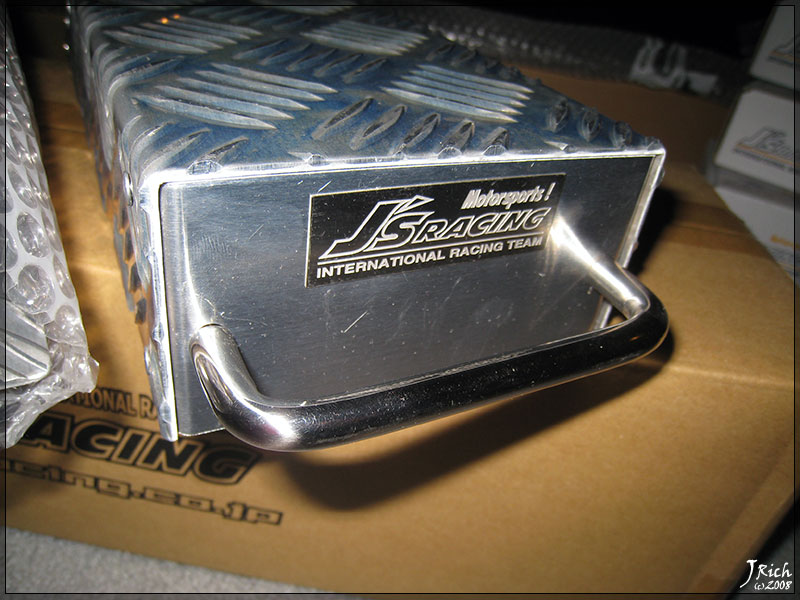
 Service Ramps, basically metal takata ramps but really small and made of metal instead.
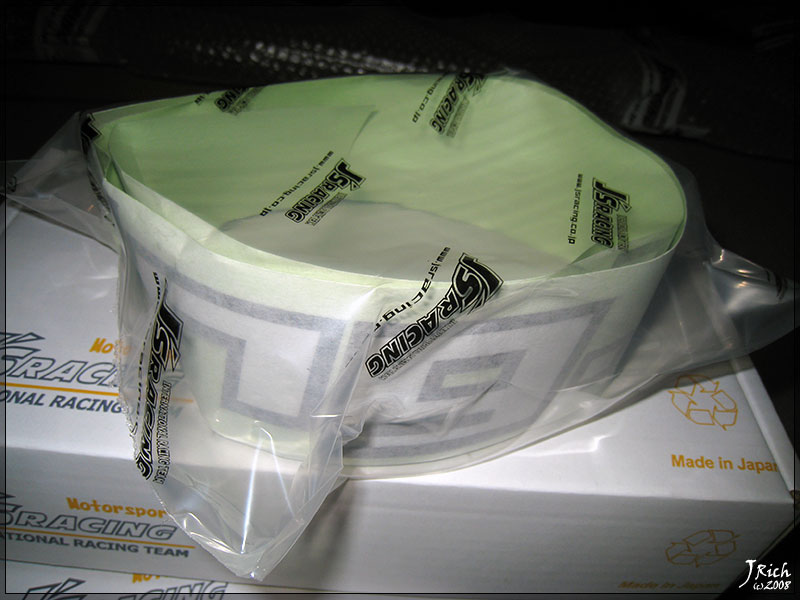
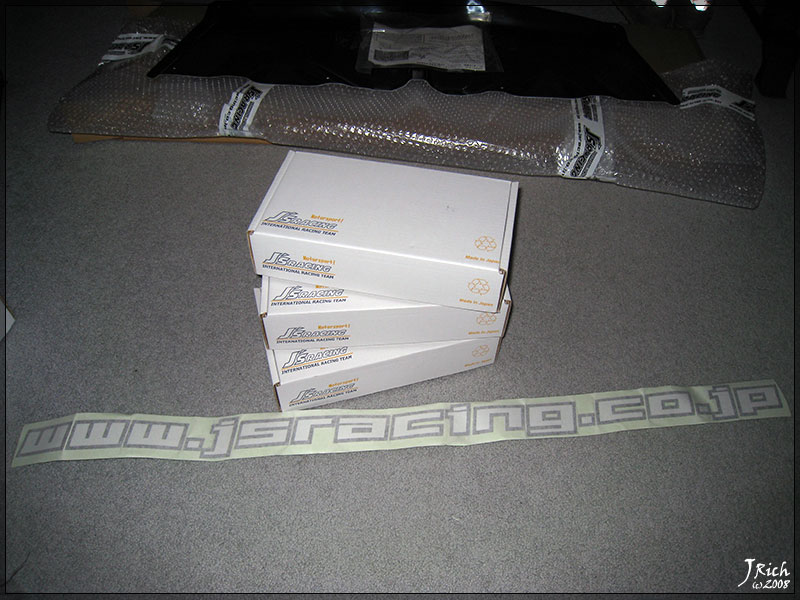
 J's Racing Side Skirt Decals
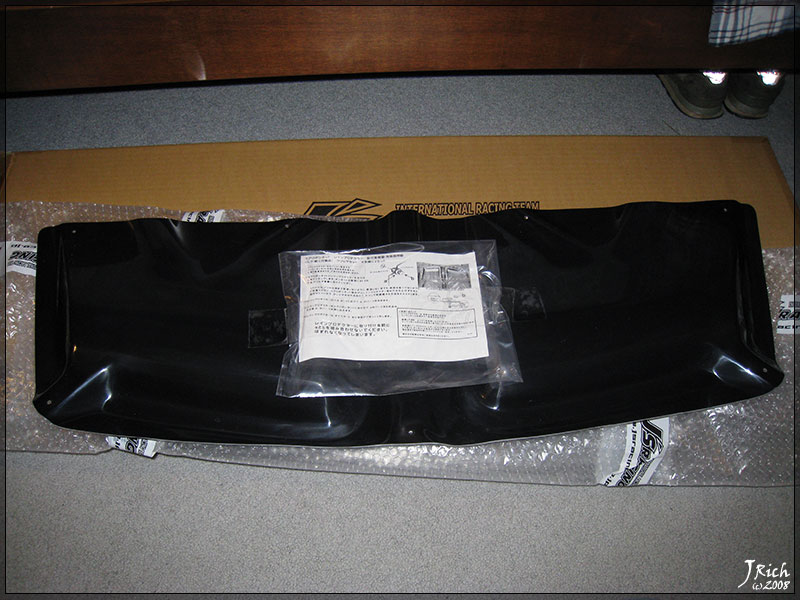
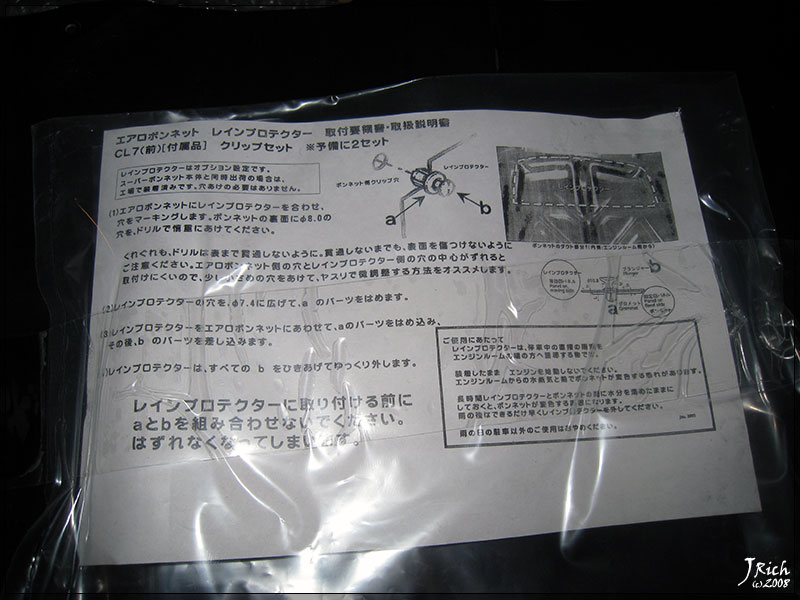
 Vent Block for J's Racing Vented Hood. Keep the rain out of the engine bay.